
Subscribe to Our Youtube Channel
Summary of Contents for Hansen GE3
- Page 1 HYDROMATIC BOILER COMBINATION GAS & ELECTRIC Model : Hansen Water Heaters PO Box 35023 Northcliff 2115 South Africa www.hansenproducts.co.za...
-
Page 2: Table Of Contents
Water pipe routing Electrical operation Gas connection Maintenance Installation of control panel Fault finding Electrical connection 12 v Fuses Electrical connection 230 v Technical data Function check Hansen warranty policy Warning information Data label Accessories Intended use Exploded view Regulators Installation template... -
Page 3: Symbols Used
Hansen parts and failure to follow the gas regulators, gas equipment and gas systems. Gas installation and operating instructions will cancel the cylinders from which gas is taken in the liquid phase warranty and indemnify Hansen from any liability claims. -
Page 4: Safe Connecting Of Regulator To Cylinder
Water should reach set temperature 65 c in approximately ° visible to all users (e.g. on the wardrobe door) Ask Hansen to 45 minutes. send you stickers if necessary. Before using the water heater for the 1st time it is essential to Switching off gas operation flush water supply through with clean water. -
Page 5: Electrical Operation
Electrical operation Fault Finding Gas operation Operate the water heater without water in it ● Ensure AC power supply is present ● Switch electric mode on the switch panel. When switching on , the - No 12 v supply ● Switch to the on position on the switch control panel. heater does not operate ●... -
Page 6: Technical Data
Technical data Manufacturer Hansen water heaters Pty Ltd PO 35023 Northcliff Johannesburg South Africa 14 Litres Max. 280 kPa Max. 300 kPa Liquid propane gas LPG 2.75 kPa 5.0 MJ/h 1.5 kW 120 g/h 0.70 mm 15°c up to 70°c approx.) -
Page 7: Hansen Warranty Policy
Hansen products, or the - Non operation of the water heater or resultant damage to caravan / RV / craft in which the Hansen product has been the unit where the water heater has been operated in an out installed, to any authorised service agent. -
Page 8: Data Label
3. Saw the cut-out section for cowl 96 x 169 mm that are important to the operation of the system that are not original Hansen parts and failure to If the wall thickness is greater than 35 mm a you must... -
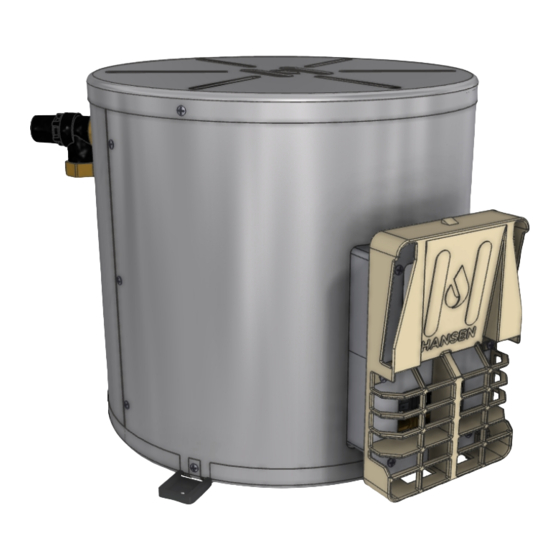
Page 9: Gas Connection
3. Connect the LPG gas supply pipe to the water 5. Fasten sealing frame plate to the cowl body using heater. Only use suitable approved gas supply pipe. 4 self cutting screws. Fit the pipe onto the hose barb and secure using a hose clamp. -
Page 10: Water Connection
System installation Legend 1 - Water heater 2 - Safety temperature and pressure valve 3 - Drain valve 4 - Mixer tap 5 - Pressure reducing valve 6 - Water pump 7 - main water supply tank Installation of the safety temperature and pressure valve Water pipe routing Produce connection (16) for the cold water supply between... -
Page 11: Installation Of Control Panel
Installation of the control panel Electrical connection Always disconnect the power supply prior to working on the Water tank electric components. it is not sufficient to just switch off at the control panel ! Silicone seal The appliance must be disconnected from the vehicle Outer container main power supply when carrying out any electric welding work on the vehicle body. -
Page 12: Installation Template
Drill hole markings 102.00 Dimensions shown in mm Inside Floor Level... - Page 13 Blac Spark Igniter Electronic Control...
Need help?
Do you have a question about the GE3 and is the answer not in the manual?
Questions and answers