
Subscribe to Our Youtube Channel
Related Manuals for Havells Futuro


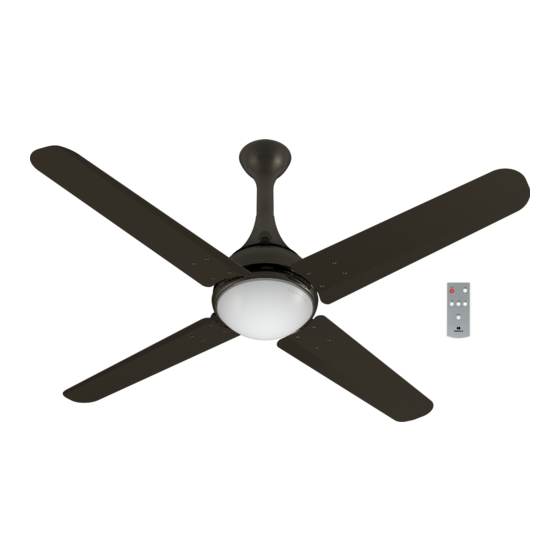
Summary of Contents for Havells Futuro
- Page 2 Read all instruction and safety information before installing your new fan. We recommend installation to be done by Havells authorised electrician. For installation call customer care numbers. PACKING The box consists of fan motor assembly and following accessories for installation. Havells strongly recommend to use of original accessories to install your product for trouble free performance.
-
Page 3: Step 1- Blade Mounting
Mounting Instructions Step 1- Blade Mounting: 1. Align blade holes to the motor holes as shown in fig1. 2. Fasten blade screws securely. Mount all four blades. Figure 1 Detail at - A Step 2- Fixing The Under-light Plate: 1. Twist and pull under-light cover from the under-light unit to remove the under-light cover as per figure -2. Keep the cover safely. - Page 4 Mounting Instructions Washer Wave Washer Lock Nut Figure 3 STEP 3- FIXING DOWN-ROD: 1. Pass supply wire from ceiling through down-rod and connect to wires from PCB through connector 2. Place down-rod on the shaft. Align down-rod holes to the shaft hole as shown in fig-4 and detail - B. 3.
- Page 5 Mounting Instructions Figure 4 Detail B...
- Page 6 Mounting Instructions Step 4- Fixing Canopies: 1. Slide top and bottom canopy over down-rod as shown in fig. 5 Figure 4 Detail at - C Figure 6...
- Page 7 Mounting Instructions Step 5. Mounting the fan to ceiling hook: 1. Unscrew the Shackle Assembly, slide the shackle clips over the down rod and rubber pad over the ceiling hook as shown in figure -6 and detail C. 2. Align the holes, insert the hex bolt through the shackle clips and down rod holes. 3.
- Page 8 Step 1- Set Up Your Havells Smart App 1. Make sure the fan is installed according to the instructions and safety guidelines provided in the Installation Guide. Download the Havells Smart app available for Android and iOS smart phones. Conditions Apply : •...
- Page 9 Your device will appear, select the device and add this device to the Smart network. The Under-light will blink 3 times, conforming the Havells Smart App association to Futuro fan. If any problem regarding association, please follow Fan Hardware Reset*.
- Page 10 Step 3 - Control & Customize the Device Add the above selected Device to any Area of your choice. User can add custom Photograph if desired, to the Area. Control the fan with Slide Bar button and open “Device” for detail control features. Home Page Fig.
- Page 11 Fan Controller Page Fig. 6 Under-light Indication 8 Speed Dial Under-light control buttom Timer control Step 4 - Control Timer Feature In Control Menu, open Fan Timer for timer setting/deletion. Each connected Device can have individual Timer. Timer Screen Fig. 7 Timer can be Set/deleted Time Setting...
- Page 12 Guest User: can control device & Area. Add New User Screen List of User’s Network Information Fig. 8 Fig. 9 Havells Infrared Remote Manual Step 1: Remove Battery's Sleeve before Use. Step 2: Point the Remote toward fan for various operation.
- Page 13 QRG Towers, 2D, Sector-126, Expressway, Noida - 201 304. U.P. (INDIA) Toll Free No. 1800 11 0303, 1800 103 1313 E-mail : customercare@havells.com, www.havells.com REGIONAL & BRANCH OFFICES: NORTH - REGIONAL OFFICE: Corporate Office: QRG Towers, 2D, Sector-126, Expressway, Noida-201304,...
Need help?
Do you have a question about the Futuro and is the answer not in the manual?
Questions and answers