
Summary of Contents for CAMONS DW9020HR
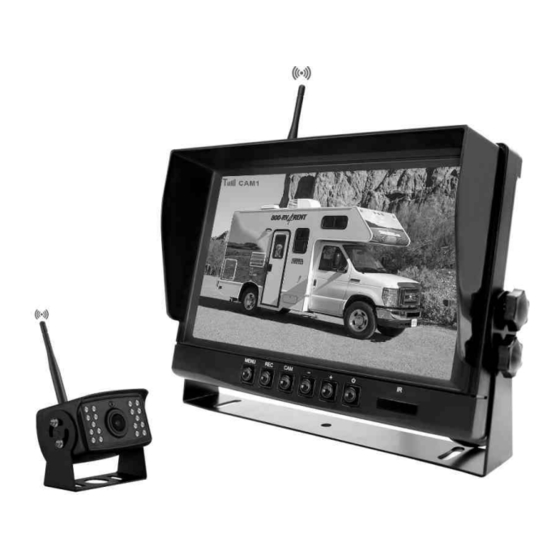
- Page 1 DIGITAL WIRELESS REAR OBSERVATION/BACKUP CAMERA SYSTEM OPERATION AND INSTALLATION MANUAL Item No:T-DW9020HR...
-
Page 2: Important Safety Instructions
INTRODUCTION Thank you for purchasing our product, please read it thoroughly before operating and keep it for future reference. The Digital Wireless Rear Vision System will improve your ability to see behind your car, pickup truck, camper, travel trailer, fifth wheel trailer or motorhome. We have taken numerous measures to ensure that your product is delivered in top condition and will perform to your satisfaction. - Page 3 3.Accessories Suction cup mount Remote Control Power Cord Antenna Power Adapter for Furrion clamps Screws & Bolt User Manual Pre-Wired RV Attention: The above accessories list may have little differences for different retail platforms, we may increase or update some accessories without notifying in advance, please subject to the actual received package.
- Page 4 Allen Screw 4x8 Washer ¢5 Camera Positioning Camera location Wiring Installation The system can be used as a rear observation system or as a backup camera system. ·To use as a rear observation system, the camera needs to be wired to a constant 12V/24V power source.
- Page 5 2.Before drilling the hole,make sure there are no components behind the surface you are drilling such as electrical cables,gas lines,or other important components that can be damaged. 3.After drilling the hole,insert the supplied grommet then route the camera cable into the opening. The grommet must be used to prevent the metal edge from cutting the cable.
- Page 6 adjust the knob to set the screen at a good viewing angle and tighten knob on the bracket to lock into position. To maximize the efficiency of the suction cup mount, it is recommended that the mounting be performed under the following conditions: ·Surface temperature should be between 21°C and 38°C.
-
Page 7: Operation
1. When the green wire is activated, the monitor automatically switches to CAM1. 2. When the blue wire is connected to the positive wire of the left turn light, the monitor automatically switches to CAM2(left side camera) when the left turn indicator is activated. - Page 8 3. Pairing Press the “MENU” button to enter in main menu and press “REC” key to enter pairing interface. Press “ ” key to enter pairing state when PAIRING START appears. CAM2 PAIRING START At this time, press the button on the camera to pair the camera with the monitor. After pairing is successful, the word “PAIRED”...
- Page 9 4. Setup Press the “ ”or “ ” button to select SETUP on the screen 4.1 PICTURE “REC ” PICTURE: Press the key to enter BRIGHTNESS CONTRAST,HUE and VOLUME settings. BRIGHTNESS setting “ ” “-” “+” Select the Brightness icon,press REC key to enter settings,press keys to select the required Brightness setting.
- Page 10 4.3 MODE : Press “CAM” to switch MODE image as below. 4.4 CAM-SETUP Press “-”or “+”to select CAM SETUP,press “REC” to enter. AUTO SCAN mode enable it can loop display each channel at 5-45 seconds, you can turn off any channels when no need or turn on or off the auto scan mode freely. 4.5 SYSTEM Press “-”or “+”to select SYSTEM, press “REC”...
- Page 11 4.6 PLAY Press “-”or “+”to select the recorded video clips, press “REC” to playback. 4.7 RECORD Press “-”or “+”to select RECORD, press “REC” to enter. REWRITE: When SD card is full,the monitor will delete the earliest recorded file one by one,and keep recording. FORMAT: SD card must be formatted before being used.
-
Page 12: Technical Specifications
5.2 The paired camera transmitter can trigger the receiver to work automatically after power is on. The screen display delay is less than one second. 5.3 The camera transmitter has infrared night view function. If it is too dark, the infrared LED is automatically turned on for supplemental lighting. CAUTION: The LED will emit faint red light when turned ON.
Need help?
Do you have a question about the DW9020HR and is the answer not in the manual?
Questions and answers