
Subscribe to Our Youtube Channel
Summary of Contents for Redmon Fun&FitnessKids Happy Bike
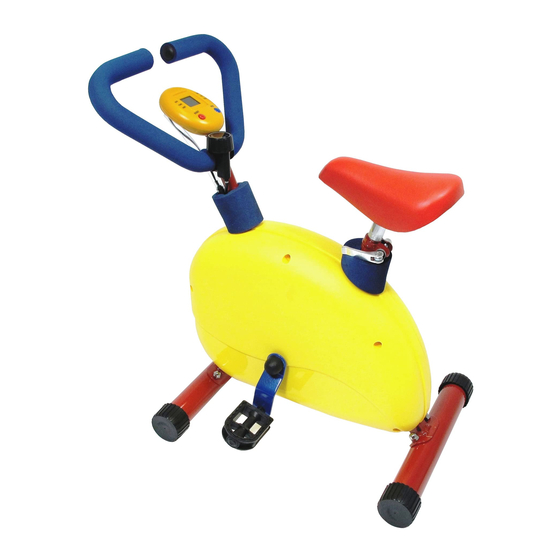
- Page 1 ITEM # 9202 Happy Bike Owner’s Manual W.C. Redmon Co., Inc. 200 Harrison Ave Phone (765) 473-6683 www.RedmonUSA.com P.O. Box 7 Fax (765) 473-6686 sales@wcredmon.com Peru, IN 46970 service@wcredmon.com 01/2019 Page 1...
- Page 2 GENERAL WARNING AND CAUTION RECOMMENDED AGES 3-6 YEARS OLD. NOT INTENDED FOR USE BY CHILD OVER 150 LBS. NOT INTENDED FOR COMMERCIAL USE. PLEASE CONSULT WITH YOUR CHILD’S PEDIATRICIAN BEFORE USE. NEVER LEAVE CHILD UNATTENDED WHILE USING THIS PRODUCT.
- Page 3 PARTS LIST Page 3...
- Page 4 ASSEMBLY Step One: Attach the foot tubes (4) as shown in Figure1. Attach main frame (1) with 8x60 mm Bolts (21) and 8 mm cap nuts (28). Tighten with screwdriver (33) and wrench (34). IMPORTANT: Attach the dimpled side of the foot tubes (4) down away from the main frame (1) as shown in Figure 1a and Figure 1b Page 4...
- Page 5 Step Two: Attach the pedals (7R & 7L) as shown in figure 2 and use wrench (34) & screwdriver (33) provided to tight the left pedal (7L) to the left side crank (6L) and the right pedal (7R) to the right side crack (6R). The pedals are marked “L”...
- Page 6 Step Three: Insert post (15) into seat tube (8). Then tighten the quick release (22) as described in the quick release instructions. WARNING: NEVER move the seat up beyond the quick release. The seat post must be inserted into the seat tube a minimum of 1.75 inches.
- Page 7 Step Four: Take the sensor cable (10) coming to the main frame (1) and thread the plug up through the handle bar (17) and out the whole behind the monitor mounting bracket. Insert the handle bars into the main frame and secure with two 6x30 mm round head screws (23) and 6 mm cap nut (30).
Need help?
Do you have a question about the Fun&FitnessKids Happy Bike and is the answer not in the manual?
Questions and answers