Advertisement
Quick Links
Advertisement

Related Manuals for Homestar 109186


Summary of Contents for Homestar 109186
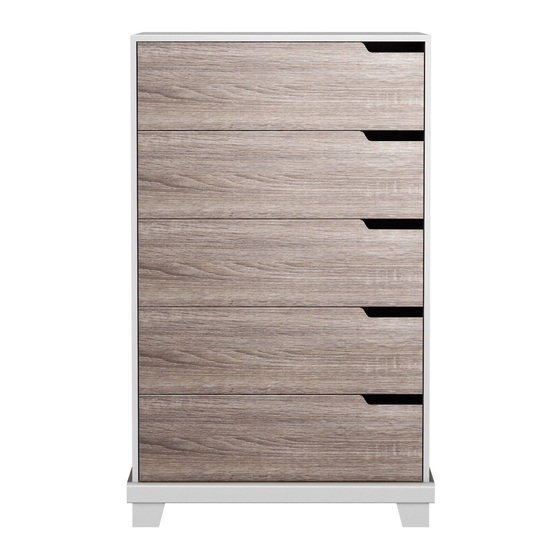
- Page 1 Waterloo 5 Drawer Chest #109186 INS-109186-3 (09-08-17)
- Page 2 Comoda Waterloo de 5 gavetas #109186...
- Page 3 Meuble Waterloo 5 tiroirs 109186...
- Page 4 ATTENTION: INCORRECT CHECK DRAWER SLIDES FIRST INCORRECTO SLIDE STOP MAY HAVE SHIFTED FROM ITS CORRECT POSITION DURING TRAN- SIT. THE “STOP” (DARK) FOR DETAIL “A’” SHOULD BE IN FRONT OF THE “STOP” FOR DETAIL “B”. TO FIX, PUSH DOWN ON DETAIL“B”...
- Page 8 1 x part # 12 1 x parte # 12 1 x pièce N° 12 1 x part # 16 1 x parte # 16 1 x pièce N°16...
- Page 9 PARTS LIST / LISTA DE PARTES / LISTE DES PIÈCES Hardware Kit / Juego de Herrajes / Kit matériel 10 x screws / tornillos / vis (H1) 4 x screws / tornillos / vis (H2) 41 x metal dowels / pasadores metálicos / chevilles métalliques (H3) 21 x cams locks / cerraduras de leva / serrures (H4) 20 x cams locks / cerraduras de leva / serrures (H5) 2 x angle brackets / abrazadera / équerre de fixation (H6)
- Page 12 10 x (H15) 2 x (H4) 1 x (H19) 7 x (H3) 5 x (H14)
- Page 13 1 x (H19) 2 x (H4) 10 x (H15) 7 x (H3) 5 x (H14)
- Page 14 7 x (H4) 4 x (H4) 4 x (H4)
- Page 15 4 x (H3) 2 x (H4)
- Page 16 2 x (H11) 2 x (H6) 3 x (H3) 4 x (H7)
- Page 17 4 x (H3)
- Page 18 2 x (H5) 2 x (H5)
- Page 20 4 x (H9)
- Page 27 8 x (H4) Lock metal cams before going to the next step. Fije las levas de metal antes de ir al siguiente paso. Veuillez verrouiller les cames métalliques avant de passer à l'étape suivante.
- Page 28 Before the back panel is completely attached make sure the back panel is square to the case. Otherwise you will create drawer alignment issues. Antes de que el panel trasero esté completamente colocado asegúrese de que esté cuadrado con el cajón. De lo contrario, usted creará problemas de alineación del cajón. Avant de fixer complètement le panneau arrière, assurez-vous qu'il est perpendiculaire au boîtier.
- Page 29 TIP KIT WALL ANCHORING INSTALLATION Option 1: • Locate stud in wall. Screw strap into stud using long screw and washer. OPTION 1. Option 2: • Drill through wall board using ¼ inch drill bit. • Insert wall anchor. • Screw strap into wall anchor using long screw and washer.
- Page 30 H13 x 1 H18 x 1 H12 x 2 H10 x 1 H13 x 1 H18 x 1 H12 x 2 H17 x 1 H10 x 1...
- Page 31 TIP KIT WALL ANCHORING INSTALLATION 4. Move unit towards wall and insert strap through cut out. 5. Screw strap into underside of top of unit using short screw and washer. INSTALACION DEL ANCLA DE PARED 4. Mueva la unidad hacia la pared e inserte la correa por la parte cortada.
- Page 32 5 x (H1) 35 LBS MAX. 5 x (H1)
- Page 33 0 X X #8x1.25_Phillips Pan Head SIZE: PART: FINISH(S): MATERIAL: NOTES: EDGE INFO: NOTES: FINISH(S): W:\Reference\CAD\Homestar Inventor Library\Tip Bracket Assembly_IKEA.idw MATERIAL: Waterloo 5 Drawer Chest NOTES: NOTES: 0 X X #8x1.25_Phillips Pan Head SIZE: PART: W:\Reference\CAD\Homestar Inventor Library\Tip Bracket Assembly_IKEA.idw...
Need help?
Do you have a question about the 109186 and is the answer not in the manual?
Questions and answers