Advertisement
Quick Links
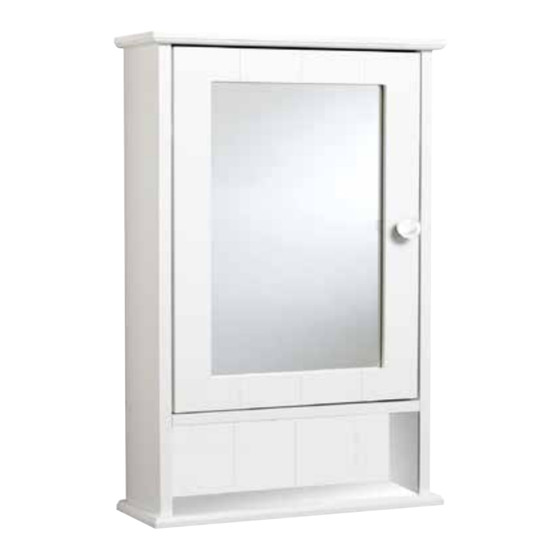
Langham
Mirror Cabinet
WC431222
Please follow the fixing and care instrucions to ensure your cabinet is fitted safely and retains
its high quality finish. Please retain this leaflet for future reference.
Tools required (Not supplied)
Drill; 6.5mm masonry drill bit (6.5mm ceramic drill bit optional); Cross head screwdriver; Pencil;
Spirit level.
KEEP DIY TOOLS OUT OF THE REACH OF CHILDREN
Home safety advice
It is recommended that two people fit the cabinet to ensure that it is fitted safely.
Always take care when using an eletric drill, particularly in the bathroom. Always check for
hidden cables and pipe work before drilling and take extreme care if there is any water in the
working area.
It is advisable to use a residual current circuit breaker (RCCB).
Always wear suitable eye protection when drilling.
If the product is to be fitted onto a ceramic tiled wall, a ceramic drill bit should be used. Always
ensure that the drill hole passes through the central tiled area rather than through the
grouted area. To prevent unnecessary damage to the tile, mask the area around the hole with
tape before drilling.
Do not strike the product with hard or sharp objects. Do not place hot objects against the glass
surfaces.
Do not overload the cabinet. Maximum safe working load is 10kg evenly distributed if mounted
on to a solid wall. If mounted on to a cavity wall reduce the load to 5kg evenly distributed.
Note: The wall plugs supplied are for use on solid walls only. For cavity walls or plasterboard use
specialist fixings that are available from all good DIY shops.
Advertisement

Summary of Contents for Langham WC431222
- Page 1 Langham Mirror Cabinet WC431222 Please follow the fixing and care instrucions to ensure your cabinet is fitted safely and retains its high quality finish. Please retain this leaflet for future reference. Tools required (Not supplied) Drill; 6.5mm masonry drill bit (6.5mm ceramic drill bit optional); Cross head screwdriver; Pencil;...
-
Page 2: Parts List
Assembly Instructions - Tips 1. Please check that all parts are present before you start the assembly of your cabinet. 2. For ease and speed of assembly, we recommend that before you commence each step of the assembly you identify all parts required. 3. - Page 3 O (x2) B (x1) M (x4) Step 2. Ensure the swivel plates are positioned as shown. K (x4) A(x2) N (x1) P(x1) D (x1) C (x1)
- Page 4 Step 3. Note: Apply Glue to Dowel. Step 4. Note: Apply Glue to Dowel. I(x4) J(x4)
- Page 5 Step 5. Step 6. J(x4) M(x2) I(x4) Note: Apply Glue to Dowel.
- Page 6 Step 7. E(x4) Step 8.
-
Page 7: Fixing Instructions
Step 9. F(x4) Please remove protective film from the double sided sticky tape before fitting the mounting plate. Ensure the holes are aligned and fit the mounting plates into the corners of the cabinet. Step 10. Fixing Instructions 1. Hold the cabinet against the wall in its desired location. - Page 8 Product Care Advice To retain the best quality finish, clean the product regularly with a soft damp cloth. Do not use abrasive or chemical cleaners, as these will damage the product. For details of the other items in the Croydex range please visit our website: www.croydex.com Croydex Ltd, Central Way, Andover, Hants, SP10 5AW, UK Tel: +44 (0) 1264 365881 Fax: +44 (0) 1264 356437...