
Summary of Contents for GroundWork 1273579
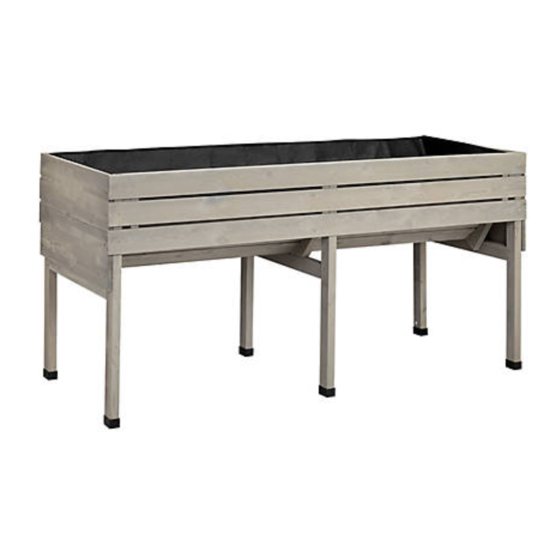
- Page 1 SKU: 1273579 71"x30" Wooden Planter with Liner (70.8in L x 36.49in H x 30.31in W x 15.8in D) Distributed by: TRACTOR SUPPLY COMPANY 5401 VIRGINIA WAY, BRENTWOOD, TN 37027 For customer support, call: 1-888-376-9601 www.TractorSupply.com MADE IN CHINA...
-
Page 2: Safety Information
SAFETY INFORMATION: CAUTION: Please keep children out of assembly area during assembly. CAUTION: Do not stand on the planter. Do not sit on the planter. BEFORE YOU BEGIN: Read instruction prior to assembly. This product contains parts that can be damaged if incorrectly assembled. -
Page 3: Parts List
PARTS LIST Part Image Description Quantity End Post 2pcs End Post 2pcs Middle Post Middle Post Middle Connector End Connector 2pcs Support 2pcs... - Page 4 Floor Panel Upper End Panel 2pcs Lower End Panel 2pcs Walls 2pcs Trim Panel 2pcs Bolt 75mm 8pcs Screw 35mm 34+1pcs Screw 25mm 30+1pcs Liner...
-
Page 5: Assembly Instruction
ASSEMBLY INSTRUCTION Use the parts list to identify and organize each parts. Step 1: Attach the End Post (1) and the End Post (2) to the End Connector(6) with screws(C)*4pcs as shown . Repeat this step to create 2 sets of posts. - Page 6 Step 2: Assemble the supports (7) to the middle connector (5). Then assemble the middle post (3 and 4). Attach everything with screws(C) * 4pcs and screws (B) * 4pcs as shown. Step 3: Place the Floor Panel (8) as shown, and attach the Floor Panel to the middle connector with screws (B)*6pcs.
- Page 7 Step 4: Attach the Walls (11) to the posts with Bolt (A)*8pcs. Note: ensure the ends of the wall are flush with the side of the posts. Note: insert all bolts before tightening any, some adjustments may be needed to ensure proper alignment.
- Page 8 Step 6: Attach the Upper End Panel (9) as shown with screws (B)*8pcs. Step 7: Attach the Lower End Panel (10) as shown with screws (B)*10pcs.
- Page 9 Step 8: Attach the Trim Panel (12) to the posts using screws (C)*18pcs. Note: Ensure the trim panel is flush with the End Panel. Step 9: Place the liner (D) into the planter.
Need help?
Do you have a question about the 1273579 and is the answer not in the manual?
Questions and answers