Table of Contents
Advertisement
Quick Links
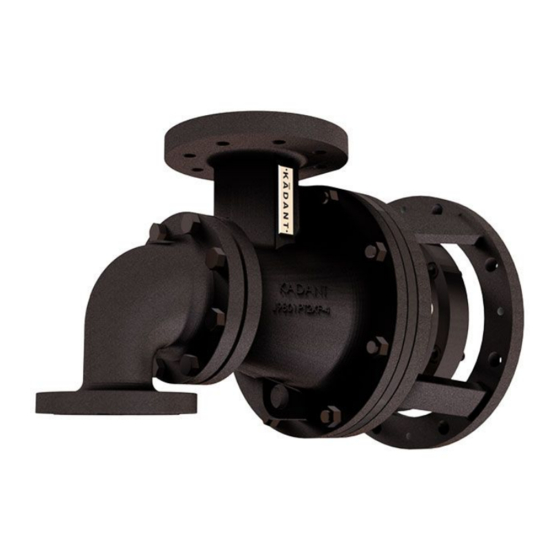
Repair Instructions for the 9750 PTX® Rotary Joint
fluidhandling.kadant.com/en/knowledge-center/installation-and-repair-instructions/piston-type-pt-ptx-pt2x-rotary-joints/repair-instructions-
for-the-9750-ptx-rotary-joint
Effective: December 1, 2021
Introduction
Read all of the instructions before proceeding.
Refer to Kadant Johnson assembly drawing for part identification and to drawing A37640 for torque specifications.
For easy identification, parts used in individual steps are often accompanied with their position in the assembly
drawing [e.g. gasket (8B)]. Tighten all fasteners in a star pattern. Certified drawings are available upon request.
Dimensions are for reference only and subject to change.
Safety
This safety symbol alerts you to risk of death or injury if the instructions are not followed. In all steps, death or injury may result if the machine is not de-
energized, depressurized, cooled, and stopped. Death or injury may occur if the product is operated with a fluid type or at a pressure, temperature, or speed
that do not meet its specifications. Death or injury may occur if heavy parts and pinch hazards are not handled properly. Follow your company's safety
procedures.
Tools
Tools Per Crew
3/8" Hex Head Socket
1/2" Hex Head Socket
(2) 6 1/2" Drive Extension
(2) 9/16" Combination Wrenches
0 to 150 lbs Torque Wrench
(2) 3/4" Combination Wrenches
1/2 to 3/8" Square Drive Reducer
13/16" Combination Wrench
3 lbs Hammer
13/16" Shallow Socket
Gasket Scraper
15/16" Combination Wrench
15/16" Shallow Socket
1/4" Hex Head Socket
Endcap Assembly Repair
5/16" Hex Head Socket
Step 1 - Removal
Disconnect piping. Remove the head and set aside.
Equipment must be cool and free of pressure.
Step 2
Bend tabs back from hollow bolt.
6 mm Hex Head Socket with extension
5 mm Hex Head Socket
O-ring Pick
To Pass Between Crews
300 lbs Torque Wrench
2 1/2" Socket and Adapters for Torque Wrench
Step 3
Unthread the hollow bolt approximately 1/4" (6.4 mm). Place a block of wood over the hollow bolt and strike it with
a hammer. This will break the tapered seal inside of the rotary joint. Remove the hollow bolt and set aside for reuse.
Step 4
Remove the body and set aside with O-ring side up. Remove and discard the O-ring (26).
Step 5
Remove the end cap assembly and seal ring. Place the end cap assembly with the seal ring surface facing up. If
working on the dryer bearing, move the support tube into the journal.
Spring force present during end cap assembly installation.
Step 6
Remove the ring bracket and wear plate.
Tip: If dryer bearing work is needed, remove the journal flange (if necessary) and bearing cover to access the
bearing. Reinstall after bearing work is complete.
Note: There are two types of repair kits. If using the preassembled end cap assembly kit, proceed to step 12.
Step 7 - End Cap Asembly Repair
Place the assembly in a press with the seal ring surface facing up. Compress the nipple and remove the cap screws.
Release the press and separate the nipple from the end cap.
Step 8
Remove the O-rings and discard. Inspect the nipple groove(s) and sealing surfaces. Replace if damaged. Install and
lubricate new O-rings.
Advertisement
Table of Contents

Related Manuals for KADANT PTX 9750

Summary of Contents for KADANT PTX 9750
- Page 1 Read all of the instructions before proceeding. Step 4 Refer to Kadant Johnson assembly drawing for part identification and to drawing A37640 for torque specifications. For easy identification, parts used in individual steps are often accompanied with their position in the assembly drawing [e.g.
- Page 2 Step 14 workmanship for a period of one year after the date of shipment. It is expressly understood and agreed that the limit of Kadant Johnson’s liability shall, at Kadant Johnson’s sole option, be the repair or resupply of a like quantity of non-defective product.
Need help?
Do you have a question about the PTX 9750 and is the answer not in the manual?
Questions and answers