Advertisement
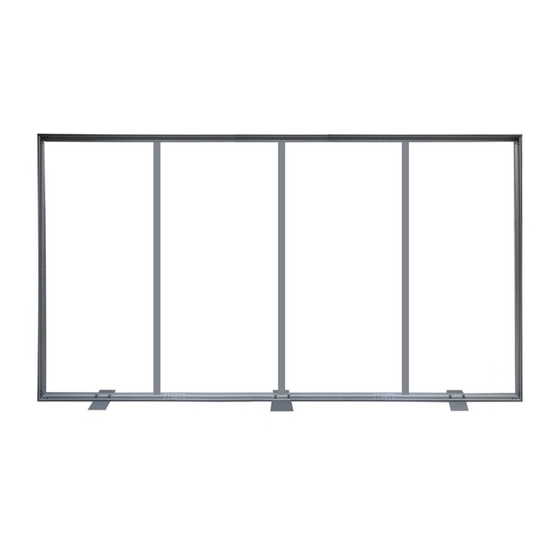
MAMMOTH 16FT DISPLAY (BACKLIT)
MAMMOTH MODULAR DISPLAY
PRODUCT CODE: MAM16X8LBF
1. Attach Split Connectors to Top, Bottom, & Side Extrusions:
a. Slide the Split Connectors into the grooves
of the frame and tighten
2. Attach Corner Connectors:
a. Insert the Corner Connector
locks into the ends of the frame.
4. Make Support Strut:
a. Remove screws from
b. Insert Center Con-
Center Connector.
nector and align holes
with holes on extrusion.
Page 1 of 2
SET UP INSTRUCTIONS
2
5
4
1
3
5
2
b. Attach other extrusion onto the Split Connector.
b. Then attach side extrusion onto
the Corner Connector. Tighten screws
with included 5mm allen wrench.
c. Repeat to connect
other extrusion to make
one long piece.
1
5
5
4
4
5
3
5
1
3. Install Feet:
a. Line up the holes on feet with holes
on the bottom horizontal frame piece.
5. Attach Support Strut To Frame:
a. End Lock is already attached to
opposite ends of Support Strut.
2
1
3
2
c. Tighten screws with included 5mm allen
wrench.
b. Insert screws and washers into
hole to secure feet to frame.
b. Insert End Lock into top and bot-
tom grooves of frame. Tighten screws
with torx key to secure connection.
Advertisement
Table of Contents

Subscribe to Our Youtube Channel
Related Manuals for Mammoth MAM16X8LBF

Summary of Contents for Mammoth MAM16X8LBF
- Page 1 MAMMOTH 16FT DISPLAY (BACKLIT) MAMMOTH MODULAR DISPLAY PRODUCT CODE: MAM16X8LBF SET UP INSTRUCTIONS 1. Attach Split Connectors to Top, Bottom, & Side Extrusions: a. Slide the Split Connectors into the grooves b. Attach other extrusion onto the Split Connector. c. Tighten screws with included 5mm allen of the frame and tighten wrench.
- Page 2 MAMMOTH 16FT DISPLAY (BACKLIT) MAMMOTH MODULAR DISPLAY PRODUCT CODE: MAM16X8LBF SET UP INSTRUCTIONS 6. Install Edge Lights: a. Install eighteen edge lights (36 total) on b. Position light strip into inside groove of frame. c. Then twist screw knobs clockwise to lock edge lights into place.
Need help?
Do you have a question about the MAM16X8LBF and is the answer not in the manual?
Questions and answers