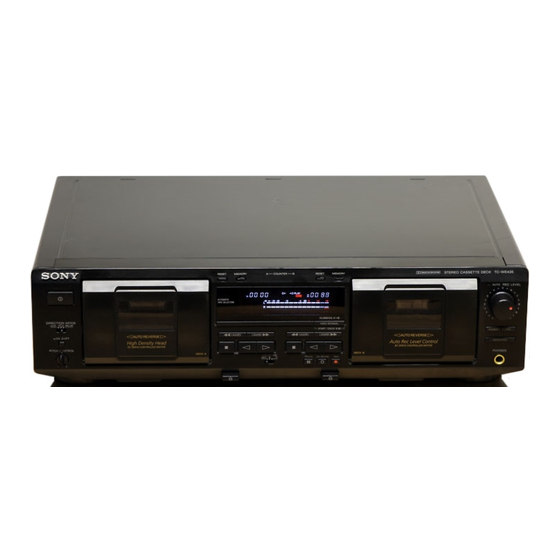
Sony TC-WE435 Operating Instructions Manual
Stereo cassette deck
Hide thumbs
Also See for TC-WE435:
- Service manual (42 pages) ,
- Operating instructions manual (20 pages) ,
- Operating instructions manual (18 pages)

Related Manuals for Sony TC-WE435


Summary of Contents for Sony TC-WE435
- Page 1 3-866-255-11(1) Stereo Cassette Deck Operating Instructions TC-WE435 1999 by Sony Corporation...
- Page 2 The model and serial numbers are located on the rear panel of the unit. Record the serial number in the space provided below. Refer to them whenever you call upon your Sony dealer regarding this product. Model No. TC-WE435 Serial No. ___________...
-
Page 3: Table Of Contents
ABLE OF CONTENTS Getting Started Unpacking 4 Hooking Up the System 4 Playing a Tape 5 Recording on a Tape 6 Advanced Playback Operations Locating a Track (Multi-AMS/Auto Play/Memory Play) 8 Advanced Recording Operations Adjusting the Recording Level Automatically (Auto Rec Level) 9 Fading In and Out (Fader) 10 Dubbing a Tape 10 Inserting a Blank Space During Recording (Record Muting) 11... -
Page 4: Getting Started
Getting Started Getting Started Unpacking Check that you received the following items: • Audio connecting cords (2) • Control A1 cord (1) (supplied for Canadian model only) Hooking Up the System This section describes how to hook up the tape deck to an amplifier. -
Page 5: Playing A Tape
Basic Operations Playing a Tape DIRECTION MODE RELAY Ø ON ø OFF PITCH CONTROL • – • See page 4 for hookup information. • You can use either deck for playback. To play a tape recorded with the Dolby* NR Set DOLBY NR to the same position that the tape was recorded in—B or C. -
Page 6: Recording On A Tape
Basic Operations Recording on a Tape DIRECTION MODE RELAY Ø ON ø OFF PITCH CONTROL • – • See page 4 for hookup information. • Use deck B (on your right hand side) for recording. • See “Dubbing a Tape” (page 10) to make a copy of the tape. - Page 7 To protect recordings against accidental erasure Break out the record-protect tab(s) (see page 14). Do not turn off the deck during operation. Stop recording Start recording from the reverse side Pause Take out the cassette The Dolby HX Pro* operations automatically works during recording Distortion and noise in the...
-
Page 8: Advanced Playback Operations
Advanced Playback Operations Advanced Playback Operations Locating a Track (Multi-AMS/ Auto Play/Memory Play) You can locate the following/previous tracks within a range of 30 tracks (Multi-AMS: Automatic Music Sensor) or the beginning of a tape quickly (Auto Play). You can even locate a specific point anywhere on a tape (Memory Play). -
Page 9: Advanced Recording Operations
Advanced Recording Operations Adjusting the Recording Level Automatically (Auto Rec Level) The Auto Rec Level function automatically measures the peak signal level and adjusts the recording level accordingly. AUTO indicator ª · ª · • § § PAUSE P REC r Follow Steps 1 to 3 of “Recording on a Tape”... -
Page 10: Fading In And Out (Fader)
Advanced Recording Operations Fading In and Out (Fader) You can gradually increase the recording level at the beginning of a recording (fade in) or gradually decrease the recording level at the end of a recording (fade out). It is convenient to use this function, for example, when the tape reaches to its end and you don’t want the track to be cut off abruptly. -
Page 11: Inserting A Blank Space During Recording (Record Muting)
To stop dubbing During Press p on deck B Normal-speed dubbing p on either deck High-speed dubbing During high-speed dubbing Only the p button is operative. You don‘t have to adjust the recording level or select the Dolby NR during dubbing Dubbing is automatically performed with the same recording level and Dolby NR as the original in deck A. -
Page 12: Synchro-Recording With A Cd Player Through A Control A1 Cord
Player Through a Control A1 Cord By pressing the SYNCHRO button, you can perform synchro-recording on your tape deck with a Sony CD player connected to the CONTROL A1 connector through a Control A1 cord (see page 4). The Control... - Page 13 If the tape ends during CD Synchro-recording on the front side of the tape (· lights up) and the DIRECTION MODE selector is set to a or RELAY Recording of the track ends immediately, the tape direction is reversed, and recording starts again from the beginning of the track.
-
Page 14: Additional Information
If you have any questions or problems concerning your tape deck, please consult your nearest Sony dealer. Notes on Cassette Tapes To protect a recording on side A or B Break out the respective tab. -
Page 15: Cleaning
Cleaning Head assembly on deck B Pinch rollers Capstans Erasing head Recording/playback head ª · ª · • § § § Cleaning the heads and tape path Clean the heads and tape path of the tape deck after every 10 hours of operation to guard against: •... -
Page 16: Troubleshooting
Should the problem persist, consult your nearest Sony dealer. The function buttons do not work. / The tape deck has been just turned on and does not operate for about 3 seconds. -
Page 17: Specifications
1.8% (with Type IV tape, Sony Type IV (METAL): 250 nWb/m 315 Hz, 3rd H.D.) Frequency response (Dolby NR off) Type I tape, Sony Type I (NORMAL): 30 – 16,000 Hz (±3 dB, IEC) Type II tape, Sony Type II (HIGH): 30 – 17,000 Hz (±3 dB, IEC) -
Page 18: Index
Index Index Index A, B Accessories optional 17 supplied 4 Adjusting recording level automatically. See Auto rec level recording level manually 7 volume 5 Audio connecting cord 4 Auto play 8 Auto rec level 9 Cassette. See Tape CD Synchro-recording 12 Cleaning cabinet 14 heads and tape path 15... - Page 20 Sony Corporation Printed in China...
Need help?
Do you have a question about the TC-WE435 and is the answer not in the manual?
Questions and answers