
Summary of Contents for ATESS EnerLog
- Page 1 EnerLog User Manual SHENZHEN ATESS POWER TECHNOLOGY CO.,LTD 1st Floor of Building 3 at Sector B and 3rd Floor of Building 9, Henglong Industrial Park, Shuitian, Baoan District, Shenzhen www.atesspower.com...
-
Page 2: Table Of Contents
2.3 Function introduction Installation and Connection 3.1 Installation environment 3.2 Installation method 3.3 Connect to device EnerLog internal page parameter setting 4.1 IP access method 4.2 Internal page access 4.3 Datalogger status view 4.4 Add and delete device 4.5 Baud rate setting... -
Page 3: About The User Manual
ATESS will not notify users of any changes to this manual. The contents of the manual will be continuously updated and revised, and it is inevitable that there will be slight discrepancies or errors with the actual products. -
Page 4: Product Description
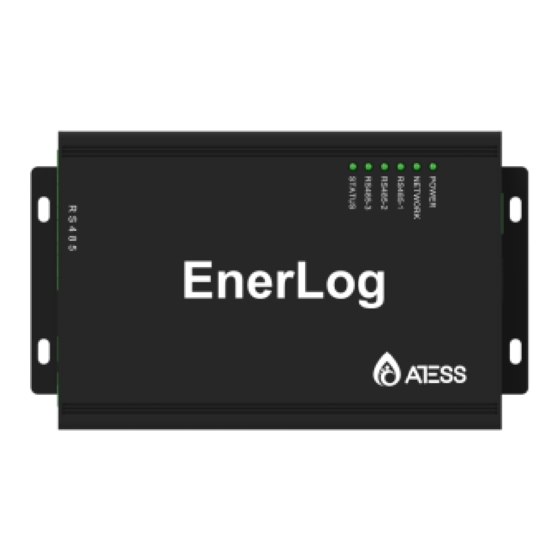
Product description 2.1.1 Interface The interface of EnerLog, as shown in figure 2-1 above. 2.1 Device Overview The functional description of each interface is shown in table 2-1. Item Name Function 4 RS485 channels, 1-3 can monitor the Rs485 equipment, the 4th is the debugging channel. - Page 5 2.1.2 Indicator status description Item Name Amount EnerLog has a total of 6 LED lights, through which the running status of EnerLog can be displayed. EnerLog 1 pc Item Name Function 12V power adapter 1 pc System status light RS485 and power supply...
-
Page 6: Function Introduction
3.1 Installation environment EnerLog's serial number (SN) is a code consisting of letters and numbers affixed on the EnerLog outer package and on the EnerLog case. The check code (CC) is a 5-digit EnerLog installation environment and communication requirements for other devices: code consisting of letters and numbers affixed on the EnerLog outer package and on (1) Indoor installation, temperature environment -25℃~55℃, avoid humidity and... -
Page 7: Connect To Device
EnerLog 485 port, and the 485-B on the RS485 port corresponds to Corresponding to B1, B2 or B3 on the EnerLog 485 port. The following is a schematic diagram of the (3) Environmental detectors, combiner boxes and other equipment must be manufacturers designated by ATESS, otherwise monitoring cannot be achieved. -
Page 8: Ip Access Method
EnerLog Internal Page parameter setting 4.1.2 Static IP login When EnerLog uses a static IP to access the Internet, you need to use a static IP to log Precautions for configuration page operation: in to the internal page. (1) If the interface is not refreshed for a long time after clicking save when adding a device, please power off the collector and restart it. -
Page 9: Datalogger Status View
4.4 Add or delete device Before EnerLog monitors the device, you need to enter the internal page "Add Device" to add the device. 4.4.1 Add device (1) Select the type of device in the first drop-down list of "Add or Remove Device", for example, select: ATESS Inverter. - Page 10 The default baud rate of the 485 channel is 9600, and the default baud rate of the equipment produced by ATESS is 9600. If not necessary, please do not modify it. (5) After saving successfully, enter the "Device Status" page to confirm whether the device is added successfully.
-
Page 11: Network Communication
(2) The DHCP function is enabled by default in the factory, and the IP address is automatically obtained from the router. (3) If you need to set EnerLog to a static IP during use, you need to make the following settings: 1 Modify the enable to 0, turn off the DHCP function, and modify it to a static IP. - Page 12 (2) When there are multiple power stations under this account, in order to avoid confusion, you need to create a new power plant before adding EnerLog. (3) Click "Add Power Plant" at the top right of the main page, and follow the prompts to...
- Page 13 5.3 Add EnerLog to the server 5.4 View monitoring data (1) After successfully adding EnerLog, return to the main page to view the monitoring information. (1) After entering the main page of the server, click "Add Collector" in the upper right corner and follow the prompts to add EnerLog.
- Page 14 1. If you press the "Reset" button for 4 seconds, EnerLog will restart. 2. EnerLog is a product for indoor use, do not place it in humid environments or in 2. If you press the "Reset" button for 10 seconds, EnerLog will clear all internal direct sunlight.
- Page 15 Maximum 500 meters (use shielded wire, RS485 communication distance shielding layer grounded) Contact us SHENZHEN ATESS POWER TECHNOLOGY CO.,LTD 1st Floor of Building 3 at Sector B and 3rd Floor of Building 9, Henglong Industrial Park, Shuitian, Baoan District, Shenzhen www.atesspower.com...
Need help?
Do you have a question about the EnerLog and is the answer not in the manual?
Questions and answers