Advertisement
220 volt. MAKE SURE YOU HAVE THE RIGHT VOLTAGE T-POD FOR YOUR PUMP.
HEAT SIPHON's PLAYER CONTROL BOARD, your T-POD Accessory Kit minimizes
your pump operating cost by providing a one-event-per-day pump timer with off cycle heat-
ing (PumpJump™) to maintain your pool at temperature 24 hours/day - 7 days/week.
T-POD is designed to let you control your pool or spa pump's daily start-up and run times in 6 minute in-
crements from OFF to 24 hrs ON. You set the "On In" - "X.X HRS" and the "For" X.X" hours using the Player
"UP" and "DOWN" Keys on your Heat Siphon. (X.X represents the hour numbers you set such as 10.2 or 4.5
etc.)
In addition, the T-POD enables the "PumpJump™" feature built into your Heat Siphon Player Control to
ensure that your pool temperature will be maintained even when you scheduled your pump to be off. It does
this by turning your pool pump on every 30 minutes and briefly running it long enough to clear the plumbing
lines and check the temperature. If the water is still warm, the pump is shut off. If the pool water is more than
1.5° F below set-point, the pool pump will continue to run and your Heat Siphon will turn on and run until the
POOL
pool reaches temperature. Then both Heat Siphon and pump will shut off. To enable PumpJump™ just PRESS
BOTH KEYS once and the blue LED will light indicating it is in PumpJump™. Repeat keypress to disable it.
Installing your T-POD Timer kit is EASY however we recommend that you contract a licensed Electrician
for the electric power wiring. Here are the five basic steps:
A
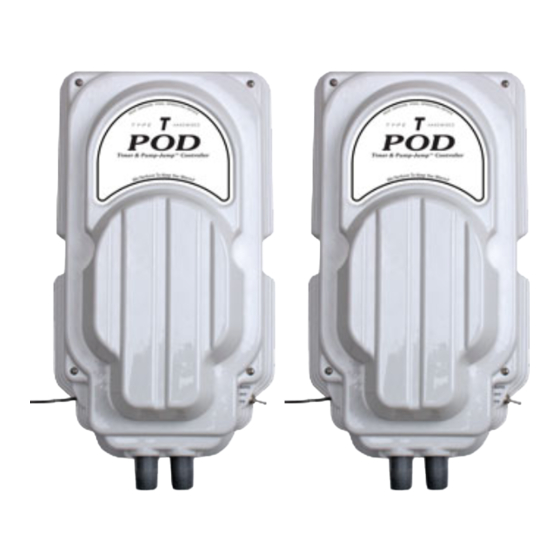
Mount your T-POD on a wall next to your pool pump power wires and within 8-10
feet of Heat Siphon Player Control so the supplied cable will reach it.
B
Cut into the pool pump power supply wiring and connect your T-POD between the
breaker and your pump. Your T-POD has 4 screw-down terminals and two 1/2" con-
duit nipples to make wiring easy.
C
Run the attached 24 volt control wire to Your Heat Siphon and screw down the pre-
stripped leads into the POD terminals on your Player Board.
D
Install your Easy-Clock plug-in board into the D-sub connector on the back of your
Heat Siphon's Player Board.
E
Program your Pump on time and run time using your Player Up and Down keys.
Installing Your T-POD Timer Kit
Hard-wired Pump Timer/ PumpJump™ on Your D/DX Series Digital HEAT SIPHON®
NOTE: There are two T-POD versions depending on your pump voltage - 110volt and
Using software and hardware ALREADY BUILT INTO your DIGITAL D or DX series
24 VOLT
POOL PUMP
MAIN
POWER
BREAKER
BOX
220 volt
Advertisement
Table of Contents

Summary of Contents for Heat Siphon T-POD
- Page 1 (PumpJump™) to maintain your pool at temperature 24 hours/day - 7 days/week. T-POD is designed to let you control your pool or spa pump’s daily start-up and run times in 6 minute in- crements from OFF to 24 hrs ON. You set the “On In” - “X.X HRS” and the “For” X.X” hours using the Player “UP”...
- Page 2 Chose a wall mounting location between your breaker box and pool pump and within 8-10 feet of your Heat Siphon if possible (the 24 volt control wire can be extended as necessary). You will need free wall space approximately 12 inches wide by 24 inches high to mount the T-POD and it should be directly over or in line with the power wires going from your pool pump to your AC power supply.
- Page 3 Installing Your T-POD Timer Kit Hard-wired Pump Timer/ PumpJump™ on Your D/DX Series Digital HEAT SIPHON® Remove the Heat Siphon fan grille by removing the three stainless steel 3/8”-18 acorn nuts and lifting the grille off the studs. This allows access to the back inside of the Player pocket from above.
- Page 4 Replace the door screws and turn power on to your pump and check for proper operation of the T-POD without the Heat Siphon running. When you place the the toggle switch in each of the three positions, it should read as follows: •...
Need help?
Do you have a question about the T-POD and is the answer not in the manual?
Questions and answers