Table of Contents
Advertisement
Quick Links
INSTALLATION MANUAL
R-GWR SENSORS
Industrial sensor and home automation sensor with
digital/analogue input and anti-flooding sensor
EN
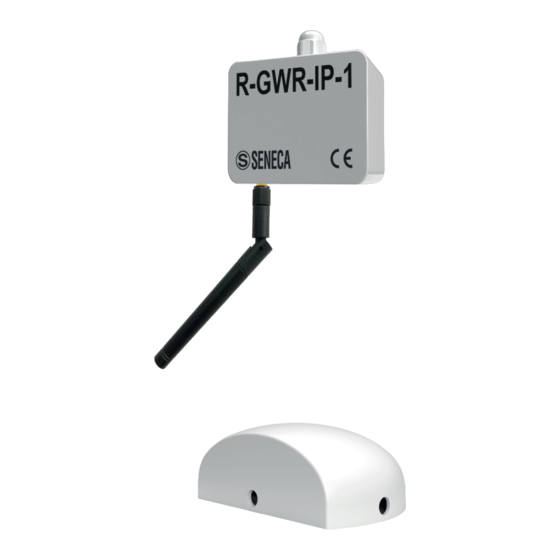
R-GWR-IP-1
DOCUMENTATION
R-GWR-S-1
SENECA s.r.l.
Via Austria, 26 – 35127 – PADOVA – ITALY
Tel. +39.049.8705355 - 8705359 - Fax +39.049.8706287
For manuals in other languages and the configuration software,
visit www.seneca.it/products/r-gwr
MI00549-2-EN
1/8
Advertisement
Table of Contents

Related Manuals for Seneca R-GWR-IP-1


Summary of Contents for Seneca R-GWR-IP-1
- Page 1 INSTALLATION MANUAL R-GWR SENSORS Industrial sensor and home automation sensor with digital/analogue input and anti-flooding sensor R-GWR-IP-1 DOCUMENTATION R-GWR-S-1 SENECA s.r.l. Via Austria, 26 – 35127 – PADOVA – ITALY Tel. +39.049.8705355 - 8705359 - Fax +39.049.8706287 For manuals in other languages and the configuration software, visit www.seneca.it/products/r-gwr...
-
Page 2: Module Layout
MODULE LAYOUT 50 mm 70 mm 25 mm Dimensions (LxHxD) 70 x 50 x 25 Weight 45 g Case Self-extinguishing UL94-V0 PC / ABS material 65 mm 80 mm 45 mm Dimensions (LxHxD) Weight 150 g Case 80 x 65 x 45 Self-extinguishing UL94-V0 PC / ABS material LED MEANING STATUS... -
Page 3: Technical Specifications
EN 60950 ETSI 300 220-2 v3.2.1 3 V lithium battery type: CR2: R-GWR-S-1 home automation sensor CR123A: R-GWR-IP-1 industrial sensor POWER SUPPLY To check battery life, see user manual. Screw terminals, 2-way removable screw terminals, 3.5 mm pitch (*) CONNECTIONS Anti-flooding probe connector (R-GWR-S-1 home automation sensor) (*) With 1.5 mm... -
Page 4: Pairing Procedure
Reposition the printed circuit and fix it with the previously removed screw; Replace the cover and tighten the screws firmly all the way. R-GWR-IP-1 industrial sensor: Use a Phillips screwdriver and remove the screws (reference 1 and 2 shown on page 5);... -
Page 5: Battery Replacement
Use a Phillips screwdriver and remove the screws (reference 1 and 2). Open the top cover, remove the battery and insert a new battery (CR123A type for the R-GWR-IP-1 sensor and CR2 type for the R-GWR-S-1 sensor) with the correct polarity (see following image). -
Page 6: Sensor Operation
SENSOR OPERATION HOME AUTOMATION SENSOR KEY: 1) Housing for the battery 2) Button used to pair the sensor and force communication with the R-GWR control unit 3) Analogue / digital input connection terminal 4) Clamp used to connect the anti-flooding probe 5) Input dedicated to monitoring the opening of doors and/or windows. - Page 7 ANTI-FLOOD PROBE ACCESSORY (ONLY FOR R-GWR-S-1 HOME AUTOMATION SENSOR) Using this accessory, which can be ordered at www.seneca.it/prodotti/r-gwr in the accessories section, it is possible to monitor the presence of water in the rooms where it is placed. For correct operation, place the probe at floor level with the metal sensors facing downwards.
-
Page 8: Troubleshooting
Product information sales@seneca.it This document is the property of SENECA srl. Copies and reproduction are prohibited unless authorised. The content of this document corresponds to the described products and technologies. Stated data may be modified or supplemented for technical and/or sales purposes.
Need help?
Do you have a question about the R-GWR-IP-1 and is the answer not in the manual?
Questions and answers