Advertisement
Quick Links
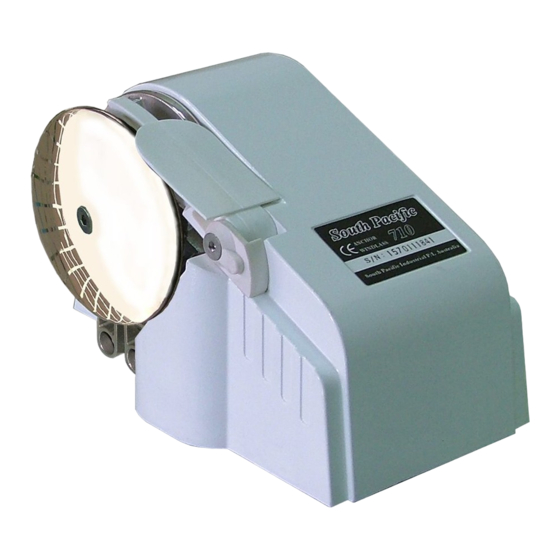
Owners Installation, Operation Manual
Please read this user manual carefully before using the product
Model: PRO 710H Power out with nylon gypsy
PRO 710Hs Power out with sus gypsy
PRO 710F
Free fall with nylon gypsy
PRO 710Fs Free fall with sus gypsy
04/2013
South Pacific Industrial Pty Ltd. Australia
TEL: +61 (0)2 9659 2889 FAX: +61 (0)2 9634 5368
e-mail:info@southpacific.com.au
www.southpacific.com.au
0
Advertisement

Summary of Contents for South Pacific Industrial PRO 710H
- Page 1 Owners Installation, Operation Manual Please read this user manual carefully before using the product Model: PRO 710H Power out with nylon gypsy PRO 710Hs Power out with sus gypsy PRO 710F Free fall with nylon gypsy PRO 710Fs Free fall with sus gypsy 04/2013 South Pacific Industrial Pty Ltd.
-
Page 2: Table Of Contents
CONTENTS FEATURES PACKAGE CONTENTS III SPECIFICATIONS IV INSTALLATION OPERATION MAINTENANCE VII WARRANTY VIII IMPORTANT INFORMATION PARTS LIST... -
Page 3: Package Contents
I FEATURES Gypsy can take both chain and rope. Build-in torque limiter for extra protection Heavy duty DC motor with long life and high output torque Selectable free fall or power out mode (for free fall model) ... -
Page 4: Specifications
Motor Efficiency Gear Type / Efficiency Worm Gear/55%~88% 6mm, 7mm, 1/4” Chain Size 12mm, 1/2” Rope Size 230x120x135 mm Dimension 9”x4.75”x5.3” Weight 4.0kg(8.8lb) / 4.3kg(9.5lb) South Pacific Industrial Pty Ltd. reserve the right to alter or change specifications without notice... - Page 5 It is very important to choose the correct type of rope and chain, to ensure proper running of the windlasses. Rope- Best use three strand, medium-lay. We recommend Filament Polyester, Premium Nylon or Silver rope(Australia). Do not use soft rope. Soft rope (either polyester or nylon ) will slip and cause a rope jam in the gypsy.
-
Page 6: Installation
IV INSTALLATION 1. TOOLS REQUIRED a. Electric Drill b. Adjustable spanner c. Jig saw d. File e. Philips head screwdriver f. Silicon glue 2. PLANE a. First of all, a suitable Bow Roller must be installed to support the anchor, chain and rope. A bollard or snubbing device should be installed between the bow roller and the windlass as the rope should be tied on the bollard while laying anchor or securing the anchor in the fully... - Page 7 c. Make sure the anchor well or the chain locker is deep enough to store chain and rope. The minimum depth is 40cm(1 to store about 30 metre(100ft) of rope. If the anchor well is not deep enough the rope will build up very quickly and block the entry.
- Page 8 Note: While anchored, always tie the rope to the bollard. Do not allow the windlass or the hatch to take the strength from the anchor rope. 3. CONSTRUCTION a. Place the windlass on the deck and find a suitable position for it, with reference to the vessel’s bow roller, rope and chain locker below.
- Page 9 f. Mount control device at a suitable position either in the cabin or close to the operating area. g. Connect the windlass, control unit and power source using electric cable indicated below. Keep the power supply cable as short as possible. Too thin and/or too much length of electric cable will reduce the performance of the windlass or cause the circuit breaker to work incorrectly h.
- Page 10 SW-200 with dynamic brake, can not be parallel. 2, Indirect control system(option): Using foot switches or hand held switch for multiple control, a solenoid(DC contactor) K-200 is necessary. If you have an existing control unit (SW-032 or SW-200), you must remove it before installing this indirect control system. Also, do not attach control unit (SW-032 or SW-200) to K-200 as an up/down switch (SW-025).
- Page 11 4. TO INSTALL ANCHOR ROPE AND CHAIN To splice the rope to the chain, please follow the steps below. Do not use a hook or shackle. STEP 1: Unraveling the end of the rope for about 20cm and secure the end of the strands with tape.
- Page 12 STEP 2: Pass three strands through the last link of the anchor chain. Untwist the rope to raise a strand just below the tie on the standing part of the rope and insert one strand under it, then pull the strand through.
- Page 13 STEP 7: After you’ve spliced the rope to the chain, tie both ends of the splice rope to prevent the rope from loosening. V OPERATING 1. During operating, if the circuit breaker bounces it means the motor is overloaded. After about 10 seconds press the button to reset.
- Page 14 3. Keep limbs, fingers, clothing and hair clear of the windlass and anchor to avoid possible personal injury during operation. 4. Tie the anchor rope firmly to the bollard when the anchor is cast and the boat is moored. Do not allow the windlass to take the force of a boat’s drag.
-
Page 15: Maintenance
Note: The windlass is designed to lift the anchor rather than to drag the boat or for mooring. 6. If the anchor is stuck on the seabed or reef, detach it by the boat’s engine power before operating the windlass or else it may cause damage or the load may overstrain the windlass. -
Page 16: Warranty
3. Periodically check the electric joiner and the silicon sealant. VII WARRANTY 1. The warranty is deemed as effective only under conditions of normal operation, maintenance and without modification of the product. 2. CLAIMS If the product needs servicing, please send it back (or bring it to us) with the proof of purchase and we will investigate the product free of charge before repairing. -
Page 17: Parts List
IX PARTS LIST... - Page 20 Thank you for choosing South Pacific products Purchase Date: Model: Supplier Name: Address: Phone: Fax:...
Need help?
Do you have a question about the PRO 710H and is the answer not in the manual?
Questions and answers