3Com NBX V3000 Instruction Sheet
Hide thumbs
Also See for NBX V3000:
- Release note (4 pages) ,
- Upgrade information (2 pages) ,
- Quick reference manual (2 pages)
Advertisement
This instruction sheet explains how to replace a disk drive on an NBX V3000 Networked Telephony Solution.
CAUTION: Always wear a properly grounded anti-static strap when you remove the cover from the NBX V3000
system.
To replace an NBX V3000 disk drive:
1
If you are able to access the NBX NetSet™ utility, perform a data backup and a license backup. Use the
administrator login to open the NBX NetSet utility, and then click Operations > Manage Data.
Be sure to backup both data and licenses. These are separate procedures. Also make sure you have
available the .taz file for the version of NBX system software you are running.
2
If the system is running, shut down the NBX V3000 system software:
a
Use the administrator login to open the NBX NetSet utility, and then click
Operations > Reboot/Shutdown.
b
Click Shutdown, and then wait a moment for the message that verifies that it is safe to turn the power off.
CAUTION: You must shut down the system software before you remove power from the
NBX V3000 system to avoid file corruption problems.
3
Turn off the power switch on the back of the NBX V3000, and then disconnect the power cord.
4
If necessary, remove the NBX V3000 from the rack, and then remove the two rack mounting brackets
from the NBX V3000.
5
Remove the nine screws (three from each side and three from the back) that secure the top cover of the
NBX V3000.
6
Slide the cover slightly to the rear of the unit, and
then lift the cover off.
7
Remove the disk drive assembly from your
NBX V3000. See Figure 1.
a
Remove the ribbon connector 1, and discard
it. The replacement disk drive kit includes a
new ribbon connector.
b
Remove the power connector 2, and the
jumper cable connector 3, from the disk drive
assembly. Take note of how each connector is
keyed to its connection.
c
Remove the two screws 4, that hold the disk
drive assembly to the chassis.
d
Lift the disk drive assembly from the four
brass corner clips that hold it to the chassis.
You must pull up firmly until the disk drive
assembly pops free from the corner clips.
8
Remove the four screws that hold the circuit
board to the old disk drive. See Figure 2.
The disk drive circuit board hosts firmware that validates your system licenses. Your disk drive circuit
board must remain with your chassis.
R
EPLACING THE
D
D
ISK
RIVE
3C10118A — NBX V3000 Disk Drive Replacement
®
3C
NBX
OM
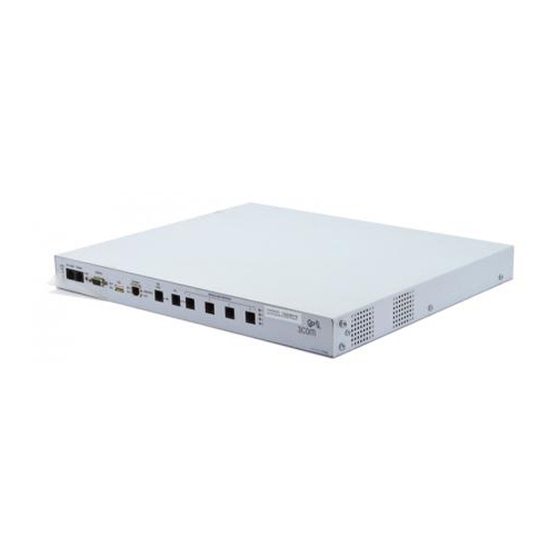
Figure 1 NBX V3000 Internal Components
1
2
3
®
V3000
4
5
6
Advertisement
Table of Contents

Related Manuals for 3Com NBX V3000


Summary of Contents for 3Com NBX V3000
- Page 1 NBX V3000 system to avoid file corruption problems. Turn off the power switch on the back of the NBX V3000, and then disconnect the power cord. If necessary, remove the NBX V3000 from the rack, and then remove the two rack mounting brackets from the NBX V3000.
- Page 2 NBX NetSet utility (Operations > Reboot/Shutdown). Copyright © 2004, 3Com Corporation. All rights reserved. 3Com, the 3Com logo, NBX, and SuperStack are registered trademarks and NBX NetSet and VCX are trademarks of 3Com Corporation. Part Number: 900-0216-01 Rev AA Published: October 2004...
Need help?
Do you have a question about the NBX V3000 and is the answer not in the manual?
Questions and answers