osprey video TALON 4K-SC Quick Start Manual
Encoder h.265/h.264
Hide thumbs
Also See for TALON 4K-SC:
- Quick start manual (6 pages) ,
- Installation and operation manual (36 pages) ,
- Installation and operation manual (36 pages)
Advertisement
QUICK START GUIDE
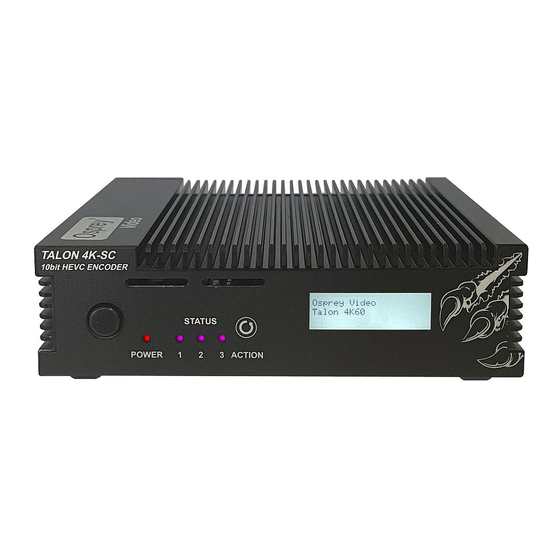
TALON Encoder
Models: 4K-SC | UHD-SC
H.265 | H.264
© 2021 Osprey Video. All rights reserved.
Osprey® is the registered trademark of Osprey Video. Microsoft®, Any other product names, trademarks, trade names, service
marks, or service names owned or registered by any other company and mentioned herein are the property of their respective
companies.
No part of this specification may be reproduced, transcribed, transmitted or stored in a retrieval system in any part or by any means
without the express written consent of Osprey Video.
Osprey Video reserves the right to change any products herein at any time and without notice. Osprey Video makes no
representations or warranties regarding the content of this document,
and assumes no responsibility for any errors contained herein.
Advertisement
Table of Contents

Related Manuals for osprey video TALON 4K-SC


Summary of Contents for osprey video TALON 4K-SC
- Page 1 No part of this specification may be reproduced, transcribed, transmitted or stored in a retrieval system in any part or by any means without the express written consent of Osprey Video. Osprey Video reserves the right to change any products herein at any time and without notice. Osprey Video makes no representations or warranties regarding the content of this document,...
- Page 2 Configure the Osprey Encoder • Open the Osprey BOSS PRO application • Select the correct encoder by clicking (*) Note: If the Encoder’s IP address is known you can enter it direct into your browser • When the SETTINGS window opens click “Open Web Interface”...
- Page 3 Configure the Osprey Encoder • Web GUI opens to the Encoder DASHBOARD • Select “Output Channel 1” • Encoder configuration settings...
- Page 4 Configure the Osprey Encoder Select the delivery protocol first. The video and audio options will change depending on what output method is selected. Select the video encoding settings. Note that the default settings are generic. Your needs may be different. It is especially important to select a bitrate that can be supported by your network.
- Page 5 Configure the Osprey Encoder The encoder supports up to eight stereo pairs of audio. Some protocols (rtmp) only support a single pair. Enable audio and set the codec and bitrates from this panel. To begin encoding, select “Start” from the action menu.
Need help?
Do you have a question about the TALON 4K-SC and is the answer not in the manual?
Questions and answers