
Related Manuals for Bissell PERFECT SWEEP TURBO 29L6 Series


Summary of Contents for Bissell PERFECT SWEEP TURBO 29L6 Series
- Page 1 ™ USER'S GUIDE 29L6 SERIES 220-240 V Thank You Safety Instructions Product View Assembly Operations Maintenance and Care Troubleshooting Replacement Parts Warranty...
- Page 2 Consumer Services department, so, should you ever have a problem, you’ll receive fast, considerate assistance. My great-grandfather invented the floor sweeper in 1876. Today, BISSELL is a global leader in the design, manufacture, and service of high quality homecare products like your Perfect Sweep Turbo.
-
Page 3: Important Safety Instructions
User’s Guide Use only manufacturer’s recommended ■ attachments - use of attachments not provided or sold by BISSELL may cause fire, electric shock or injury. Use only the charger supplied by ■ BISSELL (packaged with your appliance) to recharge your Perfect Sweep Turbo. -
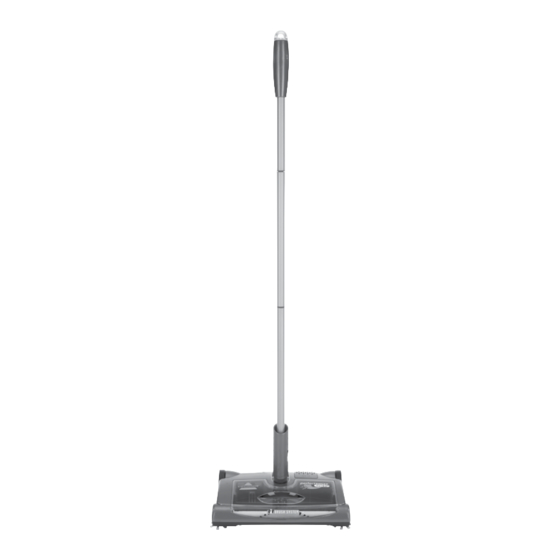
Page 4: Product View
roduct view Charging Indicator Light Charging Port Handle Clip Rotating Brush ssembly the perfect sweep tuRbo requires very little assembly. Remove it from the box and check it against the illustration to familiarize yourself with the components listed. the exploded view drawing with part names will also be helpful if you should need to order a part at a later time. -
Page 5: Using Perfect Sweep Turbo
. b i s s e l l . c o m attention: If your battery still fails to recharge or does not hold a charge of normal duration, call: bissell consumer services Listed on page 8 Or visit our website at www.bissell.com WaRning:... -
Page 6: Battery Removal
aintenance and care using your perfect sweep tuRbo Make sure that the Perfect Sweep TURBO is in the “OFF” position. With the sweeper facing toward you, lift the dirt cup out. Carry the dirt cup to a waste container and empty. Replace the dirt cup by gently pressing it into the foot of the sweeper. -
Page 7: Troubleshooting
Dirt cup is not secure in the unit other maintenance or service not included in the manual should be performed by an authorized service representative. thank you for selecting a bissell product. please do not return this product to the store. eplacement parts - BISSELL vacuum Item Part No. -
Page 8: Limited Warranty
User's Guide is not covered. bissell consumer service: If your BISSELL product should require service of if you need information about repairs, authorized service centers in your area, replacement parts or your warranty, please contact BISSELL Consumer Services, as indicated below, or contact your local in country distributor.
Need help?
Do you have a question about the PERFECT SWEEP TURBO 29L6 Series and is the answer not in the manual?
Questions and answers