Table of Contents
Advertisement
Quick Links
Electrical:
240V
Working Area
3 Shelves each
● 350mm Deep
● 350mm Wide
● 150mm High
Power
Requirements
240 Volts
1 Phase
3.5 Kilowatt
FURNACE & ASSAY
——
Electric Ashing Furnace
Operation & Maintenance Manual
E-mail: info@fandasupplies.com
Website: fandasupplies.com/
ABN: 68 606 541 468
—––
S U P P L I E S
Tel: +61 8 9399 9299
Email: info@fandasupplies.com
1
Advertisement
Table of Contents

Related Manuals for FURNACE & ASSAY FAS-130EAF


Summary of Contents for FURNACE & ASSAY FAS-130EAF
- Page 1 Electrical: 240V FURNACE & ASSAY —— —–– Working Area S U P P L I E S Electric Ashing Furnace 3 Shelves each Operation & Maintenance Manual ● 350mm Deep ● 350mm Wide ● 150mm High Power Requirements 240 Volts ...
-
Page 2: Manual Index
Manual Index System Overview Spare Parts List Installation Procedure Installing Elements 9-11 Furnace Start-up Electrical Schematic Troubleshooting 14-15 Maintenance Contact Details ABN: 68 606 541 468 Email: info@fandasupplies.com... -
Page 3: System Overview
System Overview System Overview: The Ashing furnace has an easy to use on/off toggle switch. It is heated by 2 elements mounted in the side walls. Temperature is monitored and modulated automatically by a Type K thermocouple system and Omron temperature controller, pre-set for a maximum temperature of 1000 degrees Celsius. -
Page 4: Recommended Spare Parts
Parts List for FAS-130EAF Electric Ashing Furnace, Single Phase 3.5kw Recommended 12 Months Consumables FAS Part# FAS Description FAS-406 Thermocouple Cupellation 230mm plus 75mm bend Thermocouple Inner Sheath 250x10mm FAS-407 Thermocouple Outer Sheath 250x15mm FAS-408 Ceramic Anchor, (Complete) 3" FAS-603... -
Page 5: Installation Procedure
Installation Procedure *Unpack furnace from crate and store in dry area. The furnace usually has timber supports installed inside for transport. Remove before operation. *Furnace requires a min of .5 metre space around it to carry out main- tenance / repairs. *Install fuel supply. - Page 6 REPLACING ASHING ELEMENTS When to change an Ashing Furnace element. If a break in an element is visible, one side of an element is not heating up (glowing) or the furnace is not getting to temperature, chances are an element will need changing.
- Page 7 REPLACING ASHING ELEMENTS How to change an Ashing Furnace element. First Isolate Power Supply To remove back panel, firstly unscrew the bolt holding vent tube in place. Then unscrew the four mounting bolts on the back panel. Once removed locate where the old elements are connected to.
- Page 8 REPLACING ASHING ELEMENTS Carefully remove old elements. Slowly pull out of grooves, making sure not to damage the brick work as you go. One element may come out in several pieces. Take note of how they come out. This will help you to understand how to install the new elements into the grooves in the furnace.
- Page 9 REPLACING ASHING ELEMENTS Carefully place elements into grooves trying not to force the elements in too much, as this may break the bricks. ABN: 68 606 541 468 Email: info@fandasupplies.com...
- Page 10 REPLACING ASHING ELEMENTS Once both sides of elements are in place and sitting in grooves, move to the back of the furnace. If you are having issues with getting the elements to sit in the grooves, you can pin elements back. If you do not have any element pins then elements may fall into place when elements are Annealing in the first hour of start up.
- Page 11 REPLACING ASHING ELEMENTS Once Silicon has dried, using two sets of pliers bend tails towards the centre of the furnace. You will need to bend to just over 90 Deg. Measure 50mm from centre of bend and cut excess tail off. NOTE: if you unwind the excess wire from the tails into two single bits of wire, you can use this to make ele-...
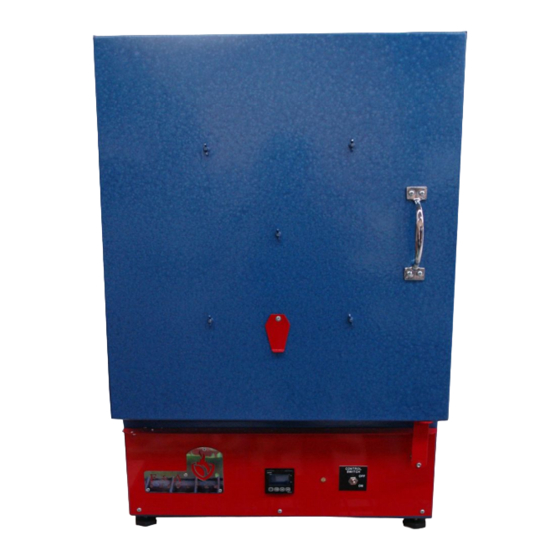
- Page 12 STARTING UP FURNACE Front Panel Toggle Micro Switch Switch Temperature Controller 1. Connect Power 2. Turn Furnace on at toggle Switch 3. Once door is closed, the furnace will start. If the door is open the power to the furnace is cut by the Micro Door Switch.
-
Page 13: Electrical Schematic
Electrical Schematic 240 single phase power L1 L2 L3 Contactor T1 T2 T3 Relay 3.5 kw Wire wound Elements ALARM CONTACTOR ABB A30-30-11 - 240v ELECTRICAL SCHEMATIC S S Relay G3PB MAIN CONTACTOR TEMPERATURE CONTROL Omron E5CC-RX2ASM-800 DOOR SWITCH OMRON D4D-1121N HEATING ELEMENTS 13g Wire wound TYPE K 280 + 75MM... -
Page 14: Troubleshooting
Troubleshooting FAULT: Furnace Not Turning on. Make sure the furnace is connected to power. Make sure the furnace door is closed, as it has a safety door switch to cut power when the door is open. FAULT: The Error shown below in the picture is coming up on the temperature controller. This is a thermocouple circuit error. - Page 15 Troubleshooting FAULT: The furnace door is not closing properly or is not sealing. Over time the Kaowool in the door may become compacted slightly. This may stop the door from sealing properly when closed due to the micro door switch that is installed. If this happens you can simply screw the connection bolt in more to allow the door to seal correctly.
-
Page 16: Maintenance
Maintenance Do not place anything closer than 0.5 of a metre to the furnace as this may damage the item or cause damage to the furnace. It is important to keep the bench clean and clear around the furnace. Once every few months or when the furnace is shut down and cool, vacuum out the furnace and the element grooves. -
Page 17: Contact Details
Contact Details FURNACE & ASSAY —— —–– S U P P L I E S 54 Owen Road, Kelmscott, 6111 Western Australia, Australia Phone +61 8 9399 9299 +61 8 9399 9288 Email Info@fandasupplies.com www.fandasupplies.com ABN: 68 606 541 468 Email: info@fandasupplies.com...
Need help?
Do you have a question about the FAS-130EAF and is the answer not in the manual?
Questions and answers