Table of Contents
Advertisement
Advertisement
Table of Contents

Related Manuals for Haden HCH60X

Summary of Contents for Haden HCH60X
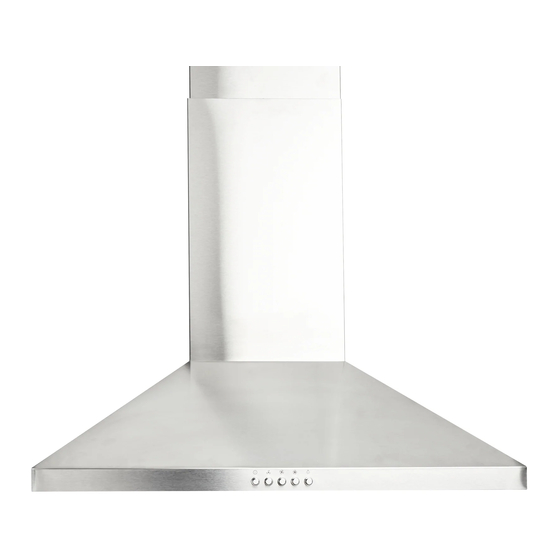
- Page 1 INSTRUCTION MANUAL HCH60X 60cm Visor Hood...
-
Page 2: Safety Information
Safety Information "KEEP THIS MANUAL IN A CONVENIENT PLACE SO YOU CAN REFER TO IT FOR SAFE AN PROPER USE OF THE APPLIANCE" INSTALLATION The manufacturer will not be held liable for any damages resulting from incorrect or improper installation. ... -
Page 3: Technical Spec
Technical Spec • Model No: HCH60X • Rating voltage: 220 – 240V ~ 50Hz • Rated power input: 71W • Light power: 3W x 2 • Motor power: • Air Flow: 300m3/h • Noise: 65dB • Protection: Class I Ref. - Page 4 DIMENSIONS unit:mm Min. Min. 650mm 650mm Option Chimney 400+0 400+300 569 610-850 400+390 569 610-940...
-
Page 5: Installation
INSTALLATION WALL DRILLING AND BRACKET FIXING Option Chimney 400+0 400+300 410-650 400+390 410-740 Vertical reference line As a first step, proceed with the following drawings: A vertical line up to the ceiling or up to the upper limit, at the center of the area in which the hood is to be fitted. -
Page 6: Ducted Version Air Exhaust System
Fix the brackets (Optional): Drill holes at the marked points with a ɸ10 mm drill bit. Insert the Wall Plugs 11 into the holes. Screw 2 screws 10 (5 x 50) to Wall Plugs 11 at the horizontal line A; the four fifth length of the screws 10 (5 x 50) was screwed into the Wall Plugs 11. -
Page 7: Chimney Assembly
CHIMNEY ASSEMBLY The chimney can only be installed with exhausting hood. Lower Decorative Chimney Fix the Lower Decorative Chimney to the hood body with 2 screws 12 (4.2 x 9.5) supplied with the hood. Upper Decorative Chimney Fix the upper chimney onto the bracket 21 with 2 screws 12 (4.2 x 9.5) supplied with the hood. ... -
Page 8: Maintenance
MAINTENANCE GREASE FILTERS CLEANING METAL SELF-SUPPORTING GREASE FILTERS The filters must be cleaned every 2 months of operation, or more frequently for particularly heavy usage, and can be washed in a dishwasher. Remove the filters one by one pushing them towards the back side of the hood unit and simultaneously pulling downwards. -
Page 9: Light Replacement
LIGHTING LIGHT REPLACEMENT Replacing the light modules ou cannot replaced the light bulbs, the entire light module has to be replaced. When changing the light modules, the contacts are live. Before changing the light module(s), unplug the appliance from the mains or switch off the circuit ... -
Page 10: Troubleshooting
TROUBLESHOOTING Fault Cause Solution The blades are blocked. Check the blades. The capacitor is damaged. Replace capacitor. Light on, but The motor is damaged. Replace motor. motor does not The internal wiring of motor is cut off/ work Replace motor. disconnected. -
Page 11: Electrical Safety Instructions
Electrical Safety Instructions IMPORTANT – This is a Class I Electrical Product. It requires an Earth connection. Mains plug wiring The power supply cable connected to this product has three wires with insulation colours: brown, blue and green/yellow. They must be connected to the mains plug according to the diagram, right. - Page 12 www.hadenappliances.com...
Need help?
Do you have a question about the HCH60X and is the answer not in the manual?
Questions and answers