Alphasmart 3000 Assembly Instructions
Hide thumbs
Also See for 3000:
- User manual (95 pages) ,
- Quick start manual (13 pages) ,
- Quick manual (3 pages)
Advertisement
Quick Links
A PCB
A 10-pin connector
A 10-pin flex cable
A 16-pin connector
An AlphaSmart 3000
81x Switches, MX-, Alps-, or Choc
A small Phillips-head screwdriver
Keycaps of these sizes: 72x 1U; 4x 1.25U; 2x 1.5U; 1x 1.75U; 2x 2.25U
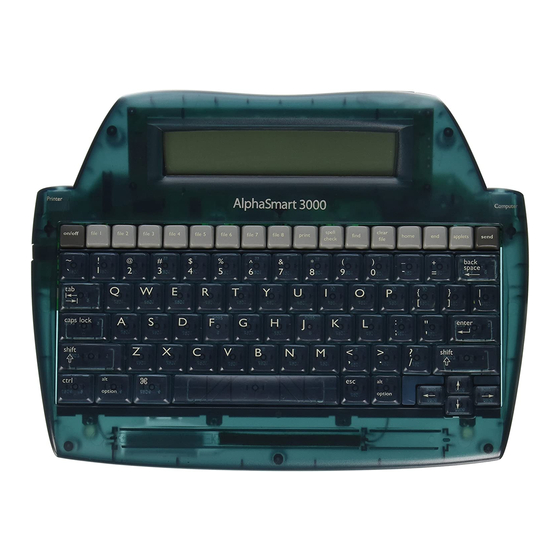
Fig. 1
A 16-pin flex cable
A SPST DIP switch
4x Stabilizer sliders
A soldering iron
Solder, preferably narrow gauge
4x Stabilizer housings
2x 2U stabilizer bars
Advertisement

Related Manuals for Alphasmart 3000


Summary of Contents for Alphasmart 3000
- Page 1 A SPST DIP switch 2x 2U stabilizer bars A 10-pin flex cable 4x Stabilizer sliders A 16-pin connector An AlphaSmart 3000 A soldering iron 81x Switches, MX-, Alps-, or Choc Solder, preferably narrow gauge A small Phillips-head screwdriver Keycaps of these sizes: 72x 1U; 4x 1.25U; 2x 1.5U; 1x 1.75U; 2x 2.25U...
- Page 2 If you want to have a lock switch that lets you lock the On/Off key so it doesn’t get pressed accidentally, solder the DIP switch in the rectangle between the spaces labelled On/Off and File 1 in the top left corner of the front of the PCB, the side with silkscreen printing.
- Page 3 Repeat all this for the other stabilizer. Remove any batteries in the AlphaSmart. Undo the 8 screws on the back of the AlphaSmart and carefully put them aside. Lift the front of the case and unplug the display cable from the main board.
- Page 4 Insert 3 AA batteries, make sure the lock switch is in the ON position if you installed one, and press the On/Off key. If all went well, you should have a functioning mechanical AlphaSmart 3000! Soldering is Easy , an excellent primer on soldering: https://mightyohm.com/blog/2011/04/soldering-is-easy-...
Need help?
Do you have a question about the 3000 and is the answer not in the manual?
Questions and answers