Table of Contents
Advertisement
Quick Links
Advertisement
Table of Contents

Related Manuals for System air SYSVRF2 FLOOR EB 22 Q

Summary of Contents for System air SYSVRF2 FLOOR EB 22 Q
- Page 1 SYSVRF2 FLOOR Floor VRF indoor unit INSTALLATION MANUAL...
-
Page 2: Table Of Contents
When installing the unit in a small room, take measures CONTENTS PAGE against to keep refrigerant concentration from exceeding allowable safety limits in the event of refrigerant leakage. Contact the place of purchase for more information. PRECAUTIONS..................1 Excessive refrigerant in a closed ambient can lead to oxygen INSTALLATION INFORMATION..............2 deficiency. -
Page 3: Installation Information
If refrigerant leakage occurs, ventilate the area Don't install the air conditioner in the following locations: immediately. Toxic gas may be produced if the refrigerant comes into There is petrolatum existing. contact with fire. There is salty air surrounding (near the coast). After completing installation, make sure that refrigerant There is caustic gas (the sulfide, for example) existing does not leak. -
Page 4: Attached Fittings
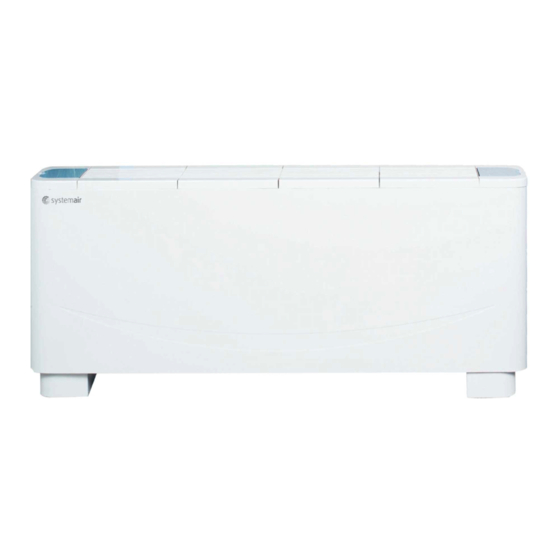
3. ATTACHED FITTINGS 4. INDOOR UNIT INSTALLATION 4.1 The units may be mounted vertically, Please check whether the following fittings are of full scope. provided that the correct clearances for If there are some spare fittings , please restore them carefully. positioning are maintained. - Page 5 ■ Version II Table.4-3 Vertical unit with casing,with air intake from below and air outlet Version on top, for installation on a wall or on feet on the floor. Version I Version II Version III a (mm) ≥ 1 5 0 ≥...
- Page 6 4.2 Version I Installation For installation,follow the instructions set out below: ■ Remove the external casing,unscrewing the screws which secure it to the structure,as following indicated. Fig.4-12 Connecting point of refrigerant pipe (Liquid side ΦA) Connecting point of refrigerant pipe (Gas side ΦB) Fig.4-10 Fig.4-13...
-
Page 7: Install The Connecting Pipe
■ 5. INSTALL THE CONNECTING PIPE Put the unit onto the feet, and fix it by screws. CAUTION Do not let air, dust, or other impurities fall in the pipe system during the time of installation. The connecting pipe should not be installed until the indoor and outdoor units have been fixed already. -
Page 8: Connect The Drain Pipe
Bend the pipe with thumb Bend Fig. 5-2 Fig. 6-2 Min-radius 100mm Fold Put as deep as possible (about 10cm) Make the ends straight Fig. 5-3 Downw ard declivity 2. Locate The Pipe VP30 lower t han 1/100 1) Drill a hole in the wall (suitable just for the size of the wall conduit, 90mm in general), then set on the fittings such as the wall Fig. - Page 9 7.5 Terminal Board Diagram 7.1 The specification of power Please refer to the indoor unit wiring diagram for the wiring. Table.7-1 2.2-8.0 TYPE (kW) Phase 1-PHASE Single phase indoor unit Power Frequency 220-240V~ 50Hz & volt 220-240V~ 50Hz/60Hz Display /fuse (A) board Manual switch 15/15...
- Page 10 7.8 Network address set CAUTION 1) Network address is set by communication of indoor and The system together have 64units(0-63),everyone has only outdoor unit; the address is the same as indoor address, system addresscode,If two addresses are the same in one there is no need to set separately.
-
Page 11: Error Code
9. TEST OPERATION 8. ERROR CODE Table 8-1 The test operation must be carried out after the entire installation has been completed. Error Code Error Content Please confirm the following points before the test operation: No address when first time power on The indoor unit and outdoor unit are installed properly. - Page 12 16126000002887 V4.0...
Need help?
Do you have a question about the SYSVRF2 FLOOR EB 22 Q and is the answer not in the manual?
Questions and answers