Table of Contents
Advertisement
Quick Links
www.costway.com
USER'S MANUAL
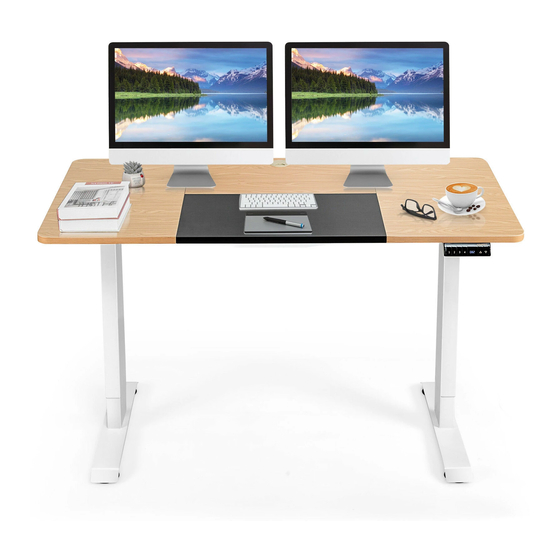
Electric Height Adjustable Standing Desk
HW67582
THIS INSTRUCTION BOOKLET CONTAINS IMPORTANT SAFETY INFORMATION. PLEASE READ AND KEEP FOR FUTURE REFERENCE.
Follow Costway
Please give us a chance to make it right and do better!
Visit us: www.costway.com
Contact our friendly customer service department for help first.
Replacements for missing or damaged parts will be shipped ASAP!
Advertisement
Table of Contents

Subscribe to Our Youtube Channel
Related Manuals for Costway HW67582


Summary of Contents for Costway HW67582
- Page 1 THIS INSTRUCTION BOOKLET CONTAINS IMPORTANT SAFETY INFORMATION. PLEASE READ AND KEEP FOR FUTURE REFERENCE. Follow Costway Please give us a chance to make it right and do better! Visit us: www.costway.com Contact our friendly customer service department for help first. Replacements for missing or damaged parts will be shipped ASAP!
-
Page 2: Before You Start
Contact Us! Do NOT return this item. Contact our friendly customer service department for help first. E-mail US: cs.us@costway.com UK: cs.uk@costway.com Before You Start Before You Start Please read all instructions carefully. Retain instructions for future reference. Separate and count all parts and hardware. -
Page 3: Important Safeguards
IMPORTANT SAFEGUARDS Read these instructions carefully and retain them for future use. When using the product, basic safety precautions should always be followed to reduce the risk of injury including the following: ● Unpack all hardware bags and components to ensure you have all the parts. - Page 4 Parts List Side bracket*2 Motor Rod*1 Desk top*4+wooden pin*12 Desktop connection block*2 Power supply holder*1 Desktop connection block*4 H *2 H *4 Handset + Power 5# wrench*1 supply + power cord 6# wrench*1 M6 screws M4 screws cross screwdriver*1...
-
Page 5: Assembly Steps
Assembly steps Step 1: 1.1 Connect the board and the board with wooden pins. Then connect to the tables with wooden pins. 1.2 Fasten connecting blocks H , and H , with M6 screws as shown in the figure. M6 screws use the supplied spanner 1.3 The hand controller is fastened to the table with... - Page 6 Step 3 Fixing lift column and lift column to the table leg with M10 screws using the supplied spanner Prohibited removal Step 4: 4.1 Assembling frame tightened with M6 screws using the supplied spanner 4.2 Then install the two side bracket with...
- Page 7 Step 5: 5.1 Lay the table board flat and put the table shelf on it. 5.2 Attach two M6 screws on the middle crossbar, but do not tighten the screws first. M6 screws use the supplied spanner 5.3 Stretch the table frame to both sides. Align the screw holes and lock them with M6 screws.
- Page 8 Step 6: 6.1 As shown in Figure 1, insert the hexagonal bar into the table leg B until the buckle is not visible. 6.2 Assemble the other end of the connecting rod to the table leg A and screw on the handle.
-
Page 9: Operational Instructions
Operational instructions 1. Lift Column Press the button or button to control the lift column up or down Press the button to control up of the lifting column, you can see the height (displayed number) on the screen; press the button to control the down of the lifting column, you can see the height (displayed number) on the screen. - Page 10 5. Protection and alarm 5.1) Block Protection: Display "E02" . During the movement, a vibrating, colliding or tilting desktop will sound an alarm and stop the movement immediately. After the automatic release, it will move in the reverse direction to set the distance, you can press any key to stop and release during the reverse operation.
- Page 11 Welcome to visit our website and purchase our quality products! With your inspiring rating, COSTWAY will be more consistent to offer you EASY SHOPPING EXPERIENCE, GOOD PRODUCTS and EFFICIENT SERVICE! US office: Fontana, California UK office: Ipswich Reward Points...
Need help?
Do you have a question about the HW67582 and is the answer not in the manual?
Questions and answers