Advertisement
Quick Links
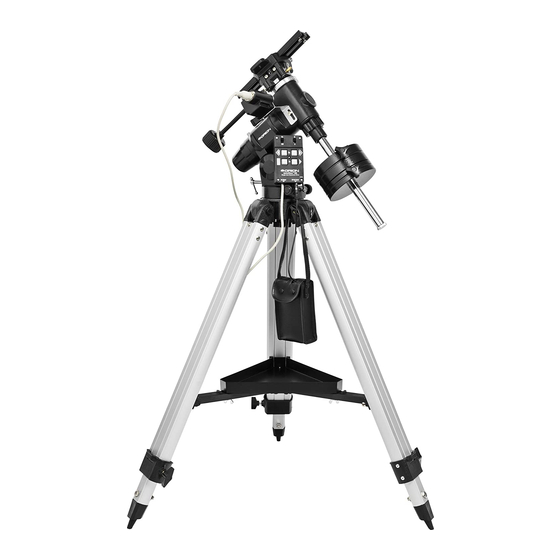
Orion EQ-3M Single-Axis DC Motor Drive System
#7829
Welcome to a new world of adventure. The Orion EQ-3M
Single-Axis DC Motor Drive System allows convenient hands-
free tracking of the night sky for telescopes that utilize the
Orion EQ-3 Equatorial Mount. The motor drive system also
features a push-button hand controller that can move the tele-
scope along the R.A. axis at speeds 2x and 8x the siderial
rate. This provides an easy way to center objects in the eye-
piece, and also allows for advanced astrophotography with
the EQ-3 mount.
1. Parts List
1 R.A. motor drive assembly
1 Hand controller
1 Battery pack
1 4mm Allen wrench
1 2mm Allen wrench
2. Installing the R.A. Motor Drive Assembly
1. When facing the front of the mount, the R.A. slow-motion
control cable should be mounted to the right end of the
R.A. worm gear shaft (Figure 1). If it is mounted on the left
end, remove it, and reinstall it on the right end of the shaft.
2. Using the provided 2mm Allen wrench, loosen the socket-
Left end of R.A.
worm gear
shaft
Figure 1: The R.A. slow motion control cable needs to be mounted
on the right end of the R.A. worm gear shaft.
head setscrew on the end of the R.A. motor drive coupler
(Figure 2).
3. Use the provided 4mm Allen wrench to remove the socket-
head screw on the left side of the mount (Figure 3).
4. Orient the motor so that the drive coupler slips over the
left end of the R.A. worm gear shaft. Now, attach the motor
to the mount by inserting the socket-head screw through
the slot in the motor's bracket, and re-threading it into the
mount.
INSTRUCTION MANUAL
Figure 2: Loosen the setscrew on the end of the drive coupler.
This is the setscrew that engages and disengages the motor
drive.
Right end of
R.A. worm
gear shaft
Figure 3: Remove the socket-head screw indicated on the mount.
Figure 4: The R.A. motor drive assembly properly connected to
the mount.
Socket-head
screw
Setscrew
on end of
R.A. motor
drive coupler
Advertisement

Subscribe to Our Youtube Channel
Related Manuals for Orion EQ-3M


Summary of Contents for Orion EQ-3M
- Page 1 INSTRUCTION MANUAL Orion EQ-3M Single-Axis DC Motor Drive System #7829 Welcome to a new world of adventure. The Orion EQ-3M Single-Axis DC Motor Drive System allows convenient hands- free tracking of the night sky for telescopes that utilize the Orion EQ-3 Equatorial Mount. The motor drive system also...
- Page 2 A N E M P L O Y E E - O W N E D C O M P A N Y Copyright © 2021 Orion Telescopes & Binoculars. All Rights Reserved. No part of this product instruction or any of its contents may be reproduced, copied, modified or adapted, without the prior written consent of Orion Telescopes &...
Need help?
Do you have a question about the EQ-3M and is the answer not in the manual?
Questions and answers