Advertisement
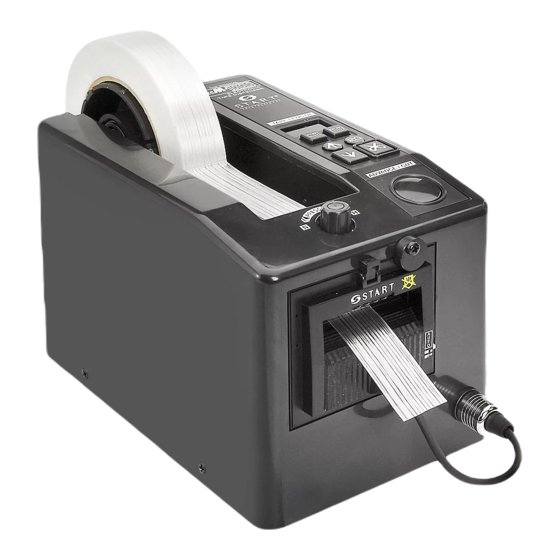
H-99
AUTOMATIC
TAPE SHOOTER
Do not leave the tape dispenser
in direct sunlight.
Do not use the tape dispenser
in humid or dusty places.
• If using automatic feed, when one piece of tape
is removed, the unit will automatically feed and
cut the next piece at the preset length.
• The tape length is easily seen on the LED display,
and operation is simple. Press the CM key or MM
key to set the length. (Setting limit 20mm
to 999mm.)
PAGE 1 OF 5
1-800-295-5510
uline.com
Do not drop the tape dispenser
or subject it to heavy shocks.
Do not insert bars or plates into
the tape outlet-this will damage
the blades.
NOTES
FEATURES
• If a piece of long tape is needed, press the
ADVANCE key for desired length, then press CUT
key to cut.
• The blade unit can be removed and replaced
easily. (Tape jamming is also easily fixed by
removing the blade unit.)
Do not use volatile liquids (benzine,
thinner, etc.) to clean the dispenser.
Wipe with dry cloth only.
DO NOT insert your fingers into
the tape outlet!
H-99
0509 IH-99
Advertisement
Table of Contents

Related Manuals for U-Line H-99

Summary of Contents for U-Line H-99
- Page 1 H-99 1-800-295-5510 uline.com AUTOMATIC TAPE SHOOTER H-99 NOTES Do not leave the tape dispenser Do not drop the tape dispenser Do not use volatile liquids (benzine, in direct sunlight. or subject it to heavy shocks. thinner, etc.) to clean the dispenser.
-
Page 2: Parts And Functions
PARTS ANd FUNCTIONS reel REEL TAPE LENGTH Display TAPE LENGTH Display PrESSUrE Knob LENGTH ADjUSTMENT Keys SIZE Keys rESET Key PRESSURE Knob RESET Key rEVErSE Key REVERSE Key CUT Key CUT Key ADVANCE Key FEED Key ADVANCE/CUT Key AUTO Key SENSOR Switch SENSOr Switch SENSOR Plug... -
Page 3: Operation
OPERATION USING AUTOMATIC FEED TO rEPLACE CUTTEr UNIT 1. Turn off sensor and power before removing cutter Plug in power cord and turn unit on. unit. Pull sensor plug out, then pull cutter unit forward while pressing the knob on the top of the unit. 2. -
Page 4: Specifications
OPERATION CONTINUEd SETTING MEMOrIES 4. After lengths are set, the display will flash "0" Press MM key to switch between "0" and "5". Press and hold the M key until the LED display flashes. • On "0", the machine will feed and cut the first set 2. -
Page 5: Troubleshooting
TROUblESHOOTINg When problems occur, carry out the following procedures. If the tape dispenser does not operate normally after following the troubleshooting procedures, contact your supplier. OPErATING ISSUE rECOMMENDATIONS Motor does not drive. Check that the power cord is plugged in. Check that the power switch is turned on.
Need help?
Do you have a question about the H-99 and is the answer not in the manual?
Questions and answers