Advertisement
WARNING: FOR OUTDOOR USE ONLY
ASSEMBLY AND OPERATING IN STRUC TIONS
NOTICE TO
INSTALLER:
LEAVE THESE
INSTRUCTIONS
WITH THE
HEATER OWNER
FOR FUTURE
REFERENCE .
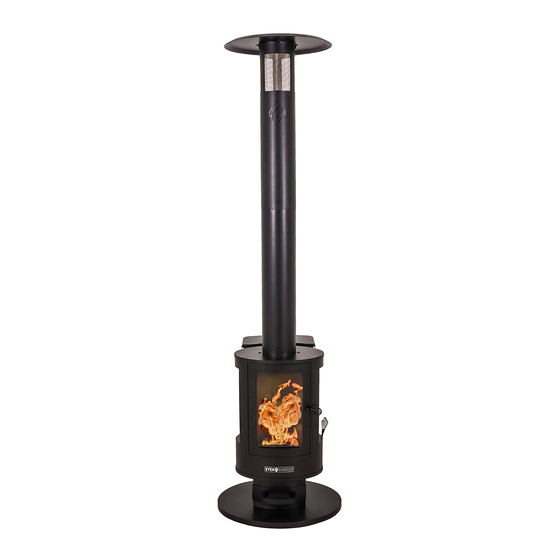
PELLET HEATER
OWNER'S MANUAL
Model HTR1085AS
PLEASE READ THIS ENTIRE MANUAL BEFORE
INSTALLATION AND USE OF THIS PELLET FUEL-
BURNING APPLIANCE. FAILURE TO FOLLOW THESE
INSTRUCTIONS COULD RESULT IN PROPERTY
DAMAGE, BODILY INJURY OR EVEN DEATH. CONTACT
LOCAL BUILDING OR FIRE OFFICIALS ABOUT
RESTRICTIONS AND INSTALLATION INSPECTION
REQUIREMENTS IN YOUR AREA. SAVE THESE
SAVE THIS MANUAL FOR FUTURE REFERENCE
WARNING
INSTRUCTIONS.
Advertisement

Summary of Contents for Even Embers HTR1085AS
- Page 1 PELLET HEATER OWNER’S MANUAL WARNING: FOR OUTDOOR USE ONLY SAVE THIS MANUAL FOR FUTURE REFERENCE ASSEMBLY AND OPERATING IN STRUC TIONS Model HTR1085AS WARNING PLEASE READ THIS ENTIRE MANUAL BEFORE NOTICE TO INSTALLATION AND USE OF THIS PELLET FUEL- INSTALLER: BURNING APPLIANCE.
- Page 2 IMPORTANT SAFETY WARNINGS WE WANT YOU TO ASSEMBLE AND USE YOUR HEATER AS SAFELY AS POSSIBLE. THE PURPOSE OF THIS SAFETY ALERT SYMBOL IS TO ATTRACT YOUR ATTENTION TO POSSIBLE HAZARDS AS YOU ASSEMBLE AND USE YOUR HEATER. WHEN YOU SEE THE SAFETY ALERT SYMBOL, PAY CLOSE ATTENTION TO THE INFORMATION WHICH FOLLOWS! READ ALL SAFETY WARNINGS AND INSTRUCTIONS CAREFULLY BEFORE ASSEMBLING AND OPERATING YOUR HEATER.
-
Page 3: Table Of Contents
TABLE OF CONTENTS: General Warnings ..........3-4 Operating the Heater . -
Page 4: General Warnings
GENERAL WARNINGS: WARNING When using, basic safety precautions should always be followed including the following: • Always place heater on a level non-combustible surface. • Operate only per manufacturers instructions. • Keep all combustible materials at least 36 inches (66 cm) away from the heater at all times. Do not use this heater under any overhang or near any combustible structures. -
Page 5: Operating The Heater
Follow these guidelines to prevent this colorless,odorless gas from poisoning you, your family or others. • Know the symptoms of carbon monoxide poisoning; headache, dizziness, weakness, nausea, vomiting, sleepiness and confusion. Carbon monoxide reduces the blood’s ability to carry oxygen. Low blood oxygen levels can result in loss of consciousness and death. •... - Page 6 LIGHTING THE HEATER: Initial Lighting Instructions (To be used on initial fi ring) Push shut-off lever (inside the hopper) down, turn heat adjustment lever to low before fi lling hopper with pellers. Fill the hopper around ½ full. This one-time initial fi ring needs to be done to cure the paint on the unit.
-
Page 7: Proper Care And Maintenance
PROPER CARE & MAINTENANCE: • Remove wood pellets from hopper if heater will not be used for a long period of time. Wood pellets can become soggy due to moisture/humidity and clog up the fi repot and pellet chute. • Disposal of ashes –... -
Page 8: Assembly Instructions
ASSEMBLY INSTRUCTIONS: Make sure you have all items listed under PARTS LIST and PARTS CARD CONTENTS before you begin the installation process. PARTS CARD CONTAINS: Cotter Pin M6 x 35 mm Bolts M5 x 12 mm Bolts M6 x 16 mm Bolt and M6 Lock Nut M6 Nuts M4 x 10 mm Bolts M6 x 12 mm Bolts... - Page 9 ® PELLET HEATER. FOR MISSING PARTS, PLEASE CALL CUSTOMER SERVICE AT 855-735-9922. (Proof of purchase will be required.) The following tools are required to assemble your Even Embers ® Pellet Heater: • Phillips Screwdriver • Wrench PARTS LIST: 1 Heat Baffle...
- Page 11 Place heater body upside down as illustrated. Install four M6 x 35 mm bolts and two M6 x 12 mm bolts. Heater Body Install four feet.
- Page 12 Install chimney collar using four M6 x 12 mm bolts and four M6 nuts. Install lower chimney to chimney collar and fasten in place with two M4 x 10 mm bolts. Install upper chimney to chimney cap and fasten in place with three M6 nuts.
- Page 13 Remove ash cleanout grate handle. Slide ash cleanout grate into fi repot and set in place. Center heat baffle over fi repot. Install ash cleanout grate handle through back of heater body.
- Page 14 Install heat adjustment lever and lock into place with cotter pin. Install spring coil handle onto heat adjustment lever. Install door latch using one M6 x 16 mm bolt and M6 lock nut.
- Page 15 Install ash tray handle using two pre-attached M5 x 12 mm bolts. Insert ash tray into grill body. Even Embers Pellet Heater - Assembled...
- Page 16 WARRANTY ® The Boltz Group warrants to the original purchaser that the Even Embers Pellet Fuel Heater is free from defects due to workmanship or materials for One-year. The Boltz Group obligations under this warranty are limited to the following guidelines: •...
Need help?
Do you have a question about the HTR1085AS and is the answer not in the manual?
Questions and answers