Table of Contents
Advertisement
Quick Links
Advertisement
Table of Contents

Related Manuals for Makita DCC501


Summary of Contents for Makita DCC501
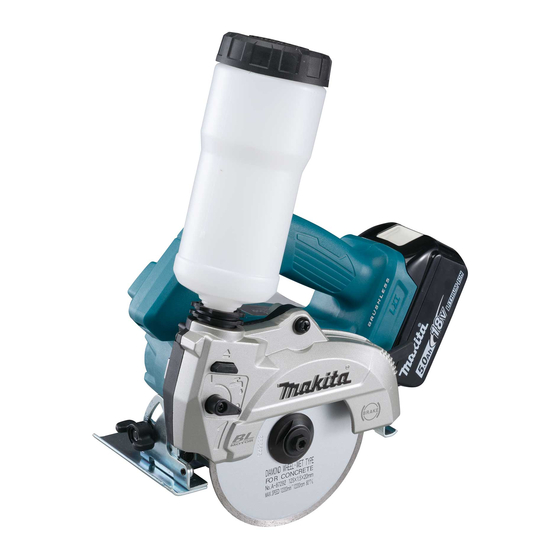
- Page 1 INSTRUCTION MANUAL Cordless Cutter DCC501 Read before use.
-
Page 2: Specifications
SPECIFICATIONS Model: DCC501 Wheel diameter 125 mm Max. wheel thickness 2.2 mm Max. cutting capacities 0° bevel angle 40 mm 45° bevel angle 27 mm Rated speed (n) 8,800 min Overall length 283 mm *1 Rated voltage D.C. 18 V Net weight 2.7 - 3.0 kg... -
Page 3: Ec Declaration Of Conformity
Do not abuse the cord. Never use the cord for WARNING: The vibration emission during carrying, pulling or unplugging the power tool. actual use of the power tool can differ from the Keep cord away from heat, oil, sharp edges declared value(s) depending on the ways in which or moving parts. - Page 4 Battery tool use and care Recharge only with the charger specified by the manufacturer. A charger that is suitable for one type of battery pack may create a risk of fire when used with another battery pack. Use power tools only with specifically desig- nated battery packs.
- Page 5 Always use undamaged wheel flanges that are Kickback and related warnings of correct diameter for your selected wheel. Kickback is a sudden reaction to a pinched or snagged Proper wheel flanges support the wheel thus rotating wheel. Pinching or snagging causes rapid stall- reducing the possibility of wheel breakage.
- Page 6 Do not touch the terminals with any con- causing fires, personal injury and damage. It will ductive material. also void the Makita warranty for the Makita tool and Avoid storing battery cartridge in a con- charger. tainer with other metal objects such as nails, coins, etc.
-
Page 7: Functional Description
25. When storing the wireless unit, keep it in the supplied case or a static-free container. 26. Do not insert any devices other than Makita wireless unit into the slot on the tool. 27. Do not use the tool with the lid of the slot damaged. Water, dust, and dirt come into the slot may cause malfunction. - Page 8 Overheat protection Indicating the remaining battery capacity When the tool/battery is overheated, the tool stops auto- Only for battery cartridges with the indicator matically and the operation lamp will blink. In this situation, let the tool cool down before turning the tool on again. Overdischarge protection When the battery capacity becomes low, the tool stops automatically.
- Page 9 Sighting ing the lock-off button. A switch in need of repair may result in unintentional operation and serious personal injury. Return tool to a Makita service center For straight cutting for proper repairs BEFORE further usage. Align the side edge of the base with your intended...
- Page 10 This tool is equipped with an electric blade brake. If the tool con- sistently fails to quickly cease to function after the switch trigger is released, have the tool serviced at a Makita service center. Automatic speed change function This tool has "high speed mode" and "high torque mode".
- Page 11 To remove the diamond wheel, press the shaft lock Water supply tank fully so that the diamond wheel cannot revolve and use the hex wrench to loosen the hex bolt clockwise. Then remove the hex bolt, outer flange and diamond wheel. When filling the tank with water, be CAUTION: careful not to spill water over the tool.
-
Page 12: Water Supply Hose
Unscrew the water supply cap attached to the Be careful not to hold the water-filled tank NOTICE: water supply tank. upright (with its lid-cap facing downwards) as water drops may leak out of the vent pin hole. ► 1. Water supply cap 2. Water outlet ►... - Page 13 Disconnecting from the mains water Installing optional wheel cover supply Mount an optional wheel cover aligning its guide grooves with the guide ridges on the gear housing. Set the water supply lever on the wheel cover in Then tighten the screw securely. the “OFF”...
-
Page 14: Operation
Optional accessory ► 1. Lid-cap When you wish to perform clean cutting operation, connect a Makita vacuum cleaner to your tool. Hold the tool firmly. Set the base plate on the workpiece to be cut without the diamond wheel making any contact. - Page 15 45° bevel cutting Wet cutting with water supply hose CAUTION: Always pay attention to the control of water pressure. Too high water pressure may cause water leak and splashing. Set the water supply lever in the “ON” (I) position. Start feeding water to the diamond wheel by pull- ing the water supply lever towards the “ON”...
- Page 16 45° bevel cutting The overview of the wireless activation function setting is as follows. Refer to each section for detail procedures. Installing the wireless unit Tool registration for the vacuum cleaner Starting the wireless activation function Installing the wireless unit Optional accessory Place the tool on a flat and stable CAUTION:...
- Page 17 Tool registration for the vacuum cleaner NOTE: A Makita vacuum cleaner supporting the wireless activation function is required for the tool registration. NOTE: Finish installing the wireless unit to the tool before starting the tool registration.
- Page 18 Push the wireless activation button on the tool NOTE: The wireless activation lamps finish blinking briefly. The wireless activation lamp will blink in blue. in green after 20 seconds elapsed. Press the wireless activation button on the tool while the wireless acti- vation lamp on the cleaner is blinking.
- Page 19 Description of the wireless activation lamp status ► 1. Wireless activation lamp The wireless activation lamp shows the status of the wireless activation function. Refer to the table below for the meaning of the lamp status. Status Wireless activation lamp Description Color Duration...
- Page 20 If the cancellation is performed successfully, the wire- Cancelling tool registration for the less activation lamps will light up in red for 2 seconds vacuum cleaner and start blinking in blue. NOTE: The wireless activation lamps finish blinking in Perform the following procedure when cancelling the red after 20 seconds elapsed.
- Page 21 Before asking for repairs, conduct your own inspection first. If you find a problem that is not explained in the manual, do not attempt to dismantle the tool. Instead, ask Makita Authorized Service Centers, always using Makita replace- ment parts for repairs.
-
Page 22: Maintenance
Discoloration, deformation or cracks may result. To maintain product SAFETY and RELIABILITY, repairs, any other maintenance or adjustment should be performed by Makita Authorized or Factory Service Centers, always using Makita replacement parts. Dressing diamond wheel ► 1. Inner surface of cover... -
Page 23: Optional Accessories
OPTIONAL ACCESSORIES CAUTION: These accessories or attachments are recommended for use with your Makita tool specified in this manual. The use of any other accessories or attachments might present a risk of injury to persons. Only use accessory or attachment for its stated purpose. - Page 24 Jan-Baptist Vinkstraat 2, Makita Europe N.V. 3070 Kortenberg, Belgium 3-11-8, Sumiyoshi-cho, Makita Corporation Anjo, Aichi 446-8502 Japan 885858-222 www.makita.com 20201103...
Need help?
Do you have a question about the DCC501 and is the answer not in the manual?
Questions and answers