Table of Contents
Advertisement
Advertisement
Table of Contents

Subscribe to Our Youtube Channel
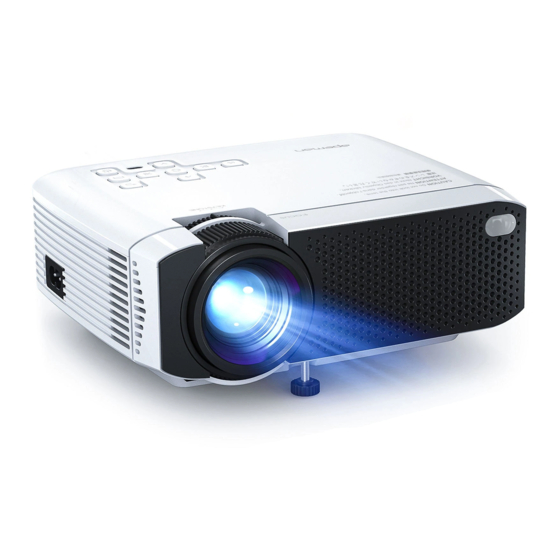
Related Manuals for Apeman LC350


Summary of Contents for Apeman LC350
- Page 1 User Manual Video Projector LC350...
-
Page 2: Table Of Contents
Contents Attentions Keys Introduction Machine buttons Remote controller Operation Connection Instructions Select an input source Multimedia connection HDMI device connection VGA input(PC)connection AV video device connection Audio devices connection Main Menu Specifications Basic parameters Projection distance and screen size Warranty... -
Page 3: Attentions
Attentions · Please use the included power cord to power the machine. · It is normal that this machine produces heat during operation. · When cleaning up the lens, please use a lens cleaner or special lens wipe paper. · Do not look straight into the projector lens while it is working, as it may burn your eyes. -
Page 4: Keys Introduction
Keys Introduction Machine buttons 1. Up 9. Return 17. Audio Output 2. OK 10. Right 18. VGA Input 3. Home 11. Keystone Wheel 19. Power Input 4. Left 12. Focus Wheel 20. Lens 5. Down 13. TF Card Slot 21. Height Adjustment Nut 6. -
Page 5: Remote Controller
Remote Controller 1. Power 2. Menu 3. Home 4. Left/Right/Up/Down 5. OK 6. Play/Stop 7. Return 8. Volume 9. Mute Notes: Do not combine new batteries with old ones in remote control- ler,which can cause operation failure due to insufficient power supply. -
Page 6: Operation
Operation · As shown in Picture 1, connect the included AC power cord to the power input port of the projector. · As shown in Picture 2, projector gets into standby as the indicator on the top of the projector lighted up in red. ·... - Page 7 · As shown in Picture 4, main screen appears after starting up. Movie Music PHOTO TEXT · As shown in Picture 5 and 6, adjust keystone correction and lens focus thumb wheels until you have a clear picture.
-
Page 8: Connection Instructions
Connection Instructions Select an input source. · 1. When projector turns on, main screen appears as shown below. Video, Music, · Picture, and Text files are available. · 2. You can choose USB/TF/HDMI/VGA/AV different sources in, by touch " " at projector touch panel, or remote controller. -
Page 9: Multimedia Connection
Multimedia connection · Put USB / Micro SD card into corresponding ports (as shown in picture). · Select "Video", "Music", "Picture", or "Text" to enter the content you want to play. USB 1 File Type Format Video MP4/AVI/WMV/RMVB Music MP3/WMA/OGG/AAC/FLAC/APE/WAV Picture JPEG/BMP/PNG Text... -
Page 10: Hdmi Device Connection
HDMI device connection Projector can connect to devices with HDMI output function. Compatible with Laptop, DVD players, Blu-ray players, Chromecast, TV Stick, and etc.. HDMI cable is included. HDMI... -
Page 11: Vga Input(Pc)Connection
VGA input (PC) connection Use an universal VGA cable(not included) to connect the projector with computer and other devices with VGA signal output function. For most of the Windows 7 computers, press [Windows]+[P] to make projection. For other Windows computers, Google or contact your computer service center for projection instruction. -
Page 12: Av Video Device Connection
AV video device connection Connect the projector AV interface with 3 in 1 AV cable(included), as shown in pictures. Video Y Yellow Y Audio W White W Red R Audio R... -
Page 13: Audio Devices Connection
Audio devices connection It can connect to headphone and wired audio equipment with 3.5mm jack (not included). Tip: Due to Dolby copyright, this model does not support Dolby audio decoding currently. -
Page 14: Main Menu
Main Menu You can adjust projector settings in projector main menu. Touch menu key on projector panel or remote controller. Picture: Picture Mode, Aspect Ratio, Flip. Sound: Sound Mode, Balance, Auto Volume, Surround Sound. Time: Clock, Off Time, On Time, Sleep Timer, Auto Sleep. Option: OSD Language, Restore Factory Default, Software Update(USB). -
Page 15: Specifications
Specifications Basic parameters Imaging Technology 4.0 "LCD Maximum Resolution 1080P Supported Light Source Lens Life 45000 Hours Lens Specifications Multi-coated lens f=125 Speakers Included Built-in Dual Speaker, 2*3W Aspect Ratio 4:3/16:9 Projection Size 34-180 inches Connectors HDMI/USB/VGA/TF/AV/Audio Input Voltage (V): 110V-240V(±10%),50-60Hz Power Consumption (W): 55W(MAX) -
Page 16: Projection Distance And Screen Size
Projection distance and screen size... -
Page 17: Warranty
This product carries a one-year warranty from purchase date. Please feel free to let us know what we can do to assist you when you have any product problem. Apeman customer service email addresses: America: support.us@apemans.com Europe: support.eu@apemans.com Japan: support.jp@apemans.com...
Need help?
Do you have a question about the LC350 and is the answer not in the manual?
Questions and answers