Advertisement
Quick Links
Before you begin, please make sure all parts and proper quantities are included. (See Part Identifier Key) Any parts damaged during shipment must be reported
within 24 hours of receipt. To report information regarding damages or if you have any questions, please call 800.242.2303.
Step 1:
•
Remove the two waste bins from the cabinet.
•
Place the cabinet that has the totes in it upside down on a protected flat surface with it's sub-bottom facing
up. (Upon installer's discretion, remove doors (excluding trash door), shelving & totes before turning any of the
cabinets over to lessen the weight of the cabinets.)
•
Repeat above step for the other two base cabinets but when you're placing it down on the protected surface,
align the pre-drilled holes on the sides of all three cabinets with each other.
•
NOTE:
Please use the below image for the correct placement of each cabinet.
Step 2:
•
With cabinets aligned together, place the 1/4"-20 x 30mm joint connector bolt w/ loctite through pre-drilled hole
on the inside of one of the cabinets making sure bolt is pushed as far as it can go.
•
While holding the joint connector bolt flush to the cabinet, take a 1/4"-20x17mm joint connector nut and attach it
to the end of the bolt (located in other base cabinet) turning it clockwise until it's completely on. Use a 4mm Allen
wrench or 4mm hex bit and a screw gun to tighten as needed.
•
Repeat
Step 2
with the remaining bolts and connector nuts so all three cabinets are attached together.
•
NOTE:
If you did not remove the totes or waste bins in
access to the pre-drilled holes located inside of all three cabinets.
wibenchmfg.com
Specifications are subject to change. Product
images are for illustrative purposes only and may
differ from the actual product.
Assembly Instructions
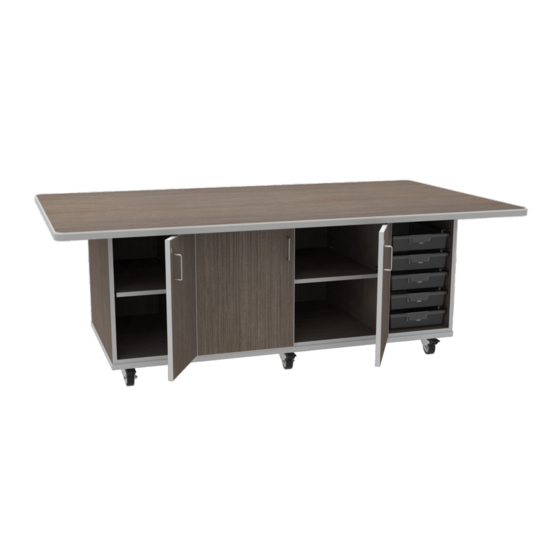
Nucleus Workstation
Step
1, you will need to remove them in order to gain
507 E. Grant St. Thorp, WI 54771 • P - 800.242.2303
Images of these
base cabinets
are shown
upside down in
Steps 1-4.
Tools Required
• 4mm Allen
wrench OR
• 4mm Hex bit
• Drill extension
• Phillips drill bit
• Screw gun
• #2 square bit
V080421 Version subject to change
1
Advertisement

Summary of Contents for WB Mfg Nucleus Workstation
- Page 1 Assembly Instructions Nucleus Workstation Before you begin, please make sure all parts and proper quantities are included. (See Part Identifier Key) Any parts damaged during shipment must be reported within 24 hours of receipt. To report information regarding damages or if you have any questions, please call 800.242.2303.
- Page 2 Assembly Instructions Nucleus Workstation Step 3: • With all three cabinets attached together, take caster base and center it on the cabinets with threaded inserts facing up. • Using #2 square bit, attach caster base to the cabinets using #10 11/2” square-drive flat head screws. (See image below;...
- Page 3 Assembly Instructions Nucleus Workstation Step 5: • With someone’s help, position the cabinet right side up. Make sure to have all the locking casters’ levers pushed down to secure cabinet in place. Step 6: IMPORTANT: For 2 piece Butcher Block Top, see Page •...
- Page 4 Assembly Instructions Nucleus Workstation Part Identifier Key Part # Description Qty. 1/4”-20x30mm joint connector bolt w/ loctite 0400236 (Used to attach 2 base cabinets together) 1/4”-20x17mm joint connector nut 0404229 (Used to attach 2 base cabinets together) #10 11/2” square-drive flat head screw for wood...
- Page 5 Assembly Instructions Nucleus Workstation w/ 2-Piece Butcher Block Top Complete Steps 1-5 on Pages 1-3 before assembling the 2-Piece Butcher Block Top. Step 1b Step 1b: • If assembling a Hardwood top that has a depth greater than 36”, top will be in 2 pieces (.5” undersized on length).
Need help?
Do you have a question about the Nucleus Workstation and is the answer not in the manual?
Questions and answers