Advertisement
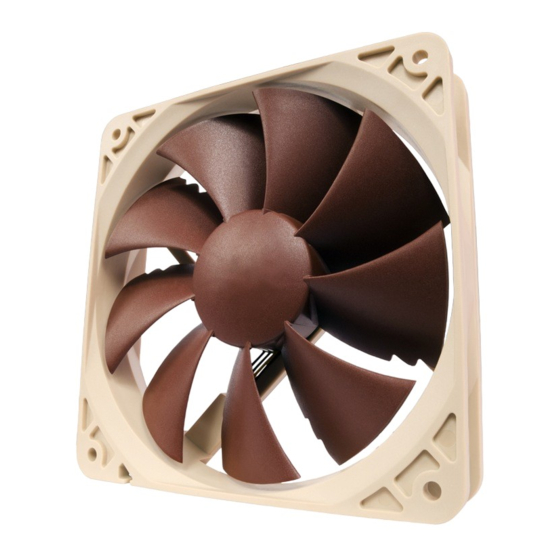
NF-P12 PWM | User Manual
Installation
When installing the NF-P12 on a heatsink or radiator, please use the mounting mechanism supplied with your
heatsink or radiator (fan clips, screws, etc.) as described in the respective manual.
When installing the NF-P12 as a case fan, you can either use proprietary clip systems (if your case features a clip
system for fan installation) or the supplied mounting screws and silicone anti-vibration mounts. In order to install the
fan using the silicone mounts, please first pull the silicone mounts through the mounting holes of the case. Then put
the fan onto the silicone mounts and pull them through the mounting holes of the fan:
Connection
The NF-P12 comes with a 4-pin PWM fan connector for fully automatic speed control via your mainboard's 4-pin
PWM fan headers. Please note that the fan can also be connected to your mainboard's 3-pin fan headers though.
When connected to 3-pin fan headers, the NF-P12 will run at full speed (unless the mainboard supports voltage
based speed control).
If you're using multiple NF-P12 fans, you can use the supplied y-cable (NA-YC1) to connect several fans to one PWM fan
header. This way, your mainboard will set all the connected fans to run at the same speed.
The NF-P12 features a short 20cm primary cable in order to help you minimise cable clutter in typical applications.
If you need a longer cable, please add the supplied 30cm extension (NA-EC1). The NF-P12 comes with a Low-Noise
Adaptor (NA-RC8) that allows you to reduce the fan speed from 1300 to 900rpm. You can either use the adaptor
to set the fan to a fixed speed of 900rpm (if speed control is deactivated) or to cap the maximum speed to 900rpm
during PWM speed control.
Cleaning and Maintenance
Fans inside computer cases tend to accumulate dust over longer periods of usage. In order to maintain maximum
performance, please clean your fans regularly using a duster, slightly moist tissue or canned air. Please be careful
not to use too much force in order to prevent any damage to the fan. Please don't use a vacuum cleaner as this may
apply excessive force to the fan.
In order to ensure flawless operation over many years of usage, the NF-P12's premium grade SSO bearing is fully
sealed to prevent the entering of fine dust particles. Please note that the fan is not designed to be taken apart by the
user. Removing the impeller from the frame will break the sealing of the bearing and results in a loss of warranty.
Warranty and Support
Even with high-grade products and strict quality control, the possibility of defects cannot be eliminated entirely.
Therefore, we aim at providing the highest possible level of reliability and convenience by offering a warranty period
of 6 years and direct, fast and straightforward RMA service.
Should you encounter any problems with your NF-P12, please don't hesitate to contact our support team (support@noctua.at).
Advertisement
Table of Contents

Subscribe to Our Youtube Channel
Related Manuals for Noctua NF-P12


Summary of Contents for Noctua NF-P12
- Page 1 (fan clips, screws, etc.) as described in the respective manual. When installing the NF-P12 as a case fan, you can either use proprietary clip systems (if your case features a clip system for fan installation) or the supplied mounting screws and silicone anti-vibration mounts. In order to install the fan using the silicone mounts, please first pull the silicone mounts through the mounting holes of the case.
- Page 2 Yours sincerely, Roland Mossig, Noctua CEO This document includes some instructions for installing, running and cleaning your NF-P12. Should you have any further questions, our support team (support@noctua.at) will be glad to assist you at any time. Please also have a look at the regularly updated FAQs on our website: http://www.noctua.at/faqs...
Need help?
Do you have a question about the NF-P12 and is the answer not in the manual?
Questions and answers