Advertisement
Dismantling the Analyzer and Cleaning the Cuvette
Attention: The installation of the power connector (pluggable terminal block) has to be
done by a person aquainted with the problems involved. Do not connect or disconnect
the terminal block as long as mains voltage is on!
1. Opening the enclosure
Remove the four screws at the corners of the rear panel using a 2 mm Allen wrench (do not loosen any other
screws!), extract the device at its rear panel from the casing. The tubing connections or the filter may be used
for pulling the device out, but do not pull on any cables.
2. Unscrewing the inner tubing connections
Unscrew the three knurled nuts fixing the cuvette's PTFE tubing to the rear panel and the pressure sensor and
withdraw the tubing. While disconnecting the pressure sensor's tubing from the cuvette, make sure the
mechanical stress on the sensor's leads is kept to a minimum.
3. Separating the lamp housing and the cuvette block from the circuit board
The lamp housing and the cuvette block - the black "T" on the circuit board - comprise an inseparable unit.
This unit can be removed by unscrewing the four outer screws (M3 Philips) on the lower side of the circuit
board. Do not loosen the two screws fixed with varnish - this could damage the UV lamp!
The cuvette opening (on the circuit board side) must always point upwards so that the inner parts of the
cuvette do not fall out. Keep both the circuit board and the cuvette block pressed together (against the spring
inside the cuvette block). In the cabinet version BMT 964 C, there is a seperate plate holding the inner parts in
place while separating the "T" from the circuit board.
First, the two screws near the edge of the circuit board shall be unscrewed, followed by the two screws at the
centre of the circuit board. The circuit board then is lifted from the cuvette block with the bottom side
pointing upwards.
4. Dismantling the cuvette
The following parts may now be removed from the
bore in the cuvette - and in this order:
spring
black aluminium ring
white O-ring (seal)
lower cuvette window (if separate from the
spacer, ranges 50g/Nm
spacer, bonded to lower window
(which determines the length of the cuvette)
upper cuvette window
white O-ring (though it normally remains in
the cuvette block)
The aluminum ring usually does not fall out itself.
Use two screw drivers as shown in the photo, insert them crossed over eachother into the aluminum ring in
order to bring some force onto the inner side of the aluminum ring, and lift it out of the hole.
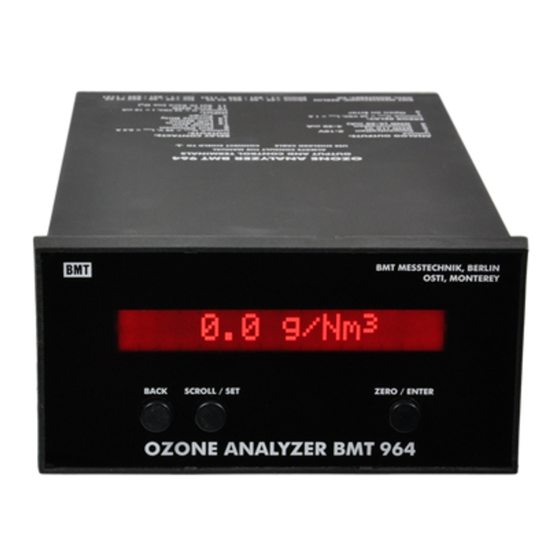
OZONE ANALYZER BMT 964
Rev. 07/2012
and lower)
3
Cleaning The Cuvette of the BMT 964, Rev. 07/2012
page 1 of 2
Advertisement
Table of Contents

Related Manuals for BMT 964


Summary of Contents for BMT 964
- Page 1 Keep both the circuit board and the cuvette block pressed together (against the spring inside the cuvette block). In the cabinet version BMT 964 C, there is a seperate plate holding the inner parts in place while separating the "T"...
- Page 2 Cleaning the cuvette of the BMT 964, Rev. 07/2012 Cleaning the cuvette The cuvette window, spacer and seals can be cleaned with water (or with household detergent or alcohol). If the cuvette is soiled badly, check and clean the cuvette block (you can clean the 12mm bore with a "Q-Tip" or similar), the inner walls of the PTFE tubing, the filter holder and the fittings.
Need help?
Do you have a question about the 964 and is the answer not in the manual?
Questions and answers