Advertisement
Advertisement

Related Manuals for WOMOW W5 S

Summary of Contents for WOMOW W5 S
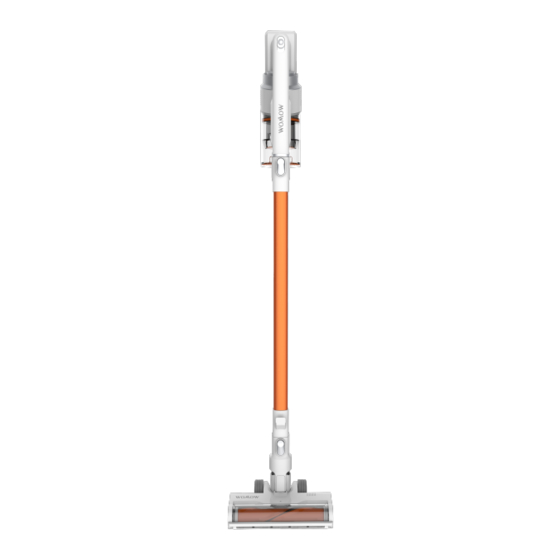
- Page 1 CORDLESS STICK VACUUM CLEANER W5 S USER MANUAL...
-
Page 2: Table Of Contents
Content 1. Package contents and product specifications 2. Unpacking and assembling 3. Product operation & Maintenance 4. Important safety instructions 5. Troubleshooting 6. Warranty... -
Page 3: Package Contents And Product Specifications
04 2 In 1 Brush 05 Crevice Tool 02 Motorized Floor Brush 06 Charger 03 Tube 07 wall mount Especi caciones: Model : W5 S Dust cup capacity : 0.5 L Battery : 2200mAh lithium 10Kpa Max suction : Rated power :... -
Page 4: Unpacking And Assembling
Unpacking and assembling Tube Slide the tube into hand vacuum until it clicks into place. Press the release button to remove the tube. Motorized floor brush Slide the motorized brush into the tube until it clicks into place. Press the release button to remove the tube. - Page 5 Accessories Push the crevice tool /2 in 1 brush to suction tube or hand vacuum until it clicks into place. Note: The crevice tool is suitable for cleaning narrow, slit or irregular object surface, such as corner, window slit, drawer, frame, keyboard, etc.
-
Page 6: Product Operation & Maintenance
Product Operation & Maintenance Storage Install the wall-mounted tool on the wall with the screws in the package. Put the vacuum cleaner by inserting it into hook. Charging The power adapter plugs into the host to charge, and the host charging interface is located on the side of the host... - Page 7 Note: 1.Please only use the original battery and charger. Do not use other replacement battery or charger. 2.Prevent the battery and charger from any shock or damage. 3.Keep the battery and charger away from water and any wet environments. 4.Put the battery pack at dry and cool place when charging. 5.Do not put the battery and charger in hot environment over 50 degree.
- Page 8 Clean the filter After the dust cup is cleaned, detach the tube first, press the release button above the dust cup to remove it. Remove the sponge filter to clean it thoroughly. Reverse operation can restore. Nota: To protect the machine, make sure the filter is completely dried before assem- bling back.
- Page 9 Indicator lights 1.This product is equipped with a 5-stage power display lamp, which can be turned on after starting up. 2.The power indicator bar displays the current power according to the percentage of the battery. 3.When the battery power is lower than 3% of the total power, the machine will auto- matically enter the state of shutdown protection.
-
Page 10: Important Safety Instructions
Important safety instructions This appliance can be used by children aged from 8 years and above and persons with reduced physical, sensory or mental capabilities or lack of experience and knowledge if they have been given supervision or instruction concerning use of the appliance in a safe way and understand the hazards involved. -
Page 11: Troubleshooting
2. charge the battery under a The battery indicator comfortable indoor tempera- 2. The environment is too lights keep flashing ture(0-50 degree) high/low quickly 3. Only use the original 3. use wrong adapter to charger provided by Womow charge... -
Page 12: Warranty
Warranty Warranty: Womow for purchases made in the United Stated warrants this product against defects in material or workmanship for a period of 1 year from the original date of purchase when untilized for normal household use, subject to the following conditions, exclusions and exceptions. - Page 13 Please inform us your model name/number, purchase date, Amazon order number (if necessary) and issues. Any replaced defective parts will become the property of WOMOW. Service under this warranty will not extend the period of this warranty. For more information about Womow product: Visit Womow Website: www.
- Page 14 CORDLESS STICK VACUUM CLEANER W5 S...
Need help?
Do you have a question about the W5 S and is the answer not in the manual?
Questions and answers