Table of Contents
Advertisement
Available languages
Available languages
Quick Links
Advertisement
Table of Contents

Summary of Contents for Chal-tec electronic.star 10006582
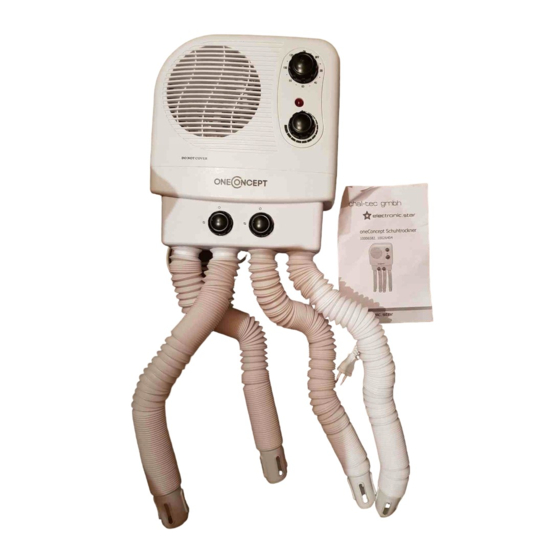
- Page 1 Schuh-/Stiefeltrockner 10006582...
- Page 2 Sehr geehrter Kunde, zunächst möchten wir Ihnen zum Erwerb Ihres Gerätes gratulieren. Bitte lesen Sie die folgenden Anschluss- und Anwendungshinweise sorgfältig durch und befolgen Sie diese um möglichen technischen Schäden vorzubeugen. Sicherheitshinweise 1. Schließen Sie das Gerät nur an eine Netzspannung von 220-240V ~50Hz an. Decken Sie das Gerät nie ab z.B.
-
Page 3: Montage
Montage 1. Suche Sie sich einen Montageort mit der entsprechenden Höhe. (Bild 1) 2. Fixieren Sie die Wandbefestigung mit den Schrauben und Dübeln an der Wand. (Bild 2) 3. Hängen Sie das Gerät mit der Halteklammer an die Wandbefestigung. (Bild 3) Notiz: Der Pfeil mit der Bezeichnung „Top“... - Page 4 Warnung 1. Schuhe aus empfindlichen Materialien sollten nicht zu lange getrocknet werden. 2. Sie sollten Schuhe besser in zwei kurzen Durchgängen trocknen. 3. Um eine Überhitzung zu vermeiden, decken Sie das Gerät nicht ab. 4. Falls das Netzkabel beschädigt ist, lassen Sie dieses umgehend von einer Fachwerkstatt erneuern. 5.
- Page 5 SICHERHEITSHINWEISE UND GEWÄHRLEISTUNG Diese Bedienungsanleitung dient dazu, Sie mit der Funktionsweise dieses Produktes vertraut zu machen. Bewahren Sie diese Anleitung daher stets gut auf, damit Sie jederzeit darauf zugreifen können. Sie erhalten bei Kauf dieses Produktes zwei Jahre Gewährleistung auf Defekt bei sachgemäßem Gebrauch.
-
Page 6: Safety Instructions
Please read all instructions before operation your new boot and shoe dryer. We suggest that you save the instruction manual later use. Safety instructions 1. Connect the appliance only to 220-240V~50Hz. 2. Do not cover the appliance with laundry or anything else. 3. -
Page 7: Installation Instruction
Installation instruction 1. Pay attention to the height and position when installation.(Figure 1) 2. Fasten two screws, and then fix them with the hand on board.(Figure 2) 3. Insert the wall mounting bracket into the hole of the hand on board. (Figure 3) Note: Place the mounting bracket with the arrow with “Top”... -
Page 8: Overheating Protection
Warning 1. To avoid drying out the material in shoes/boots with fragile materials, do not let the shoe and boot dryer run for too long. 2. It is better to dry the shoes in 2 shorter periods. 3. In order to avoid overheating, do not cover the heater. 4.