Advertisement
PRINT INSTRUCTIONS: REFERENCE SHEET V-DW11-345 P/N 77-000002-001 REV 1.1 |
INK: BLACK | MATERIAL: 20 LB MEAD BOND | SIZE: 5.50" X 8.50" SCALE 1:1 |
FOLDS: TRI-FOLD VERTICAL, TRI-FOLD HORIZONTAL (TO FIT IN BOX)
Door/Window Contact
(V-DW11-345)
Quick Reference
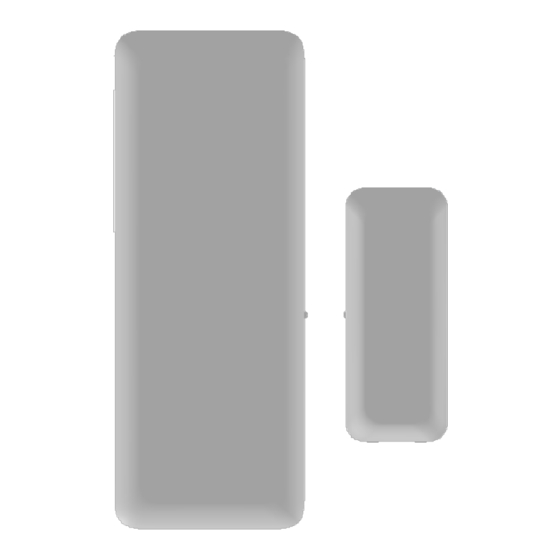
The Vivint Door/Window Contact (DW11) is a sensor device that can be installed
on doors, windows, and other objects in order to monitor open and closed states.
The DW11 transmits a signal to the panel when the magnet is moved away from,
or close to, the DW11 sensor.
The DW11 device has an external input for NC (Normally Closed) dry contact
devices, or it can be used with the supplied magnet directly with the sensor.
The DW11 is also equipped with a cover tamper for additional security.
Programming Instructions
(For more details, go to the Support page at: Vivint.com, and the KIM site at: corp.vivint.com/sites/KIM/)
• Loop 1: Use when the external input is used.
• Loop 2 (default): Use when the magnet is used directly with the sensor.
Installation Instructions
For internal switch usage:
1. Secure the sensor to the door or window frame, or other object, using
the supplied adhesive or screws.
NOTE: It is recommended to install the sensor on the side that
will be moving less (e.g. the doorframe instead of the door).
2. Secure the included magnet adjacent to the sensor on the door,
window, or other object using the supplied adhesive or screws.
NOTE: If necessary, use the supplied magnet spacer to better align the
magnet and sensor. Remove the back from the magnet using a small
flathead screwdriver and replace it with the spacer back.
For external switch usage:
1. Secure the external contact switch in the desired location.
2. If necessary, drill a hole to allow the external contact wires to reach
the desired location of the sensor.
3. Feed the wires through the drilled hole and then through the access
hole in the back of the sensor.
4. Connect the wires into the NC dry contact connector.
NOTE: With solid-core wire you should be able to push the wire
directly into the connector. Press the small button on the connector to
release the wire.
5. Mount the sensor in the desired location and reattach the sensor cover
(store excess wire in the device).
Installer Test
Once installed, open and/or close the door or window for which the DW11 is installed so that the sensor will
transmit to the Vivint Control Panel while the panel is in installer test mode.
User Test
Open and/or close the door or window for which the DW11 is installed to ensure the sensor is transmitting
correctly to the panel. The panel should recognize the state change of the object that is being monitored.
Specifications
Wireless Signal Range
Battery
Transmitter Frequency
Code Outputs
Supervisory Interval
Operating Temperature Limits
Relative Humidity
350 feet (106.7 m), open air
Panasonic CR2032 or equivalent lithium battery
345 MHz
Open, Close, Tamper, Low Battery, Loss of Supervision
70 minutes per signal (12 hours for panel to report supervision failure)
32° to 120°F (0° to 49°C)
5-95% Non-Condensing
Advertisement
Table of Contents

Summary of Contents for Vivint DW11
- Page 1 (store excess wire in the device). Installer Test Once installed, open and/or close the door or window for which the DW11 is installed so that the sensor will transmit to the Vivint Control Panel while the panel is in installer test mode.
- Page 2 Consulter le revendeur ou un technicien radio / télévision expérimenté pour de l'aide. FCC ID: 2AAAS-DW02 IC ID: 10941A-DW02 *For more compliance and warranty information, visit: www.vivint.com © 2014 Vivint Inc. All Rights Reserved. | www.vivint.com | M/N: DW02 | Doc P/N: 77-000002-001 Rev. 1.1...


Need help?
Do you have a question about the DW11 and is the answer not in the manual?
Questions and answers