
Related Manuals for Bosch DWB65BC50I


Summary of Contents for Bosch DWB65BC50I
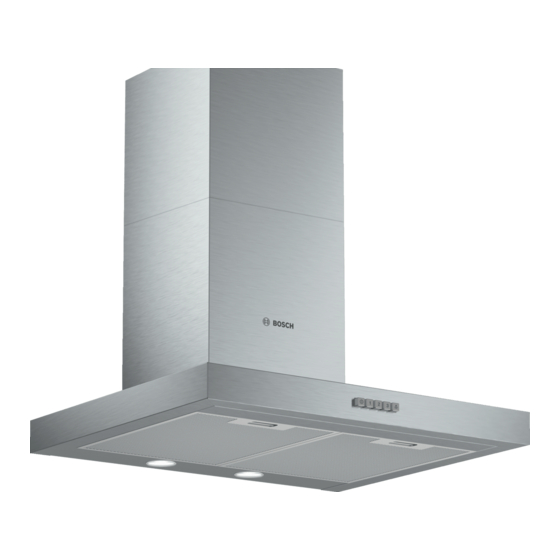
- Page 1 Extractor hood DWB65BC50I DWB65BC50T DWB95BC50I DWB95BC50T [en] User manual and installation instructions...
-
Page 2: Table Of Contents
en Safety Do not use the appliance: Table of contents ¡ With an external timer. 1.3 Restriction on user group This appliance may be used by children aged USER MANUAL 8 or over and by people who have reduced Safety .............. 2 physical, sensory or mental abilities or inad- Avoiding material damage........ - Page 3 Safety en Toxic gases from the flue or the extraction ▶ Never extinguish burning oil or fat with wa- shaft are sucked back into the living space. ter. Switch off the cooking zone. Extinguish flames carefully using a lid, fire blanket or something similar.
-
Page 4: Avoiding Material Damage
en Avoiding material damage ▶ Do not use steam- or high-pressure clean- The light emitted by LED lights is very ers to clean the appliance. dazzling, and can damage the eyes (risk group 1). WARNING ‒ Risk of explosion! ▶ Do not look directly into the switched-on Highly caustic alkaline or highly acidic clean- LED lights for longer than 100 seconds. -
Page 5: Operating Modes
Operating modes en 4 Operating modes You can use your appliance in air extraction mode or 4.2 Air recirculation mode circulating-air mode. The air which is drawn in is cleaned by the grease fil- ters and an odour filter, and conveyed back into the 4.1 Air extraction mode room. -
Page 6: Familiarising Yourself With Your Appliance
"Accessories vary from one appliance to another. Accessories Order number When purchasing accessories, always quote the exact product number (E no.) of your appliance."... - Page 7 Cleaning and servicing en Never use highly caustic alkaline or highly acidic ▶ Open the locks on the grease filters. cleaning agents. In particular, do not use commer- cial or industrial cleaning agents in conjunction with aluminium parts, e.g. grease filter on extractor hoods.
-
Page 8: Troubleshooting
en Troubleshooting Use special grease solvent for stubborn dirt. You Press and hold the lock for the odour filter. can obtain grease solvents from after-sales service or the online shop. Start the dishwasher. Select a temperature of no more than 70 °C. Allow the grease filters to drain. -
Page 9: Disposal
Disposal en Remove the grease filters. 9.2 Replacing the LED lights → "Removing the grease filter", Page 7 Push the lamp out of the appliance from the rear. WARNING ‒ Risk of electric shock! When changing the bulb, the bulb socket contacts are live. Before replacing the bulb, unplug the appliance ▶... -
Page 10: Installation Instructions
en Installation instructions Make a note of your appliance's details and the Cus- tomer Service telephone number to find them again quickly. 12 Installation instructions Observe this information when installing the appliance. 12.2 Appliance dimensions You will find the dimensions of the appliance here 12.1 Scope of delivery After unpacking all parts, check for any damage in transit and completeness of the delivery. - Page 11 Installation instructions en ney). With the extractor hood switched on, air ▶ If the exhaust air is to be conveyed into a is extracted from the kitchen and the adjacent smoke or exhaust gas flue, you must obtain rooms. Without an adequate supply of air, the the consent of the heating engineer re- air pressure falls below atmospheric pressure.
- Page 12 en Installation instructions ▶ Use only suitable tools and equipment. 12.5 General information The appliance is heavy. Follow these general instructions during the installation. ▶ The appliance must not be fitted directly ¡ For the installation, observe the currently valid build- ing regulations and the regulations of the local elec- onto plasterboard or similar lightweight ma- tricity and gas suppliers.
- Page 13 Installation instructions en 12.8 Instructions for the exhaust air pipe Preparing the wall Ensure that there are no electrical wires, gas pipes The appliance manufacturer does not provide any war- or water pipes in the area where holes are to be ranty for faults attributable to the pipeline. drilled.
- Page 14 en Installation instructions Mark the holes for the appliance bracket. Screw in the screws for the appliance bracket so that there is a clearance of 5 mm between the screw head and the wall. Drill the holes. Insert the wall plugs flush with the wall. Screw in the flue connection plate.
- Page 15 Installation instructions en Secure the appliance. Secure the exhaust pipe to the air pipe connector. Establish the connection to the exhaust air opening. Seal the joints. Connecting to the power supply Insert the mains plug into the protective contact socket. If a fixed connection is required, follow the instruc- tions in the section → "Instructions for the electrical connection", Page 12.
- Page 16 Expert advice for your Bosch home appliances, help with problems or a repair from Bosch experts. Find out everything about the many ways Bosch can support you: www.bosch-home.com/service Contact data of all countries are listed in the attached service directory.
Need help?
Do you have a question about the DWB65BC50I and is the answer not in the manual?
Questions and answers