Advertisement
Quick Links
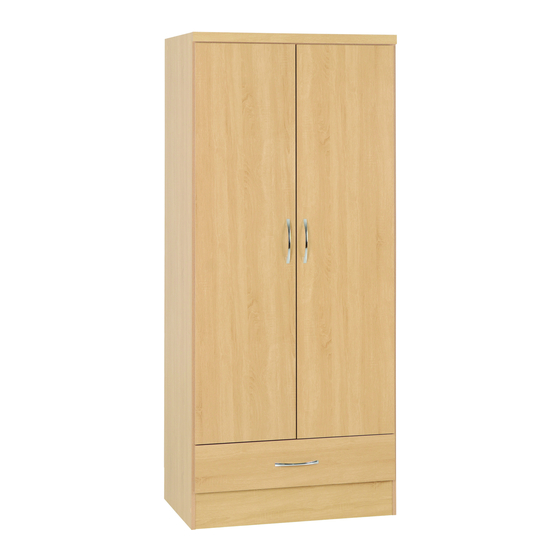
2 Door 1 Drawer Robe
Assembly Instructions
001 xx 5515
- Please keep for future reference
Dimensions
Width - 66.8cm
Depth -49.8cm
Height - 180cm
MADE IN
GREAT BRITAIN
Important -
Please read these instructions fully before starting assembly
If you need help or have damaged or missing parts, call the Customer Helpline: 01709 534123
Please turn to back page for important information when contacting Customer Helpline.
Rev A - 16/04/2015
Advertisement

Related Manuals for OFW OFW00162

Summary of Contents for OFW OFW00162
- Page 1 2 Door 1 Drawer Robe Assembly Instructions 001 xx 5515 - Please keep for future reference Dimensions Width - 66.8cm Depth -49.8cm Height - 180cm MADE IN GREAT BRITAIN Important - Please read these instructions fully before starting assembly If you need help or have damaged or missing parts, call the Customer Helpline: 01709 534123 Please turn to back page for important information when contacting Customer Helpline.
- Page 2 Safety and Care Advice Important - Please read these instructions fully before starting assembly Do not stand or put weight on Check you have all the We do not the product, this could cause components and tools listed on recommend the damage.
- Page 3 Components - Panels Please check you have all the panels listed below Important - Thick lines indicate finished edges 9897 9205 9898 LH Door Panel Back Panel RH Door Panel (155.0x32.9cm) (157x66cm) (155.0x32.9cm) 9916 9896 Left End Panel Right End Panel (178.4x48cm) (178.4x48cm) 9555...
- Page 4 If you have damaged or missing components, call the Components - Fittings Customer Helpline: 01709 534123 Please turn to back page for important information when contacting Customer Helpline. Please check you have all the fittings listed below Note: The quantities below are the correct amount to complete the assembly, In some case more fittings may be supplied than are required.
-
Page 5: Exploded View
Exploded View 9511 740006000 9916 9205 9897 9896 9898 9555 5637 625xx6619 8027 7857... - Page 6 Assembly Instructions Step 1 Fitting hingeplates, runner,cams and hanging rail bracket to left end panel. Connect the hanging rail bracket to the left end 9916 panel using screws Attach the hingeplates Insert 2 cams Use hammer to knock in plastic runner The plastic runners can 9916 be split by pulling them...
- Page 7 Assembly Instructions Step 3 Correct Attach hinges and handles to the doors Incorrect Insert hinges into holes, ensure the hinge is straight (90 degree angle). 9897 Bradawl Before securing the hinges , we recommend you pre - mark the doors using a bradawl.
- Page 8 Assembly Instructions Step 4 Fitting dowels to top and drawer front. Insert 4 metal dowels 9511 into the top panel 9511 7857 Insert 2 metal dowels into the the drawer 7857 front Insert 4 wooden dowels 5637 into the plinth panels 5637 Step 5 Assembling drawer.
- Page 9 Assembly Instructions 625xx6619 Slide drawer bottom into grooves in the drawer surround. 8027 SLIDE! Foil surface facing upwards. Plain chipboard surface to underside. : Locate the metal 625xx6619 dowels (already inserted) in the drawer front into the small cams in the left and right hand drawer sides.
- Page 10 Assembly Instructions Step 6 Connect the bottom panel and the plinth panel to left and right end panels. Ensure plinth is Ensure plinth sits not overhanging. flush. Using screws secure 9555 the bottom panel 9916 to the left end 9896 Finished edges to floor.
- Page 11 Assembly Instructions Step 8 Squaring up the unit. DIAG 2 DIAG 1 DIAG 3 IMPORTANT! Ensure a tape measure is used to square unit up. Before securing the back it is necessary to square up the unit. You can do this by measuring between XX - XX and YY - YY ensuring these are the...
- Page 12 Assembly Instructions Step 10 Attach cover caps to exposed fittings. Cover any exposed fittings using the covers With help, stand the unit upright once this step is complete. Step 11 Diagram 1 Hanging doors With help, slot door hinges onto hinge plates. Ensure screw on hinge slides into the slot on hingeplate.
- Page 13 Assembly Instructions Step 12 Hinge adjustment To move doors up or down: loosen screws shown and move doors to suit. Re-tighten screws. To move doors in or out: loosen screw shown and move doors to suit. Re-tighten screws. To move doors left or right: loosen or tighten screw as shown.
- Page 14 Assembly Instructions Step 13 Fixing to wall We recommend that this unit is fixed to a suitable wall to prevent possible overbalancing. We have included a fixing bracket for this. No fixing screws are provided as they will need to suit the wall type, and the length of screw will depend on the distance from the...
- Page 15 Assembly Instructions Step 14 Insert drawer. Slide the grooved section of the drawer sides onto the runners. Insert the plastic stops through the rear hole in the drawers once the drawer is in place.
- Page 16 Assembly Instructions Congratulations! Your unit is complete. Important Information If you need help or have damaged or missing parts, call the Customer Helpline: 01709 534123 8am - 4.30pm (Monday to Thursday) 8am - 2.30pm (Fridays) (by contacting the customer service line your statutory rights are not affected) Please have the following information to hand: >>...
Need help?
Do you have a question about the OFW00162 and is the answer not in the manual?
Questions and answers