Advertisement
Quick Links
Advertisement

Related Manuals for Gama Sonic GS-104


Summary of Contents for Gama Sonic GS-104
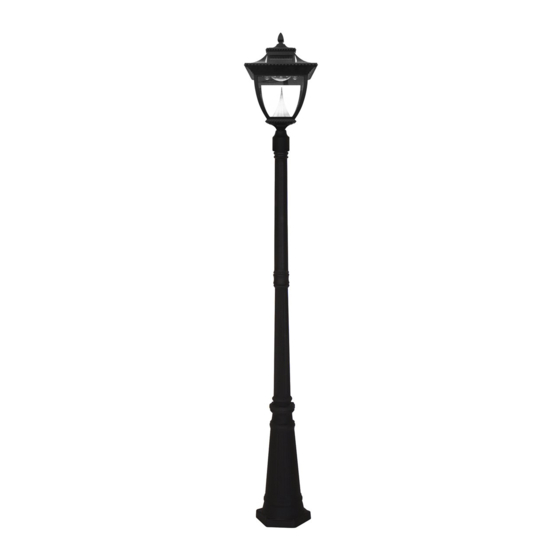
- Page 1 PAGODA SOLAR LAMP POST US Patent # 7172307 Instruction Manual Model: GS-104...
- Page 2 Please read the instruction manual carefully to obtain the best results from your purchase Unpack and identify the following components.
- Page 3 Tools that are needed but not supplied with the high post lamps are: a screw driver, a wrench and an electrical drill that will be used to anchor the lamp base to the ground. Solar Lamp Post Location For optimum light duration throughout the night, it is very important to mount your solar lamp post in a spot where it will receive the maximum amount of sunlight throughout the day.
-
Page 4: Replacing The Batteries
Fig. 3 Fig. 4 GS-104S/D GS-104P Use electric drill to make two holes in the desired surface, place provided anchors into holes, place the base (L) in line with the holes and screw the provided screws. GS-104F NOTE: If you are replacing an existing gas/electric post light, you must consult a certified technician to cancel them before installation. - Page 5 2. Unscrew the battery compartment’s screw located on the silver reflector and remove the old battery pack by unclipping from connector. Make sure the new battery pack is high quality – 1 x Li-Ion Battery Pack (3.2 Volt / 3000 Ma) (Fig.