Table of Contents

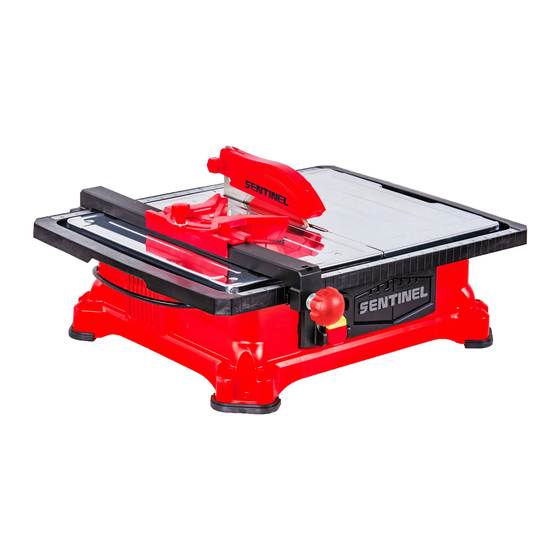
Summary of Contents for Sentinel WSSEN719-1
- Page 1 Owner’s Manual Model No. WSSEN719-1 7" Job Site Wet Tile Saw BLACK 60% BLACK You will need this manual for safety instructions, operating procedures, and warranty. Put it and the original sales invoice in a safe, dry place for future reference.
-
Page 2: Table Of Contents
TABLE OF CONTENTS PRODUCT SPECIFICATIONS SECTION PAGE Horsepower ..............3/4 Voltage ................120 SAFETY RULES Amp ..................4.8 Work Preparation Hertz ..................60 Work Area Preparation Phase ................Single Tool Maintenance Tool Preparation RPM ................3450 Cutting Wheel Diameter ............ 7" ASSEMBLY Rip Capacity (tile size) ........... 18" Unpacking Diagonal capacity (tile size) .......... -
Page 3: Safety Rules
GENERAL SAFETY RULES • Keep children and visitors away. Your shop is a WARNING potentially dangerous environment. Children and visitors For your own safety, read and understand all warnings can be injured. and operating instructions before using any tool • Make your workshop childproof with padlocks, master or equipment. - Page 4 GENERAL SAFETY RULES (continued) CAUTION • Use only correct wheels. Do not use wheels with incorrect size holes. Never use washers or arbor nuts Think safety! Safety is a combination of operator common that are defective or incorrect. The maximum wheel sense and alertness at all times when tool is being used.
-
Page 5: Assembly
ASSEMBLY UNPACKING TOOLS NEEDED Refer to Figure 1. The following tools are needed to assemble and adjust the Check for shipping damage. Check immediately whether tile saw: all parts and accessories are included. If anything is • Supplied arbor and hex wrenches missing, or broken, contact your retailer. -
Page 6: Cutting Wheel Assembly
CUTTING WHEEL ASSEMBLY TO INSTALL SPLASH HOOD Refer to Figure 4 Refer to Figure 3 1. Remove bevel table. WARNING 2. Place the L-shaped splash hood bracket into the recess on the table located behind the wheel. Attach To prevent serious personal injury. The maximum wheel capacity for this saw is 7". -
Page 7: To Install The Rip Guide
TO INSTALL THE RIP GUIDE Figure 6 Overflow Drain See Figure 5 and 13A 1. Loosen knob on rip guide by turning it counterclockwise. NOTE: If using the miter guide install it now. 2. Slide rip guide onto side of table. Use the lines on the top of the table or a square to align rip guide to the blade, see Figure 13A. -
Page 8: Power Source
POWER SOURCE WARNING WARNING Do not permit fingers to touch the terminals of plug when installing or removing from outlet. Do not connect to the power source until the machine is • Inspect tool cords periodically, and if damaged, have completely assembled. -
Page 9: Motor
MOTOR POSITION OF THE TILE SAW The saw is equipped with a 4.8 Amps motor. The 120 Volt See Figure 11 motor has the following specifications: Position tile saw to one side of a wall-mounted outlet Horsepower ..............3/4 to prevent water from dripping onto the outlet or plug. Voltage .................120 The operator should arrange a “drip loop”... - Page 10 OPERATION TOOL PLACEMENT WARNING Place the tool on a stable, level surface. Do not allow familiarity with tools to make you careless. Remember that a careless fraction of a second is sufficient NOTE: Holes in the feet are available for bench mounting. to inflict serious injury.
- Page 11 Figure 13B TO MAKE A CROSS CUT Rip Guide See Figure 14 Miter Guide Knob Cross cuts are straight 90° cuts. The material is fed into the cut at a 90° angle to the wheel. 1. Use a marker or grease pencil to mark the area to be cut on the tile.
- Page 12 TO MAKE A 45° DIAGONAL CUT 2. Slide miter guide onto rip guide from front. See To Install the Miter Guide. See Figure 15 3. Adjust the rip guide to desired position and tighten. 45° Diagonal cuts are also referred to as “long point to 4.
- Page 13 NOTE: Make sure the material is clear of the cutting wheel 4. Pull the ON/OFF switch out to the ON position. Allow the cutting wheel build up to full speed and the blade before turning on the saw. to be completely covered with water. 3.
- Page 14 TRANSPORTATION CORD AND WRENCH STORAGE See Figures 19 See Figures 20 There is a carry handle located on the right side of Wrap the cord around the cord retainer at the rear of the the saw. saw when not in use. 1.
- Page 15 TROUBLESHOOTING SYMPTOM POSSIBLE CAUSE(S) CORRECTIVE ACTION Motor will not start 1. Short circuit in line, cord or plug. 1. Inspect cord or plug for damaged insulation and –fuses or circuit shorted wires. breakers tripping 2. Short circuit in motor or loose 2.
- Page 16 7" TILE SAW PARTS ILLUSTRATION...
- Page 17 7" Tile Saw PARTS LIST Key# Part# Description Specifications Qty Key# Part# Description Specifications Qty WSSEN719-1 029 WSSEN719-1 001 Screw M5×10 Hexagon Bolt M6×30 WSSEN719-1 030 WSSEN719-1 002 Left Table Blade Guard WSSEN719-1 031 WSSEN719-1 003 Screw M5x14 Riving Knife...
- Page 18 1 YEAR LIMITED WARRANTY This product carries a 1-Year Limited Warranty to the original purchaser. If, during normal use, this product breaks or fails due to a defect in material or workmanship within one (1) year from the date of original purchase, simply bring this tool with the original sales receipt back to your nearest retail store.
- Page 19 NOTE...
Need help?
Do you have a question about the WSSEN719-1 and is the answer not in the manual?
Questions and answers
Do you know where I can find a replacement for the splash hood bracket for the Sentinel WSSENT719-1 wet tile saw
The replacement splash hood bracket for the Sentinel WSSEN719-1 wet tile saw is not specifically listed in the provided parts list. Therefore, you would need to contact customer service for assistance in locating or ordering this part.
This answer is automatically generated