Advertisement
1. Introduction
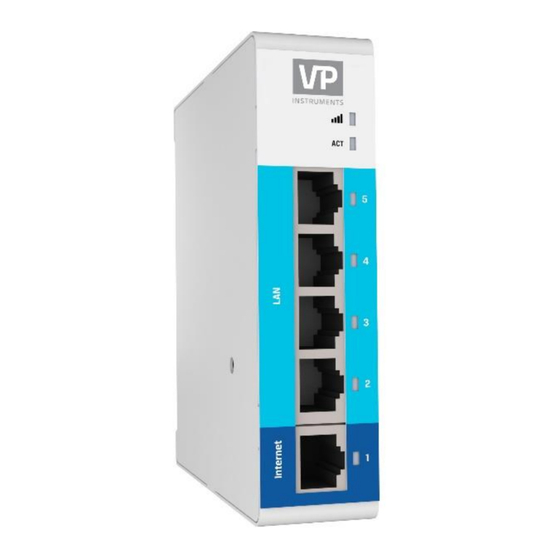
The VPRouter is the hardware component which enables you to remotely access
your PLC's, VPVision and other TCP enabled devices. This article shows you how
to set up your VPRouter as stand alone or in combination with VPVision. After
your VPRouter is set up you will be able to access and manage your VPRouter on
the VPInstruments Cloud (cloud.vpinstruments.com).
Pre-requisites:
•
VPInstruments Cloud account (view the getting started guide)
•
VPRouter
•
USB flash drive (format: FAT/FAT32)
The steps to follow in order to set up your VPRouter are:
1. Create a configuration file
2. Register your VPRouter
3. Activate your VPRouter
Scan this QR code to download this quick start guide and have all active referral
links for further information.
2. Create a configuration file
First step is to create a configuration file on the IXON Cloud that will tell the VPRouter to what
company it belongs and how it's connected. Most input fields will be pre-filled, based on standard
use cases, so for most users all the fields can be left untouched. The next steps show you how to
create a configuration file.
Go to [Tools]
in the main menu and press [Start configuration]
©Van Putten Instruments BV | MAN-VP-ROU-EN-2002 | 19-1-2021
.
Advertisement
Table of Contents

Subscribe to Our Youtube Channel
Summary of Contents for VP instruments VPRouter
- Page 1 2. Create a configuration file First step is to create a configuration file on the IXON Cloud that will tell the VPRouter to what company it belongs and how it's connected. Most input fields will be pre-filled, based on standard use cases, so for most users all the fields can be left untouched.
- Page 2 [Show more] Next you'll enter a unique IP address for your VPRouter and press [Next] This needs to share the subnet of your PLC/HMI but cannot match their IP address! The subnet in the example below is "192.168.140", where the last figure ".1"...
- Page 3 File name: It is essential that the file is named "ixrouter.conf", without any added characters or numbers. Once the configuration file is placed on a USB flash drive, you can start registering your VPRouter. 3. Register your VPRouter The next steps show how to register your VPRouter.
- Page 4 Remove the USB drive once the VPRouter is registered! When you make changes in the configuration after the initial configuration and the USB drive with the “ixrouter.conf" file is still in the VPRouter, the VPRouter will reboot itself to the old configuration after a temporary power disconnect.
- Page 5 The first number and figure combination "C0:D3:91:31:46:41" is the MAC address of your VPRouter. The second number "16055202" is the serial number of the VPRouter. Next step The VPRouter is now set up and activated. You can now connect to your machine. ©Van Putten Instruments BV | MAN-VP-ROU-EN-2002 | 19-1-2021...
- Page 6 5. VPVision specific configuration • Connect the 24V power supply of the VPRouter via the 24V power supply connection of the Moxa converter • Connect VPVision LAN 2 to the VPRouter LAN 2 • Connect VPRouter LAN 3 to Moxa converter Port 1 •...
Need help?
Do you have a question about the VPRouter and is the answer not in the manual?
Questions and answers