Table of Contents
Advertisement
Quick Links
INSTALLATION AND OPERATING INSTRUCTIONS
For use with STI Wire-Free Home Protection System
Please keep these instructions in a safe place for future reference.
Kit contents:
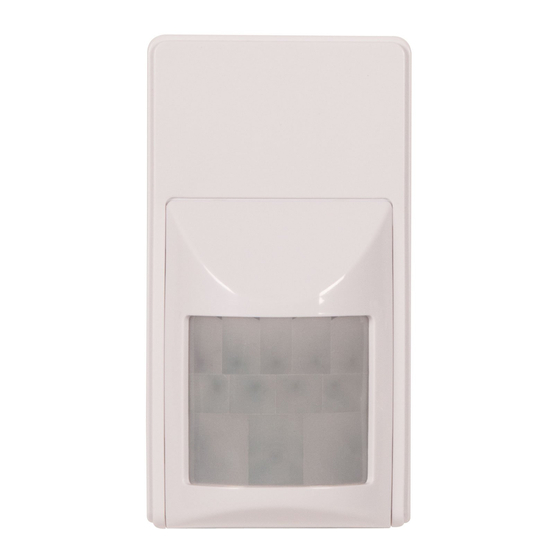
1 Motion Sensor
1 Ball-head joint mounting bracket
3 Screws and wall plugs
1 Installation and operating instructions
1. Introduction
The STI PIR Motion Sensor is designed to trigger the STI Wire-Free Home Protection System Smart Panel
when it senses movement in a given area.
Note: When pets are in the home, it is advised that they are not allowed onto higher surfaces (above 3 feet in
height) because they may trigger the sensor.
2. Location
First determine the location of the Sensor, which should be placed:
• On a solid surface between 6ft to 8ft (1.8m to 2.4mm) from the floor.
• Near key entry/exit points.
• Away from extreme temperature sources (radiators, ovens, stoves, etc.) and large metal objects that could
interfere with the wireless performance.
• Away from direct sunlight.
• Indoors only and not behind partitions, curtains, etc.
• Where better RF performance can be achieved (if necessary).
• Mount as high as possible to avoid easy access.
• Location in a corner will ensure wider room coverage.
3. Installation and Operation
3.1 Powering up the Motion Sensor
• Remove the battery cover, insert and connect a 9V battery as shown in
diagram and replace the cover (requires 1 x 9V battery).
• Low battery indication: If the batteries need to be replaced, the RED LED
will flash (not including entry/exit delay flashing).
3.2 Installing the Motion Sensor
• Hold the enclosed mounting template against the wall at the selected location and mark the points for drilling.
• Drill the holes and insert wall plugs.
• Attach the bracket to the mounting surface with the screws provided.
• Attach the Motion Sensor to the mounting bracket.
STI PIR MOTION SENSOR
Model STI-WS103
Advertisement
Table of Contents

Subscribe to Our Youtube Channel
Related Manuals for Safety Technology International STI-WS103


Summary of Contents for Safety Technology International STI-WS103
- Page 1 Model STI-WS103 STI PIR MOTION SENSOR INSTALLATION AND OPERATING INSTRUCTIONS For use with STI Wire-Free Home Protection System Please keep these instructions in a safe place for future reference. Kit contents: 1 Motion Sensor 1 Ball-head joint mounting bracket 3 Screws and wall plugs 1 Installation and operating instructions 1.
- Page 2 3.3 Sensor sensitivity IMPORTANT! The Motion Sensor is designed with a power saving program and will remain inactive for 3 minutes after each detection. Please bear this in mind during system set up. The sensitivity of the Motion Sensor is adjustable and can be changed by setting the connector on either the “High,”...
- Page 3 - Smart Panel Jumpers for - Each sensor house security Default house code: code 1: ON, 2: ON, 3: ON, 4: ON *Jumper: ON = Plugged, OFF = Pull Out Dip-Switches - Key Fob Remote for house Default house code: 1: ON, 2: ON, 3: ON, 4: ON security code 5.
- Page 4 • Intruders have the technical means of bypassing, jamming or disconnecting all or part of the system. • The power to the sensors is inadequate or disconnected. • The sensors are not located in proper environmental/temperature conditions (i.e. too close to a heat source) . Note: Inadequate maintenance is the most common cause of alarm failure;...
- Page 5 X-ON Electronics Largest Supplier of Electrical and Electronic Components Click to view similar products for manufacturer: SAFETY TECHNOLOGY Other Similar products are found below : STI-1130 12006 STI-6400...
Need help?
Do you have a question about the STI-WS103 and is the answer not in the manual?
Questions and answers