
Related Manuals for Morgan MAC-121 SIERRAIRE


Summary of Contents for Morgan MAC-121 SIERRAIRE
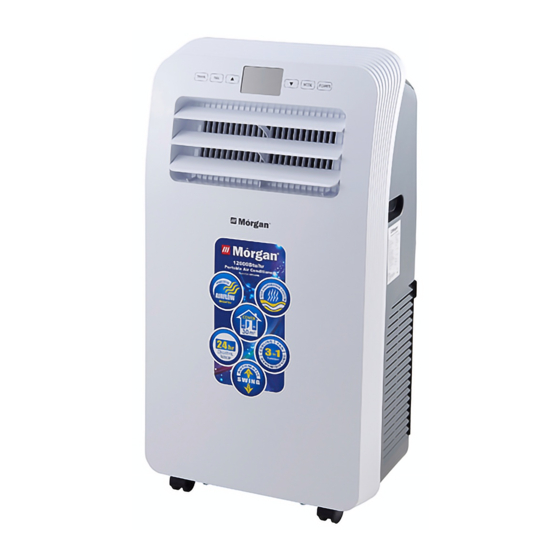
- Page 1 USER MANUAL Portable Air Market Expansion Services by Conditioner www.dksh.com.my E-mail: electrical.appliance@dksh.com MAC-121 SIERRAIRE www.morgan.my facebook.com/morganappliances...
-
Page 2: Safety Precautions
Thank you for purchasing a quality MORGAN appliance. We trust that you will have a C O N T E N T S pleasant experience with your new product. To guarantee safety and best efficiency, please read this manual carefully and keep a copy for future reference. - Page 3 SAFETY PRECAUTIONS SAFETY PRECAUTIONS • This appliance is only It is intended to be Do not attempt modify or repair the appliance yourself. Doing so may damage the intended for household operated inside rooms appliance and in turn, void the warranty. •...
-
Page 4: Safety Tips
SAFETY TIPS SAFETY TIPS Do not operate Always ensure the Disconnect from power Do not place heavy objects on appliance with a appliance meets supply & contact your the power cord which may damaged power the proper voltage authorized service bend, twist or cord or power plug. -
Page 5: Parts Identification
12. Window Sealing Plate gasoline or other may damage the plastic finishing & Assembly combustible liquids. internal circuitry. SPECIFICATIONS MODEL NO. MAC-121 SIERRAIRE RATED VOLTAGE 220-240V~ FREQUENCY 50HZ RATED WATTAGE 1370W COOLING CAPACITY 3500W... -
Page 6: Control Panel & Remote Control
CONTROL PANEL & REMOTE CONTROL PLACEMENT & INSTALLATION PLACEMENT • Place the appliance on a flat & sturdy floor, preferably near a window. • The appliance should be placed at least 50cm away from surrounding objects & the air ventilations must operateunobstructed. TIMER MODE POWER... - Page 7 PLACEMENT & INSTALLATION OPERATING INSTRUCTIONS STEP 4: COOLING MODE • • Place the exhaust pipe assembly (exhaust flat port) into the window sealing plate Cooling indicator lamp will illuminate when the cooling mode is automatically or manually assembly & tighten with screws. selected upon POWER ON.
-
Page 8: Water Drainage
WATER DRAINAGE CARE & CLEANING PERIODIC CLEANING This appliance is equipped with an automatic water vaporization system. The circulation of condensing water cools the condenser to If the appliance is not to be used for long periods of time: • improve cooling efficiency and save energy.
Need help?
Do you have a question about the MAC-121 SIERRAIRE and is the answer not in the manual?
Questions and answers