Table of Contents
Advertisement
Quick Links
Advertisement
Table of Contents

Subscribe to Our Youtube Channel
Summary of Contents for AlertLabs SENTREE
- Page 1 SENTREE Installation Manual ALF-000008...
- Page 3 SENTREE Installation Manual...
- Page 4 240 VAC, single phase, 60 Hz Maximum power consumption REPLACEABLE FUSE UL Listed Supplemental Circuit Protection T 5.0 A H 600 VAC Fuse specifications Replace with same type and fuse rating Example: Bel Fuse Inc, 0ADKC5000-BE FCC compliance statement at alertlabs.com/FCC.
- Page 5 Conditioner and Refrigeration Licensing Agency. Good refrigeration practices are expected to be used. This Sentree device is intended to be connected to condenser units powered by 240 VAC, single phase, 60 Hz power and must use the 1/4 inch tabs on the line side of the condenser’s contactor.
-
Page 7: What's Included
What’s Included Sentree main housing Pressure sensors (×2) Foam tape (×3) Cable harness Installation manual Cable ties (×8) Current sensor Cable bushing Power supply / fuse assembly Iso-propyl alcohol wipe... -
Page 8: Installation
Installation... -
Page 9: Turn Off The Power
Turn off the Power Switch the power to the air conditioner to the OFF position. WARNING: RISK OF ELECTRIC SHOCK CAN CAUSE INJURY OR DEATH: DISCONNECT ALL REMOTE ELECTRIC POWER SUPPLIES BEFORE SERVICING... - Page 10 Attach pressure sensors WARNING: RISK OF SKIN DAMAGE FROM REFRIGERANT. WEAR PROTECTIVE GLOVES. Remove the protective caps from the refrigerant service ports. Using an adjustable wrench, tightly screw the pressure sensors onto the service ports. Make sure the connectors on top of the sensors are horizontal to prevent water from collecting inside the sensor.
-
Page 11: Attach Power
NOTE: CLASS 2 WIRING TO BE ROUTED SUCH THAT IT WILL NOT COME INTO CONTACT WITH LINE VOLTAGE WIRING Remove the service panel from the rear of the A/C unit. Attach the quick disconnect terminals from the Sentree power supply to unused L1 or L2 ″... -
Page 12: Connect To Power
Connect to power Locate an electrical knock-out or cable pass-through, and pass the power cable from the harness ( ) into the electrical compartment. Plug the power supply and current sensor into the connectors on the harness. Attach the green ground clip from the harness to an exposed sheet metal edge in the electrical compartment. Secure the power cable in the knock-out using the included cable bushing or cable tie. - Page 13 Connect pressure sensors Connect the red cable on the harness to the liquid line pressure sensor. Connect the blue cable on the harness to the vapor line pressure sensor. Arrange both pressure sensor cables in a drip loop.
- Page 14 Secure temperature sensors Tightly secure the liquid line ( / red) and vapor line ( / blue) temperature sensors on the harness to their respective pipelines using the included cable ties, then wrap with foam tape. Attach the ambient ( / black) temperature sensor to a shaded location near the A/C unit, suspended in free air and out of direct sunlight.
- Page 15 Mount the harness Attach the harness overmold to a secure location outside of the A/C unit, such as the A/C support bracket, or the vapor line. A cable tie is provided.
-
Page 16: Mount The Unit
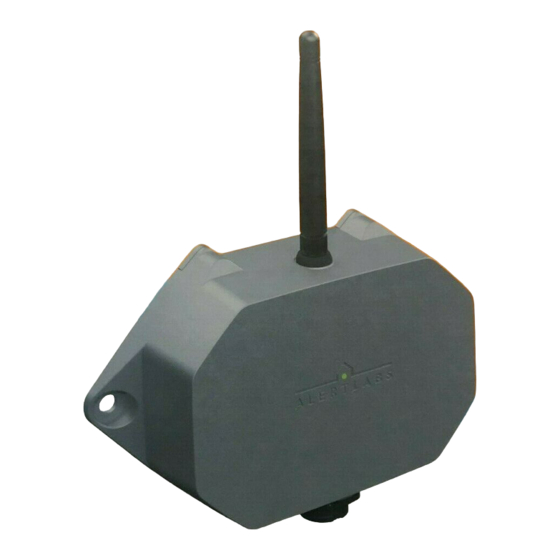
Mount the unit Plug the primary cable from the harness into the Sentree main housing by pressing the connector in and twisting. Mount the Sentree main housing to a secure, vertical surface with appopriate screws (not included). - Page 17 Replace the service panel on the A/C unit and switch the power back to the ON position. The indicator light on Sentree will flash red. Monitor the light until it turns green (up to 2 minutes), indicating a good cellular signal has been achieved.
-
Page 18: Need Help
Need help? For additional help, or in case of issue, visit alertlabs.com/support or contact us at help@alertlabs.com...


Need help?
Do you have a question about the SENTREE and is the answer not in the manual?
Questions and answers