Table of Contents
Advertisement
Available languages
Available languages
Quick Links
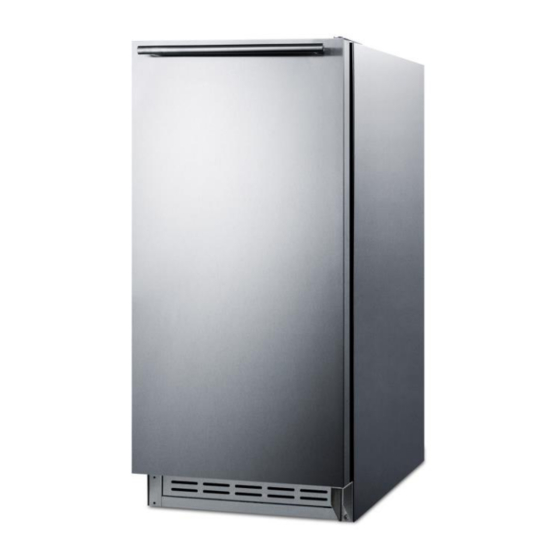
Built-In Icemaker
Machine à glaçons encastrée
Models / Modèles BIM25H32 / BIM25H34
Instruction Manual / Mode d'emploi
Write Serial Number of unit here:
Écrivez le numéro de série ici :
____________________________
Instruction Manual
Instruction
FELIX STORCH, INC.
Summit Appliance Division
ISO 9001:2015 registered
770 Garrison Avenue
Bronx, New York 10474
www.summitappliance.com
Advertisement
Chapters
Table of Contents

Related Manuals for Summit Professional BIM25H34

Summary of Contents for Summit Professional BIM25H34
- Page 1 Built-In Icemaker Machine à glaçons encastrée Models / Modèles BIM25H32 / BIM25H34 Instruction Manual Instruction Instruction Manual / Mode d’emploi FELIX STORCH, INC. Summit Appliance Division Write Serial Number of unit here: ISO 9001:2015 registered Écrivez le numéro de série ici :...
-
Page 2: Table Of Contents
IMPORTANT SAFETY INSTRUCTIONS O REDUCE THE RISK OF FIRE ELECTRICAL SHOCK OR INJURY WHEN USING YOUR ICE MAKER FOLLOW WARNING THESE BASIC PRECAUTIONS • EAD ALL INSTRUCTIONS BEFORE USING THE ICE MAKER • EVER CLEAN ICE MAKER PARTS WITH FLAMMABLE FLUIDS HE FUMES CAN CREATE A FIRE HAZARD OR EXPLOSION •... -
Page 3: Installation Instructions
INSTALLATION INSTRUCTIONS Before Using Your Ice Maker • Remove the exterior and interior packing. • Check to be sure you have all of the following parts: 1 removable ice bin 1 plastic scoop 25 ft. hose 1 instruction manual • CAUTION: MUST After unpacking you... -
Page 4: Connecting The Water Supply
• To prevent accidental injury, the cord should be secured behind the ice maker and not left exposed or dangling. Connecting the Water Supply WARNING MPROPER WATER LINE CONNECTION MAY RESULT IN FLOODING OU MUST USE A LICENSED PLUMBER EVIEW STATE AND LOCAL PLUMBING CODES BEFORE INSTALLATION •... -
Page 5: Operating Your Ice Maker
OPERATING YOUR ICE MAKER Initial Start-Up Operation 1. Plug the appliance into a 115/120V AC polarized and grounded wall electrical outlet. 2. Make sure the water supply is on. As soon as the inner mechanism reaches the proper temperature, the icemaker mechanism will fill the mold with water. 3. -
Page 6: Care And Maintenance
CARE AND MAINTENANCE Cleaning Your Ice Maker • Unplug the ice maker and remove the ice bin. • Wash the inside with a warm water and baking soda solution. The solution should consist of about 2 tablespoons of baking soda to a quart of water. •... -
Page 7: Problems With Your Ice Maker
PROBLEMS WITH YOUR ICE MAKER You can solve many common ice maker problems easily, saving you the cost of a possible service call. Try the suggestions below to see if you can solve the problem before calling the service technician. Troubleshooting Guide PROBLEM POSSIBLE CAUSE... -
Page 8: Limited Warranty
SUMMIT LIMITED WARRANTY ® ONE YEAR LIMITED WARRANTY SUMMIT® Appliance warrants this product to be free from defects in materials and workmanship for a period of one year from the date of original purchase or delivery. Any parts determined to be defective will be replaced by SUMMIT® at no charge to you. -
Page 9: French Version Of This Manual
CONSIGNES DE SÉCURITÉ IMPORTANTES POUR REDUIRE LE RISQUE DE FEU, CHOC ÉLECTRIQUE, OU BLESSURES LORSQUE VOUS AVERTISSEMENT UTILISEZ VOTRE MACHINE À GLAÇONS SUIVRE CES PRÉCAUTIONS DE BASE • LIRE TOUTES LES INSTRUCTIONS AVANT D'UTILISER LA MACHINE à GLACONS. • NE JAMAIS NETTOYER LES PIÈCES DE LA MACHINE À GLAÇONS AVEC DES FLUIDES INFLAMMABLES. -
Page 10: Instructions D'installation
INSTRUCTIONS D’INSTALLATION Avant d'utiliser votre machine à glaçons • Retirer l'emballage extérieur et intérieur. • Vérifiez que vous avez toutes les pièces suivantes: 1 amovible bac à glaçons 1 cuillère en plastique Tuyau flexible de25 pi. 1 mode d'emploi • ATTENTION: Après le déballage vous DEVEZ permettre cet appareil de se tenir debout pendant au moins 2 heures pour permettre aux lubrifiant et réfrigérant à... -
Page 11: Raccordement De L'alimentation En Eau
• Quand une prise murale à deux broches est rencontrée, contactez un électricien qualifié pour la faire remplacer par une prise à 3 broches en conformité avec les codes électriques applicables. • Cette machine à glaçons nécessite une prise électrique mise à terre avec trois broches et un voltage de 115/120 V CA, 60Hz. -
Page 12: Utilisation De Votre Machine À Glaçons
UTILISATION DE VOTRE MACHINE À GLAÇONS Démarrage initial 1. Branchez l'appareil dans une prise murale électrique de 115/120V CA, polarisée et mise à la terre. 2. Assurez-vous que l'alimentation en eau est en marche. Dès que le mécanisme interne atteint la bonne température, le mécanisme de la machine à... -
Page 13: Soins Et Entretien
SOINS ET ENTRETIEN Nettoyage de votre machine à glaçons • Débranchez la machine à glaçons et enlevez le bac à glaçons. • Lavez l'intérieur avec une solution d'eau chaude et de bicarbonate de soude. La solution devrait être composée d'environ 2 cuillères à soupe de bicarbonate de soude pour un litre d'eau. •... -
Page 14: Problèmes Avec Votre Machine À Glaçons
PROBLÈMES AVEC VOTRE MACHINE À GLAÇONS Vous pouvez résoudre de nombreux problèmes communs de machine à glaçons facilement, vous épargnant le coût d'un appel de service possible. Essayez les suggestions ci-dessous pour voir si vous pouvez résoudre le problème avant d'appeler le technicien de service. Guide de dépannage PROBLÈME CAUSE POSSIBLE... - Page 15 NOTES...
-
Page 16: Garantie Limitée
GARANTIE LIMITÉE UN AN DE GARANTIE LIMITÉE Dans les 48 États américains contigus, pendant un an à partir de la date d'achat, lorsque cet appareil est utilisé et entretenu conformément aux instructions jointes à, ou fournies avec le produit, le garant paiera pour les pièces spécifiées en usine et pour la main-d’œuvre pour corriger les vices de matériaux ou de fabrication.
Need help?
Do you have a question about the BIM25H34 and is the answer not in the manual?
Questions and answers