Advertisement
Quick Links
Portable Drying Unit (PDU)
Quick Start Guide
WARMING PDU
1.
Ensure that the Portable Drying Unit (PDU) batteries are fully charged (see "Charging the Battery"
section below for details on charging the batteries).
2.
Connect the battery to the PDU by opening the compartment on the front right hand side of the
PDU and connecting the male and female white clips. Place the connected battery into the battery
storage compartment.
3.
Push the 'Power' switch on the front interface to the 'Hot' position. This will turn on the red LED
light adjacent to the 'Hot' label. The PDU is now heating up and will require approximately 30
minutes to reach its set temperature. The current internal temperature is shown on the thermostat
on the front interface. Ensure that the lid is closed to minimise the time required to reach the set
temperature. (Note: The PDU will heat to a temperature that is pre-set by Ziltek. If this temperature
requires changing, consult the 'Portable Drying Unit Operating Instructions' in the RemScan Oper-
ational Manual for detailted instructions on changing the set temperature).
4.
Once the PDU has reached its set temperature, sample drying may be commenced.
SAMPLE PREPARATION
1.
Label each sample slide with a marker pen for easy identification of individual samples.
2.
Place wet soil samples onto sample slides, preferably designating one sample per slide.
i.
For sandy and loamy soil types, spread the sample evenly into the five slide wells and flatten
the surfaces with a spatula to remove excess soil present until the soil level sits slightly
above the well level.
ii.
For clay soil types, samples can be spread on the back of the sample slides using a spatula
until all of the knurling is covered to increase the surface area and increase drying efficiency.
SAMPLE DRYING
1.
Place the loaded sample slides onto the provided drying rack and place the rack into the PDU.
2.
Close the lid and allow the samples to dry.
3.
Avoid opening the PDU during the drying process to prevent heat loss and therefore minimise
drying time.
4.
After 30-60 minutes (depending on sample wetness), the drying rack containing the dried samples
can be removed from the PDU.
SCANNING SAMPLES
1.
For sample slides containing five filled wells, tamp the surfaces of each well flat using the tamper
provided in the RemScan kit.
2.
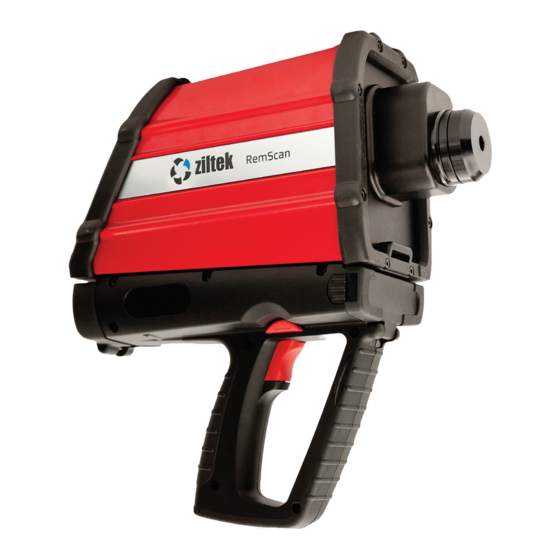
Scan each well with RemScan using the instructions in the 'RemScan Quick Start Guide'. Each
well can be used as a sub-sample for a total of five per unique sample.
3.
For clay samples loaded onto the back of the sample slides, simply tamp the soil surface and scan
five times at different locations on the slide with RemScan.
P +61 (0)8 8152 9390
E info@ziltek.com
Z051-03 01/20
W ziltek.com
Advertisement

Related Manuals for ziltek RemScan


Summary of Contents for ziltek RemScan
- Page 1 Ensure that the lid is closed to minimise the time required to reach the set temperature. (Note: The PDU will heat to a temperature that is pre-set by Ziltek. If this temperature requires changing, consult the ‘Portable Drying Unit Operating Instructions’ in the RemScan Oper- ational Manual for detailted instructions on changing the set temperature).
- Page 2 CHARGING THE BATTERY Remove the battery from the PDU by unclipping the male and female white clips. Then remove the battery from the storage compartment by pulling the tag attached to the battery. Connect the battery to the PDU battery charger by attaching the charger to the battery lead. A steady red light will appear on the charger indicating that the battery is charging. When the battery is completely charged, the light will change to blue.