Pentacon Praktica LB2 Instructions For Use Manual
Hide thumbs
Also See for Praktica LB2:
- Instructions for use manual (20 pages) ,
- Instructions for use manual (22 pages)
Advertisement
Quick Links
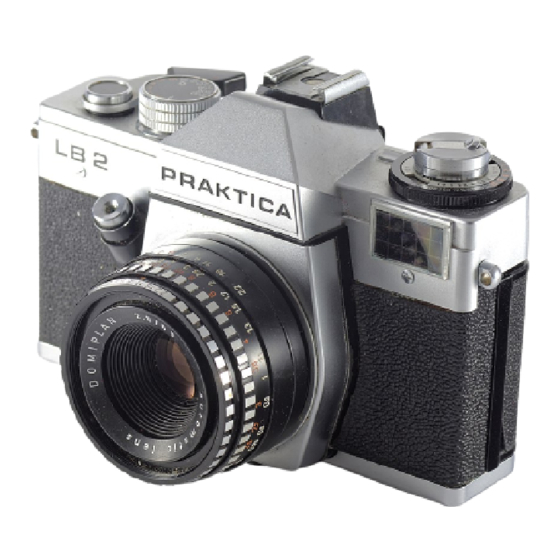
Praktica LB2
This camera manual library is for reference and historical purposes, all rights reserved.
This page is copyright by
, M. Butkus, NJ.
This page may not be sold or distributed without the expressed permission of the producer
I have no connection with Chinon Co., Japan
On-line camera manual library
This is the full text and images from the manual. This may take 3 full minutes for all images to appear.
If they do not all appear. Try clicking the browser "refresh" or "reload button" or right click on the image, choose "view image" then go back. It should now appear.
To print, try printing only 3 or 4 pages at a time.
Back to main on-line manual page
If you find this manual useful, how about a donation of $3 to:
M. Butkus, 29 Lake Ave., High Bridge, NJ 08829-1701
and send your e-mail address so I can thank you.
Most other places would charge you $7.50 for a electronic copy or $18.00 for a hard to read Xerox copy.
This will allow me to continue to buy new manuals and pay their shipping costs.
It'll make you feel better, won't it?
If you use Pay Pal, use the link below. Use the above address for a check, M.O. or cash.
Venmo is
@mike-butkus-camera
www.PayPal.me/butkus
Advertisement

Related Manuals for Pentacon Praktica LB2


Summary of Contents for Pentacon Praktica LB2
- Page 1 Praktica LB2 This camera manual library is for reference and historical purposes, all rights reserved. This page is copyright by , M. Butkus, NJ. This page may not be sold or distributed without the expressed permission of the producer I have no connection with Chinon Co., Japan On-line camera manual library This is the full text and images from the manual.
- Page 2 Control Parts of the PRAKTICA LB 2 In this text the above mentioned reference numbers are bracketed. 1. Filter socket 4. Accessory shoe 2. Photoelectric cell 5. Knob for setting shutter speeds 3. Rewind knob 6. Cocking lever 7. Exposure counter 8.
- Page 3 10. Diaphragm setting ring 17. Rewind crank 11. Distance setting ring 18. Graduated ring with aperture numerals 12. Depth-of-field scale 19. Index for DIN values 13. Knob 20. Window for DIN dial 14. Knurled graduated fir: 21. Window for meter needle 15.
- Page 4 23. Exposure speed index 28. Film transport sprocket 24. Ocular mount with fitting for accessories 29. Supporting piece 25. Rewind catch 27. Metal-blade focal-plane Putter 26. Cartridge chamber...
- Page 5 30. Take-up spool 31. Marking point for inserting the film 32. Wire bracket 33. Tripod socket 34. Rewind release knob We wish you every success in working with this modern reflex camera. You own a camera which has a novel metal-blade focal plane shutter the special features of which are high time stability and short synchro speeds for electronic flash exposure.
- Page 6 Inserting the film Insert the film cartridge. The wire brackets (32) should not stand upwards. Should this happen to be the case, rotate the milled flange of the spool. Pull the leading edge of the film to the green mark (31) and push it from above below the supporting piece (29).
- Page 7 the outer knurled graduated ring (14). So the diaphragm numerals (graduated ring 18) stand opposite the shutter- speed values. This combination of aperture and shutter speed values will give exactly the right exposure. 4www.butkus.org The combination most suitable for your subject to be taken is then transferred to the diaphragm setting ring (10) of the lens or to the shutter-speed setting knob (5) (e.g.: aperture f/8--shutter speed '/125s sec.).
- Page 8 (white) for taking subjects of unobjectionable brightness. 1/25 sec. to1/1000 sec. Rotate knob (5) until the desired numeral stands opposite the orange triangle. Intermediate values cannot be set! Setting the diaphragm numeral Set the diaphragm numeral on diaphragm setting ring (10) to the mark of the lens mount. On lenses with automatic pressure diaphragm (ADP) the aperture remains fully open, and only when the shutter is released it will close to the set value.
- Page 9 Focusing Focusing is possible as to the microprism screen of circular ground glass area. Focusing on the microprism screen The correct sharpness is set when the image becomes visible clearly and free from fuzziness within the microprism screen. Focusing on the circular ground glass area Turn the distance-setting ring until the subject appears clearly and distinctly within the circular ground glass area.
- Page 10 Changing the film Take into consideration the number of exposures (12, 20, or 36 frames) which can be made with the loaded film, and observe this number on the exposure counter. When the film has been exposed, depress rewind release knob (34) (it locks in).
- Page 11 The use of flash bulbs If bulbs for short flash duration are used, set to the g: symbol as to a shutter speed longer than 1/30 sec. The ignition circuit is only closed while the shutter runs down. The use of electronic flash units Synchronization is by setting to the symbol which corresponds to a shutter speed of about Is sec.
Need help?
Do you have a question about the Praktica LB2 and is the answer not in the manual?
Questions and answers