Advertisement
Quick Links
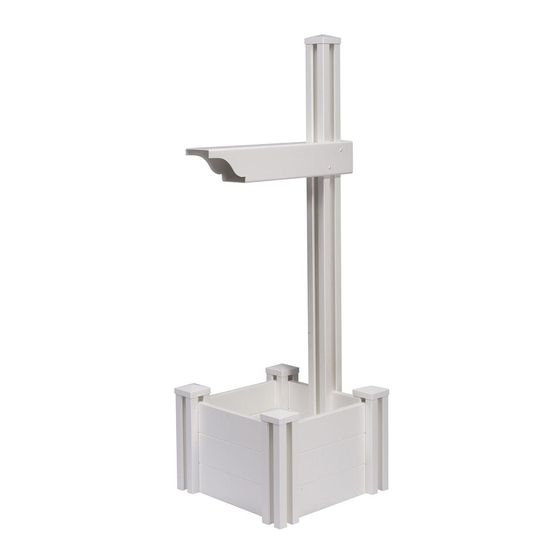
ASSEMBLY INSTRUCTIONS
MAJESTIC
MAILBOX KIT WITH
PLANTER BOX
Approximate assembly time
Want to see a video on how to
assemble this product?
Scan the QR code
WWW.ZIPPITY-OUTDOOR.COM
WWW.ZIPPITY-OUTDOOR.COM
45 MIN
ASSEMBLY
INSTRUCTIONS
ZP19027
*
*
Mailbox and mounting
hardware not included.
ZP19027
1
VER. 061121
Advertisement


Need help?
Do you have a question about the MAJESTIC and is the answer not in the manual?
Questions and answers