
Related Manuals for Omega Research & Development AL-100-DP

Summary of Contents for Omega Research & Development AL-100-DP
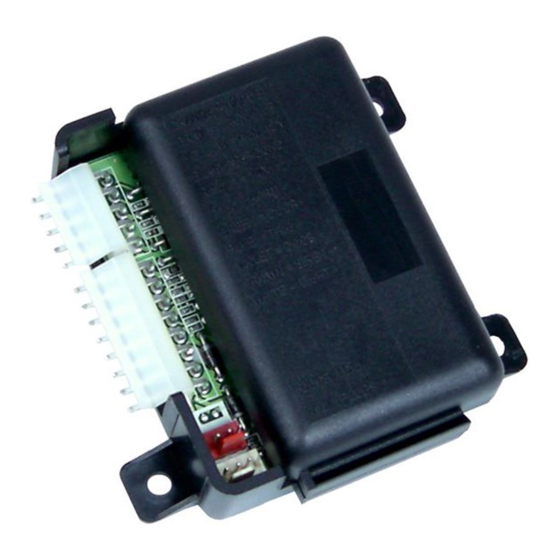
- Page 1 AL-100-DP Full-Feature Vehicle Security System for Factory- Equipped Remote Keyless Entry Transmitters Installation Guide...
-
Page 2: Table Of Contents
Table Of Contents Installation Considerations ��������������������������������������������������������������������������������������� 2 5 Pin Main Harness����������������������������������������������������������������������������������������������������� 3 Red Wire - Constant Power (+) Input ����������������������������������������������������������������������� 3 Black Wire - System Ground (-) Input ���������������������������������������������������������������������� 3 Yellow Wire - Ignition (+) Input���������������������������������������������������������������������������������� 3 Gray Wire - Trunk Release Disarm (+) Input ������������������������������������������������������������ 3 Orange Wire - Starter Interrupt (-) Output &... -
Page 3: Pin Main Harness
GRAY WIRE - TRUNK RELEASE DISARM (+) INPUT The Gray wire is the (+) Trunk Release Disarm Input; a 12v pulse on this wire will disarm the AL-100-DP� CONNECTION: Connect this wire to the vehicle’s existing trunk release motor wire which shows 12V when the OEM remote is used to open the trunk�... -
Page 4: Pin Secondary Harness
8 Pin Secondary Harness PINK WIRE - 3RD CHANNEL (-) OUTPUT This output provides a 250mA negative output for 800ms when the CH3 sequence is activated by the controller� This sequence is selectable with programmable feature #10 CONNECTION: Connect this wire to any desired add-on accessory that can utilize a negative activation input�... -
Page 5: Pin Arm & Disarm Harness
This wire is the “lock” override wire� In Standard Operation, any change in polarity of this wire at the same moment that the Pink wire changes state, will cause the AL-100-DP not to arm� In Parking Light Override Operation, (feature #9) a change in polarity within 1 second of the Pink wire will cause the AL-100-DP to arm�... -
Page 6: Wiring Overview Diagram
Wiring Overview Diagram WIRE LEGEND Hard wire connection required 6 PIN ARM/DISARM HARNESS *Arming Override - WHITE Supported via DATA port *Disarm Override - BROWN *Arm Sensing - PINK Lock (+) Pass-Through - BLUE *Disarm Sensing - GRAY Unlock (+) Pass-Through - GREEN Starter Interrupt * These 4 wires MUST be connected when socket and relay... - Page 7 #1 Screws Status Light Status Light Adhesive Pad Valet /Valet Holder Switch ORANGE = STARTER - GRAY = TRUNK I/P YELLOW = ACC� 12V BLACK = GROUND RED = +12V BROWN/BLACK = HORN - Green Interface GREEN = DOOR - Module Data Port BLUE = TRIG - VIOLET = DOOR +...
-
Page 8: Pin Arm & Disarm Harness Wiring
Lock operation connect the White wire with the Pink to the All Door Motor Lock circuit� Feature #9 Auto Learn - Within 60 seconds of applying power to the AL-100-DP, you can press the Lock button on the OEM remote twice to select the proper setting for feature #9� The AL- 100-DP will monitor the Pink &... -
Page 9: Pin Door Lock/Unlock Port (Red)
3 Pin Door Lock/Unlock Port (RED) GREEN WIRE - LOCK (-) / UNLOCK (+) OUTPUT This provides a 0�8 second 250mA negative lock pulse and positive unlock pulse for any lock- ing or unlock operations� CONNECTION: Connect this directly to the vehicle’s lock circuit if a negative pulse is required or unlock circuit if a positive pulse is required�... -
Page 10: Installer Programmable Features
(press “unlock” button to program) - DEFAULT This feature controls the remote sequence used to activate the 3rd channel output, described on page 7 of AL-100-DP Owners Manual� Feature #11 - 15 Second Entry Delay (press “lock” button to program) - DEFAULT (press “unlock”... -
Page 11: Programmable Features
120ms * Default Feature #9 Auto Learn - Within 60 seconds of applying power to the AL-100-DP, you can press the Lock button on the OEM remote twice to select the proper setting for feature #9� The AL- 100-DP will monitor the Pink & White input wires and automatically set feature #9 as needed and arm upon the second Lock press�... - Page 12 Visit us online at www�CarAlarm�com Tech Support: 800-554-4053 Find us on Facebook http://facebook�com/OmegaRD Copyright 2016, Omega Research & Development Technologies, Inc� AL-100-DP_MI 6/2/2016...
Need help?
Do you have a question about the AL-100-DP and is the answer not in the manual?
Questions and answers