Advertisement
Quick Links
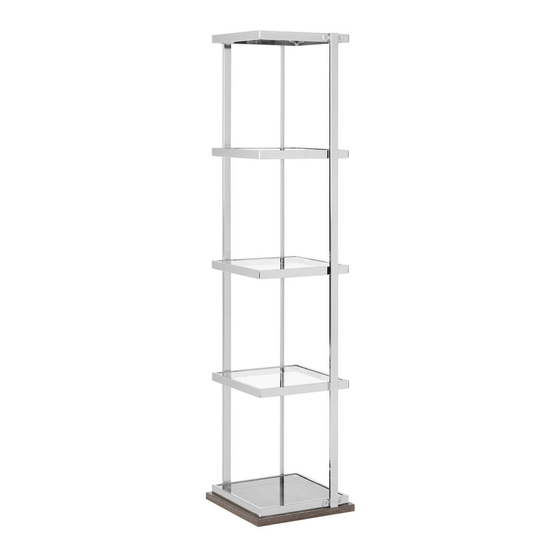
9391016
ARTICLE:
TABLETTE EN VERRE
A
GLASS SHELF
B
CADRE
FRAME
CADRE
C
FRAME
CADRE
D
FRAME
E
PANNEAU INFÉRIEUR
BOTTOM PANEL
BARRE TRANSVERSALE
F
CROSS BRACE
BARRE TRANSVERSALE
G
CROSS BRACE
BARRE TRANSVERSALE
H
CROSS BRACE
LISTE DES PIÈCES
5
1
PCES
2
1
PCE
3
3
PCES
1
4
PCE
1
5
PCE
1
6
PCE
1
7
PCE
1
8
PCE
9
INSTRUCTIONS D'ASSEMBLAGE
ASSEMBLY INSTRUCTIONS
VIS
SCREW
VIS
SCREW
VIS
SCREW
ROUNDELLE PLATE
FLAT WASHER
CAPUCHON CARRÉ
SQUARE CAP
CAPUCHON RECTANGULAIRE
RECTANGULAR CAP
VENTOUSE
SUCTION CUP
PATIN
FLOOR PROTECTOR
CLÉ ALLEN
ALLEN KEY
8
PCES
11
PCES
4
PCES
4
PCES
1
PCE
2
PCES
20
PCES
4
PCES
1
PCE
Advertisement

Related Manuals for Bouclair 9391016


Summary of Contents for Bouclair 9391016
- Page 1 INSTRUCTIONS D'ASSEMBLAGE 9391016 ARTICLE: ASSEMBLY INSTRUCTIONS LISTE DES PIÈCES TABLETTE EN VERRE PCES PCES GLASS SHELF SCREW CADRE PCES SCREW FRAME CADRE PCES PCES SCREW FRAME ROUNDELLE PLATE CADRE PCES FLAT WASHER FRAME CAPUCHON CARRÉ PANNEAU INFÉRIEUR SQUARE CAP BOTTOM PANEL...
- Page 2 ÉTAPE / STEP 1 ÉTAPE 1 : 1. Insérer le capuchon carré (5) à l'extrémité du montant (H). Insérer un des capuchons rectangulaires (6) à l'extrémité du montant (F). STEP 1 : 1. Insert square cap (5) in the end of crossbrace (H). Insert one rectangular cap (6) in the end of cross brace (F). 2.
- Page 3 2. Placer les tablettes en verre (A) sur les ventouses (7). STEP 4 : 1. Insert suction cups (7) into hole in frames (B, C, D). 2. Place glass shelves (A) onto suction cups (7). QUESTIONS? service@bouclair.com 1 800 268 2524 3 SUR/OF 3...
- Page 4 1. Pour empêcher que l'unité ne bascule, poser l'attache (13) à l'arrière du meuble, puis fixer l'unité au mur à l'aide des petites vis (11), des rondelles (12) et des ancrages pour mur (10). 1.Lock Ribbon (13), Smaill Screw (11) and Washer (12) on the back of the product.The unit may be secured onto the wall using Small Screw (11) and Wall Anchor (10) to prevent a collapse.
Need help?
Do you have a question about the 9391016 and is the answer not in the manual?
Questions and answers