
Related Manuals for Mercedes-Benz GLA-Class

Summary of Contents for Mercedes-Benz GLA-Class
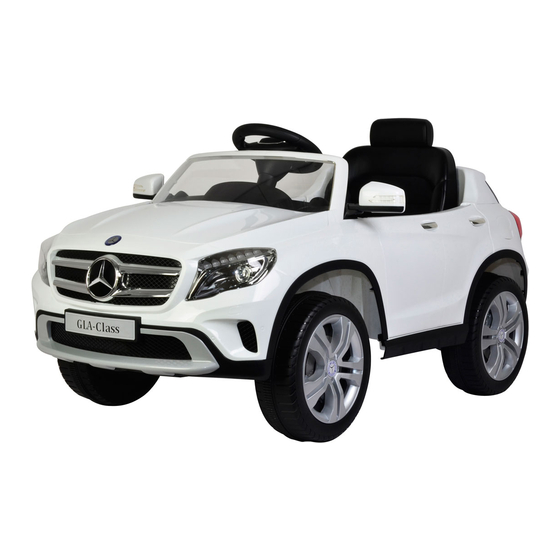
- Page 1 Installation and Operating Instructions of Mercedes-Benz GLA-CIass Electric Baby Car Mercedes-Benz GLA-C1ass Please read the operating instructions carefully before use...
- Page 2 l. Product Specifications and Parameters Contents I Prujuct Specifications and 1. This product is suitable for the children of 3.6 years Parameters 2. Product dimensions: 122 x 63.8 x 63CM List 3. Product maximum load weight: 30 kg It'. Assembly Diagram 4.
- Page 3 Diagram mDlY Ron/ wheel nubbot •oboe" ting Gogtbog Rubber '"hool ring Gearbox lezst.an the front axle frame connecting-rod (part 9) at the assigned location, and then tighten it With front axle frame connecting-rod screw (part 10) and screw cap (part 11). (The tightening degree shall be oased on the nonblo swing diroction.) Use me thumb to press the wheels (part 5) centor button, and then put them into the front...
- Page 4 2, Installation ot J-bhapod otic Insert tho J•shaped stick (part 12) into the ot tho whoolss insen tho whoois into tho (tont axlo and tiX car-front assiqnod qonrbox, and thon fix it with thorn, press tho cont0f button of tho Wh0018 to pull out gearbox scrow (part 21 whools 'tom tho axlo $0 as to rotoovo tho whools.
- Page 5 wing. windshietd and rear-view mirror of rear mtrror (part 4) at Install the windshield (part 2) and rear-vtew end, find each bucklo the assigned location or the car front 8) into the rear wing (port forcefully until each Insert the position before installation, pross it hole position and tighten it tho rear-view mirror with...
- Page 6 car can rrO•'0 4) Foot-tread driving function When tho lover is jn a forward or bauward cute. tro backward if tno footswitch stepped. and the car will stop runn•ng if tne 5) Charging protection tuncoon; All functions needing to bo powered by tr• battery operated, tr•.erø...
- Page 7 pull the car Pull the Handle car wheel Seat front third gear Seat front second gear Seat first gear Music button Steering Safety belt Wheel Opén Buckleup Horn button...
- Page 8 First gear, second gear and third gear lamps control remote o o o Forward/bac b uttO movement Le right mo ment button Speed change button button Sudden brake Operating Guide and Charger fuel tank cap of the car. VI. Battery is located at the charging socket recommended...
- Page 9 Vill. WARNING 1. Battery warning: 1) If the battery is not used for a long time, please fully charge the battery and the power switch for storage; the battery shall be recharged once every other n turn the battery service life will be shortened or the battery can not be charge d again.
- Page 10 63.8CM 122CM and the design of the enclosed product are "Mercedes-Benz intellectual property protection owned by Daimler AG. They subject to Lok Bo Toys Company Limited under license. are used by Chi K07-SMS-107-002 002-01...
Need help?
Do you have a question about the GLA-Class and is the answer not in the manual?
Questions and answers
Нужна инструкция на русском языке