
Summary of Contents for Skynet XPRINTER XP-460B
- Page 1 User manual of Direct Thermal Barcode Printer Brand: XPRINTER Model: XP-460B Paper size: 100mm x 150mm...
-
Page 2: Table Of Contents
CONTENT Instructions: Clicking at each topic below will bring you to the page directly. A) Equipment checklist B) Printer parts C) Download & save the driver file D) Printer setting E) Installation F) Size setting... -
Page 3: A) Equipment Checklist
A) Equipment checklist The equipment provided in the box. 1. Barcode Printer 2. Power Adapter 8. Guidebook 3. Power Cord 7. BarTender UltraLite CD disk 4/5. Label Spindle 6. USB Cable... - Page 4 A) Equipment checklist External Roll Mount The new sticker/label should face up after assembling the roll mount.
-
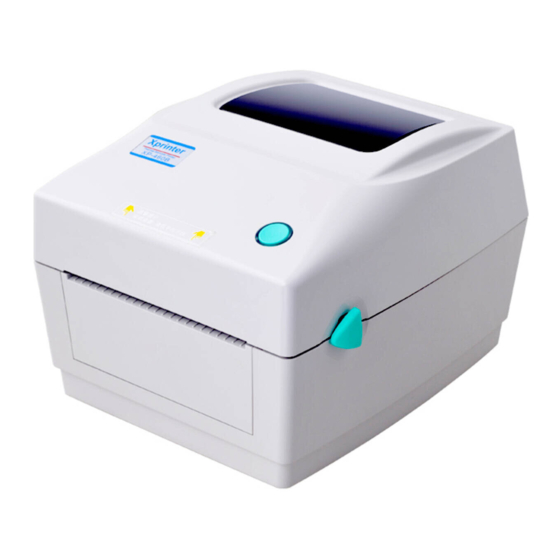
Page 5: B) Printer Parts
B) Printer parts Below is the printer descriptions. Front surface Clear Window Feed Button with LED Indicator Light Top Cover Open Lever Back surface Label Tray (Insert new label here facing up). RS-232C Power DB-9 Switch Interface USB Interface SD Card Power Jack... -
Page 6: C) Download & Save The Driver File
C) Download & save the driver file Step 1 From the link given, www.skynet.com.my/labelprinter select a model (X-Printer 460B) and download the Driver Download Driver User Manual (English) Step 2 Once you already save the file inside the folder that you created. -
Page 7: D) Printer Setting
D) Printer setting Place the printer on a flat and secure surface. Step 1 Plug in the USB Cable and Power Adapter to connect the printer to a computer. Then, turn on the Power Switch button. The symbol meaning: I - On O - Off Power Jack USB cable interface... - Page 8 D) Printer setting Step 3 Use external roll mount to insert the paper because the paper roll are tick. Step 4 Insert the paper from the back of the printer. Step 5 Hold both sides and push upward to open the top cover. Step 6 Use the clips on both sides to secure the paper.
-
Page 9: E) Installation
E) Installation Step 1 Go to the Setting and under the Devices, click Printer & Scanners. Then, click Add a Printer or Scanner. Step 2 After that, click at ‘The printer that I want isn’t listed’. - Page 10 Step 3 Choose ‘Add a local printer or network printer with manual settings’. Then, click Next button. Step 4 Click ‘Use an existing port’ and choose ‘USB001 (Virtual printer port for USB)’. Then click Next button. Step 5 Click Have Disk.
- Page 11 Step 6 Click Browse to select the files. Step 7 Choose the file that already been extract earlier and click at the file as shown below. Then click Open. Once done, click OK.
- Page 12 Step 8 Choose the Printer Model and click on the Next button. Step 9 Click on the Next button.
- Page 13 Step 10 Click on the Install button. Step 11 Then, click ‘Do not share this printer’ and click on the Next button. Step 12 Click on the Finish button.
-
Page 14: F) Size Setting
F) Size setting Once the installation is completed, do the size setting for the new printer installed. Step 1 At Printer & Scanner Setting, click on the Manage button. Step 2 Click Printer Properties to setup the sizing before print. - Page 15 F) Size setting Step 3 Click on the Preferences button to set the paper size. Step 4 Under the Page Setup tab. Choose the sticker size which is ‘4x6’ (4.00 in x 6.00 in). After choose, click Apply button and OK button.
- Page 16 F) Size setting Step 6 After done setup, you can click on the Print test Page to see whether it’s work or not. Now, the printer is ready to be used.
- Page 17 Step 7 Once done, you can start to print out all the eAWB. a) Destination: Choose the correct printer Xprinter XP-460B. b) Paper size: Choose 4 x 6 c) Then, click on the Print button.
- Page 18 Thank You...
Need help?
Do you have a question about the XPRINTER XP-460B and is the answer not in the manual?
Questions and answers