Table of Contents
Advertisement
Quick Links
Advertisement
Table of Contents

Related Manuals for Manostar MS61A-RA

Summary of Contents for Manostar MS61A-RA
- Page 1 RoHS READ THE INSTRUCTION MANUAL BEFORE USING I N S T R U C T I O N M A N U A L M A N O S T A R S W I T C H M S 6 1 A - R A N o .
-
Page 2: Table Of Contents
........................1 THE NAME OF EACH PART Ⅱ. ..................2 INSTALLATION Ⅲ. 1.Caution of service condition ..................2 2.Installation of MS61A-RA ..................2 3.Installation position ....................... 3 4.Wiring material ........................3 5.Accessory for MS61A ....................3 6.Pressure of measurement and connection of piping ........ -
Page 3: Introduction
INTRODUCTION Thank you very much for purchasing of "MANOSTAR SWITCH MS61A-RA". To ensure your safety in using this instrument : ・Be sure to read the instruction manual carefully before using the instrument so that you △ ! can use it properly. -
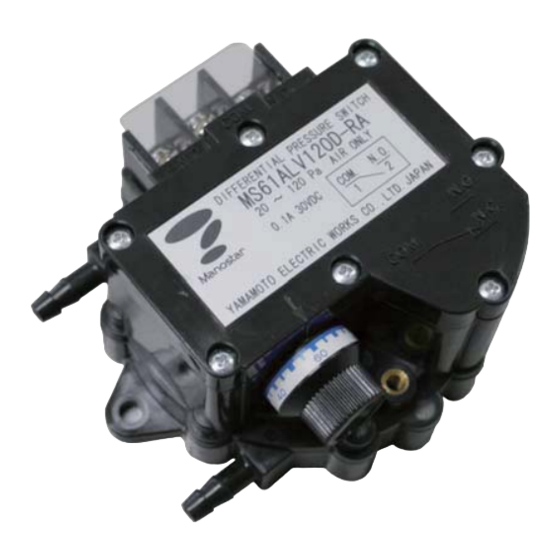
Page 4: Ⅱ.the Name Of Each Part
The instrument is not waterproof. Do not use it in a place subjected to rain, or other splashing water. d) In installing the instrument, select the place where the ground is smooth and flat. 2.Installation of MS61A-RA Panel cut size 2×φ5 or M4... -
Page 5: 3.Installation Position
3.Insta allation posi tion fter inspection n and adjustm ment in accord dance with th e specified in stallation pos sition, and shi ipped. Installat tion position f rom upward h horizontal to vertical l is available. On insta allation panel, following Vertical plane... -
Page 6: Ⅳ.setting Of Pressure 1.Switch Contact Configuration
Ⅳ.SETTING OF PRESSURE 1.Switch contact configuration ・Composition of contact of this instrument is as shown on the right. Increase of COM. N.O. ・When no pressure is applied, the connection between COM differential pressure (1) and N.O. (2) is open. ・When the differential pressure increases and reaches the set pressure, the contact between COM. -
Page 7: 3.Setting The Dial
(i.e., the electrical contact is reset) when the differential pressure is sharply reduced to zero. It is about three seconds at 20 Pa, and one second at more than 50 Pa for Manostar switches. (This value is only for the instrument itself and does not include the effect of piping.) Therefore, a response... -
Page 8: Ⅴ.about Built-In Switch
Ⅴ.ABOUT BUILT-IN SWITCH 1.Reed switch structure and operation principle A reed switch is a switch that switches the contacts “ON” and “OFF” using a magnetic field, and two ferromagnetic leads face each other with a small gap. In addition, an inert gas is sealed in the glass tube to prevent activation of the contacts, improving reliability and extending the life. -
Page 9: Ⅵ. General Precautions 1.Prohibition Of Common Piping
Ⅵ.GENERAL PRECAUTIONS Independent piping○ Common piping× 1.Prohibition of common piping Piping each of pressure detectors and pressure Room A Room B Room A Room B receiving instruments tube exclusively dedicated for MS61A MS61A MS61A MS61A it, and do not connect the piping commonly with the adjacent system as shown in the right figure. -
Page 10: Ⅶ.periodic Inspection
Ⅶ.PERIODIC INSPECTION Generally speaking, it is important not to exert external stress to keep life and reliability of the instrument for a long time. Proper use of this instrument will ensure its faultless service over many years without any necessity of periodic lubrication.
Need help?
Do you have a question about the MS61A-RA and is the answer not in the manual?
Questions and answers